Powder Room Makeover With Wallpaper and Painted Cabinets
Posted by admin on
This post contains affiliate links.
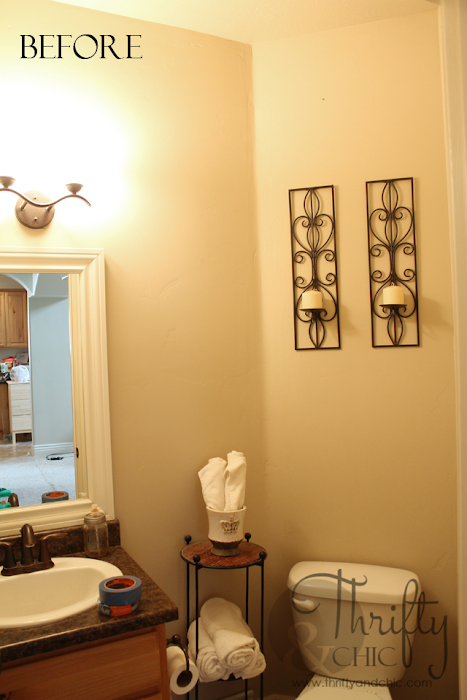
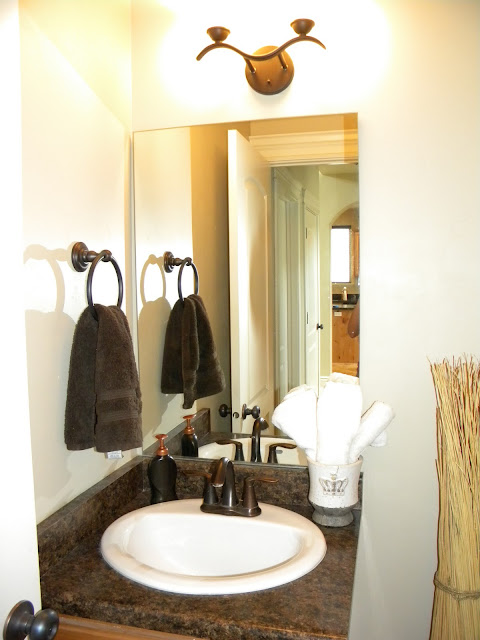
Years and years of touring model homes and parade homes have made me notice that designers go big in the smallest room in the house, the powder room. It's usually bold and full of design and color. When I moved into our house, this small little bathroom, which was probably the most used, was the most boring. It was dark in there too, with no natural light and beige walls and ceiling. Everything was a shade of brown pretty much, down to the cabinet, counter and faucet.
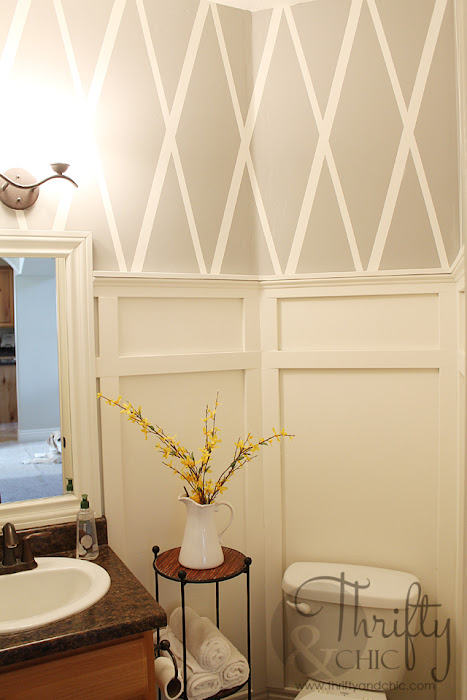
A few years ago, I wanted to brighten the space up so I added board and batten and this fun diamond pattern onto the walls. It has stayed like this for a long time!
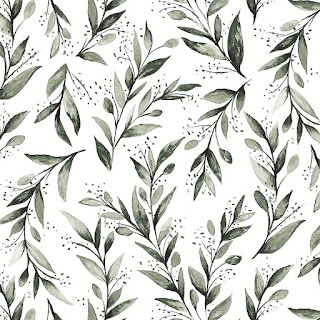
But then...you know how it goes. I needed a change. I thought I wanted this whole powder room to be painted white. So, I did it. And I hated it. I thought I would get used to it, and that never happened. I know, right? Something was all white, and I actually didn't like it. ha! I was searching for some faux brick for my kitchen and came across this peel and stick wallpaper on sale for about $7 for a little over 118". I thought it was a good deal, and thought, why not try it? If I liked it, I would buy more and if I hated it, I wasn't out much.
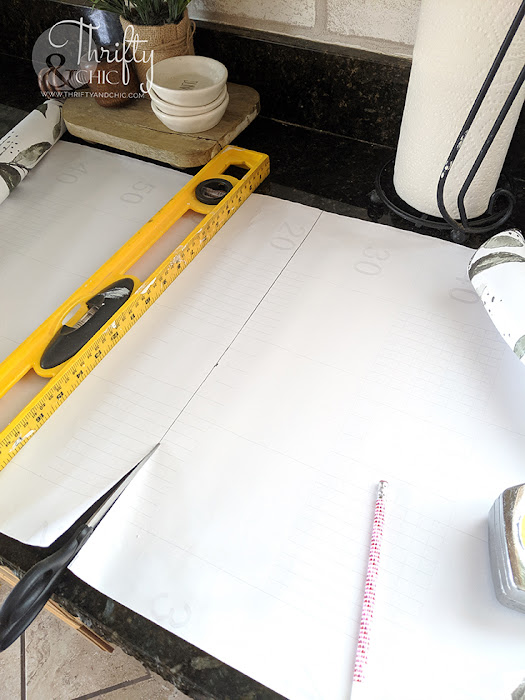
I measured from top to bottom for the first strip, and cut it. Luckily, this peel and stick wallpaper had the grid on the back that made this process so much easier.
I put up the first piece, made sure it was level on the sides with my level. I then matched up the next piece and cut it to size, and put it up. I found it best to working from the sides that are supposed to be lining up and pulling out the backing from there. I worked with about 5" at a time. I would smooth it out, pull, smooth it, pull etc. Sometimes I had to rip the whole thing off and start over. It did take some time and patience, I won't lie. But it was worth it!
Working around the light was a pain. I could have made it easy by taking off the light, but didn't want to go to that extent. So, I cut the wallpaper into two pieces, one for the top and one for the bottom.
With lots of measuring, I figured out where to cut the little notch out for the light on the top and bottom piece.
I loosened the light fixture just a bit in order to get the wallpaper to fit behind it. I found that painter's tape was a lifesaver, not just for this instance, but in general when trying to line up the pattern and when you start pulling the back away.
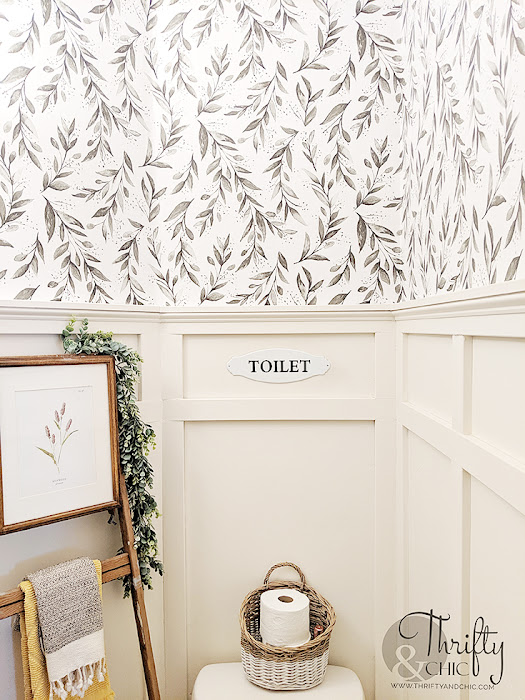
For the corners, I used the same sheet and just folded it around the corner to keep the design going. When all was said and done, I think I used about 400" of this peel and stick wallpaper. I do have a ton of random leftover scraps that I'll have to figure out what to do with. I think the wallpaper in this powder room made the perfect "wow" factor. I didn't want to add too much color since I do decorate in here for the holidays. Yes, I'm that person...putting Christmas decor in a bathroom :) So, I went with a wallpaper that would transition easily from holiday to holiday and not compete too much.
Framing this mirror was a whole other project on its own, then came the board and batten. Click on the links to see the tutorials for those :)
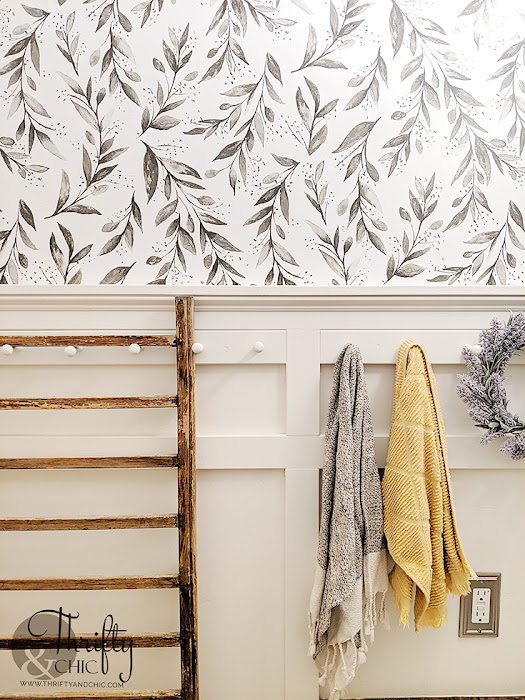
I feel like I've been updating this bathroom for the past 6 months...slowly. One of the updates were these shaker pegs to hang the hand towels from.
...and of course, what ever other decor I want at the time :) This bath is small, but it is full of decorating options! :)
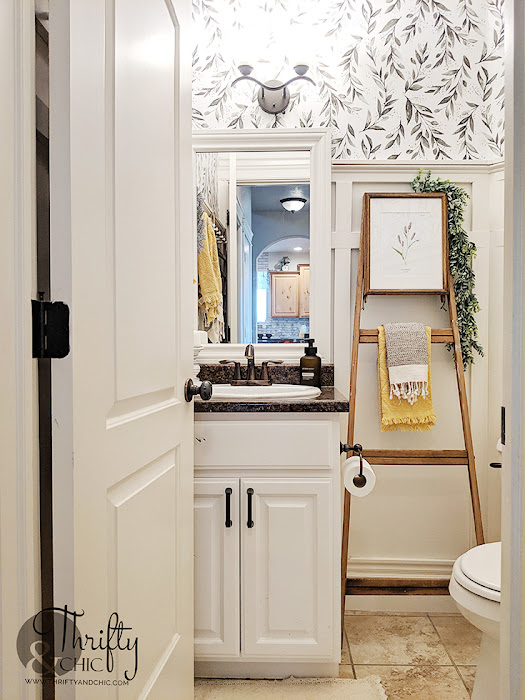
Another update was painting this vanity. I have natural knotty alder wood throughout my home, and have been wanting to paint the cabinets for years. My husband pretty much forbids it in my kitchen, so while he was away for a week, I went and painted all the bathroom vanity cabinets white. It made such a difference! It has brightened everything up and has made me love my home even more. I know painting wood isn't for everyone, but I have lived in this house for 13 years now, and have hated the cabinets every day since. I want to live in a home that I love every aspect of, and I gave those dang cabinets 13 years, I can have them changed for the next 13 :)
Here's the before again of this same angle from above:
Oh, and here's the other mirror angle before the frame:I feel like I've been updating this bathroom for the past 6 months...slowly. One of the updates were these shaker pegs to hang the hand towels from.
...and of course, what ever other decor I want at the time :) This bath is small, but it is full of decorating options! :)
(little peak at what I'm been working on in my kitchen above :) )
And another before of this cabinet.
I'll do a full tutorial on how I painted these knotty alder cabinets when I share my master bathroom update soon.
And here's the after again!
Walking by this bathroom just makes my day now. It's the bathroom that you see from the main area of the house, and I'm not ashamed to keep the door opened any more! I have more fun updates using peel and stick wallpaper coming soon! I have a big thing happening in my kitchen using it....actually I'm using it in two places in there!
I never before thought I would be using wallpaper. If you had told me 20 years ago as I was helping my mom pull wallpaper off every square inch of her house, that I would eventually add some to my own house, I wouldn't have believed you. Thankfully, peel and stick wallpaper is now a thing and super easy to put up and take down! What do you think? Will wallpaper today age well? Or will I be cursing my younger self as I pull it off years later.
I have lots going on behind the scenes! Be sure to follow me on my social channels
Disclosure of Material Connection: Some of the links in the post above are “affiliate links.” This means if you click on the link and purchase the item, I will receive an affiliate commission. Regardless, I only recommend products or services I use personally and believe will add value to my readers. I am disclosing this in accordance with the Federal Trade Commission’s 16 CFR, Part 255: “Guides Concerning the Use of Endorsements and Testimonials in Advertising.”

