Painted Bathroom Vanity – Bathroom Makeover
Posted by admin on
Welcome back to the bathroom makeover series at Kristen’s house. If you missed the first post about the before and the plan for updating the bathroom just a little bit check that out HERE.
But here is a look at the “Before” again.
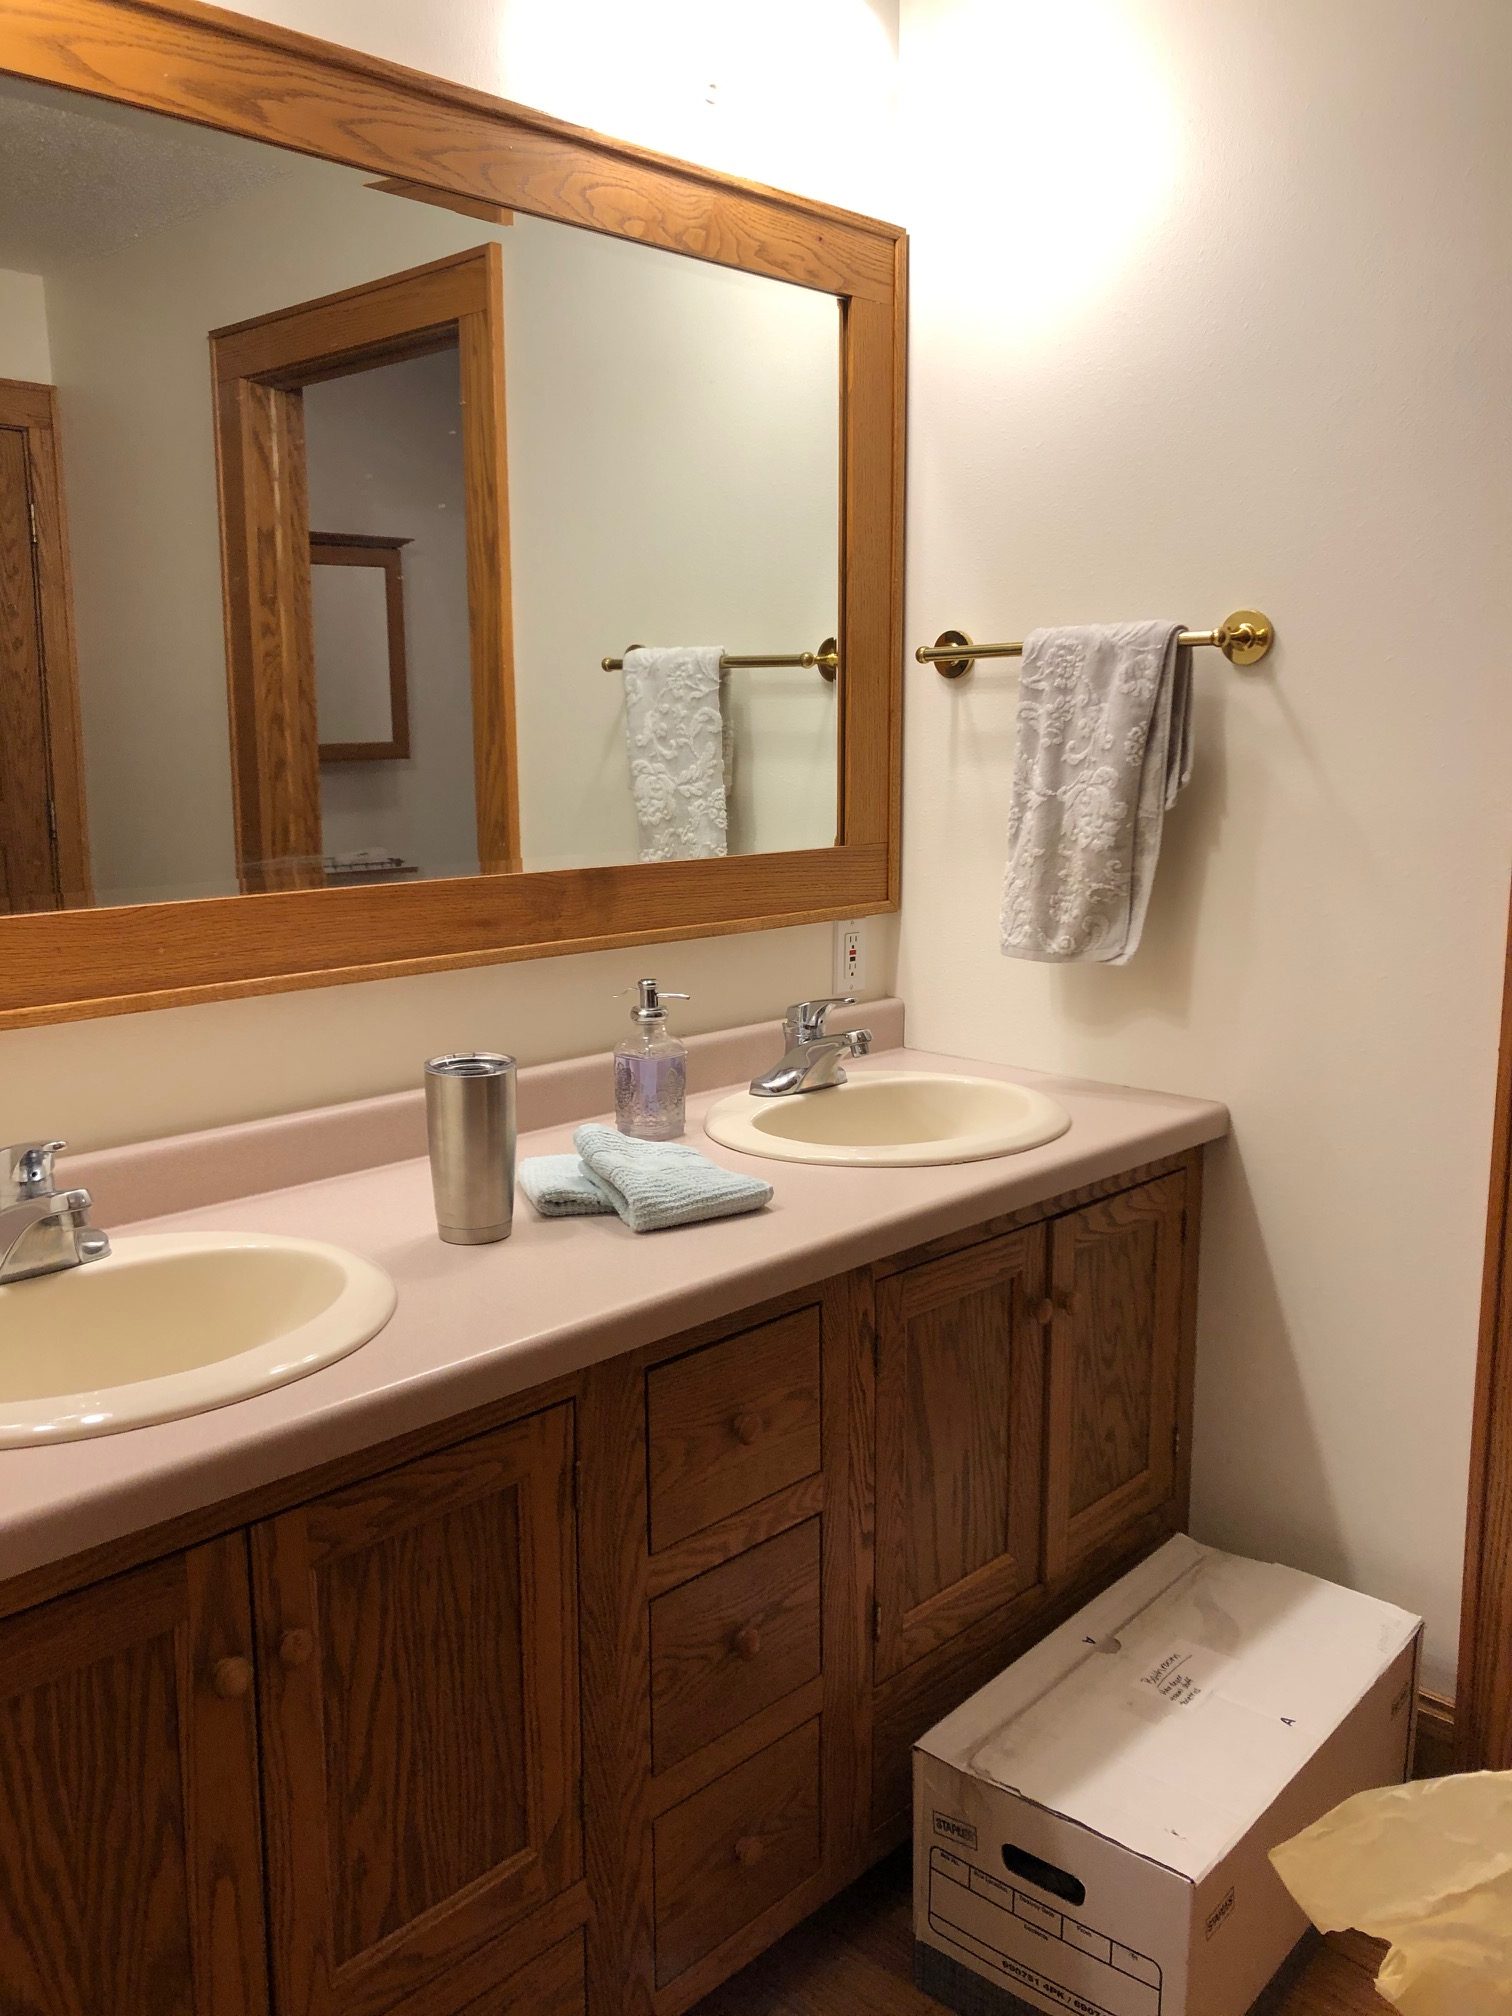
I was able to get the entire vanity painted in just a couple days. It was a very easy paint job and really only took a couple days because I worked in between doing other things with my family. The steps to painting cabinets are pretty simple yet very important. It is crucial to prep well when painting any kind of cabinets in your home to get the best finish possible. Below is a quick break down of how we always paint cabinets. (For a more in-depth post on proper prep see HERE)
Step 1: Always label your doors and drawers.
Step 2: Remove doors and drawers
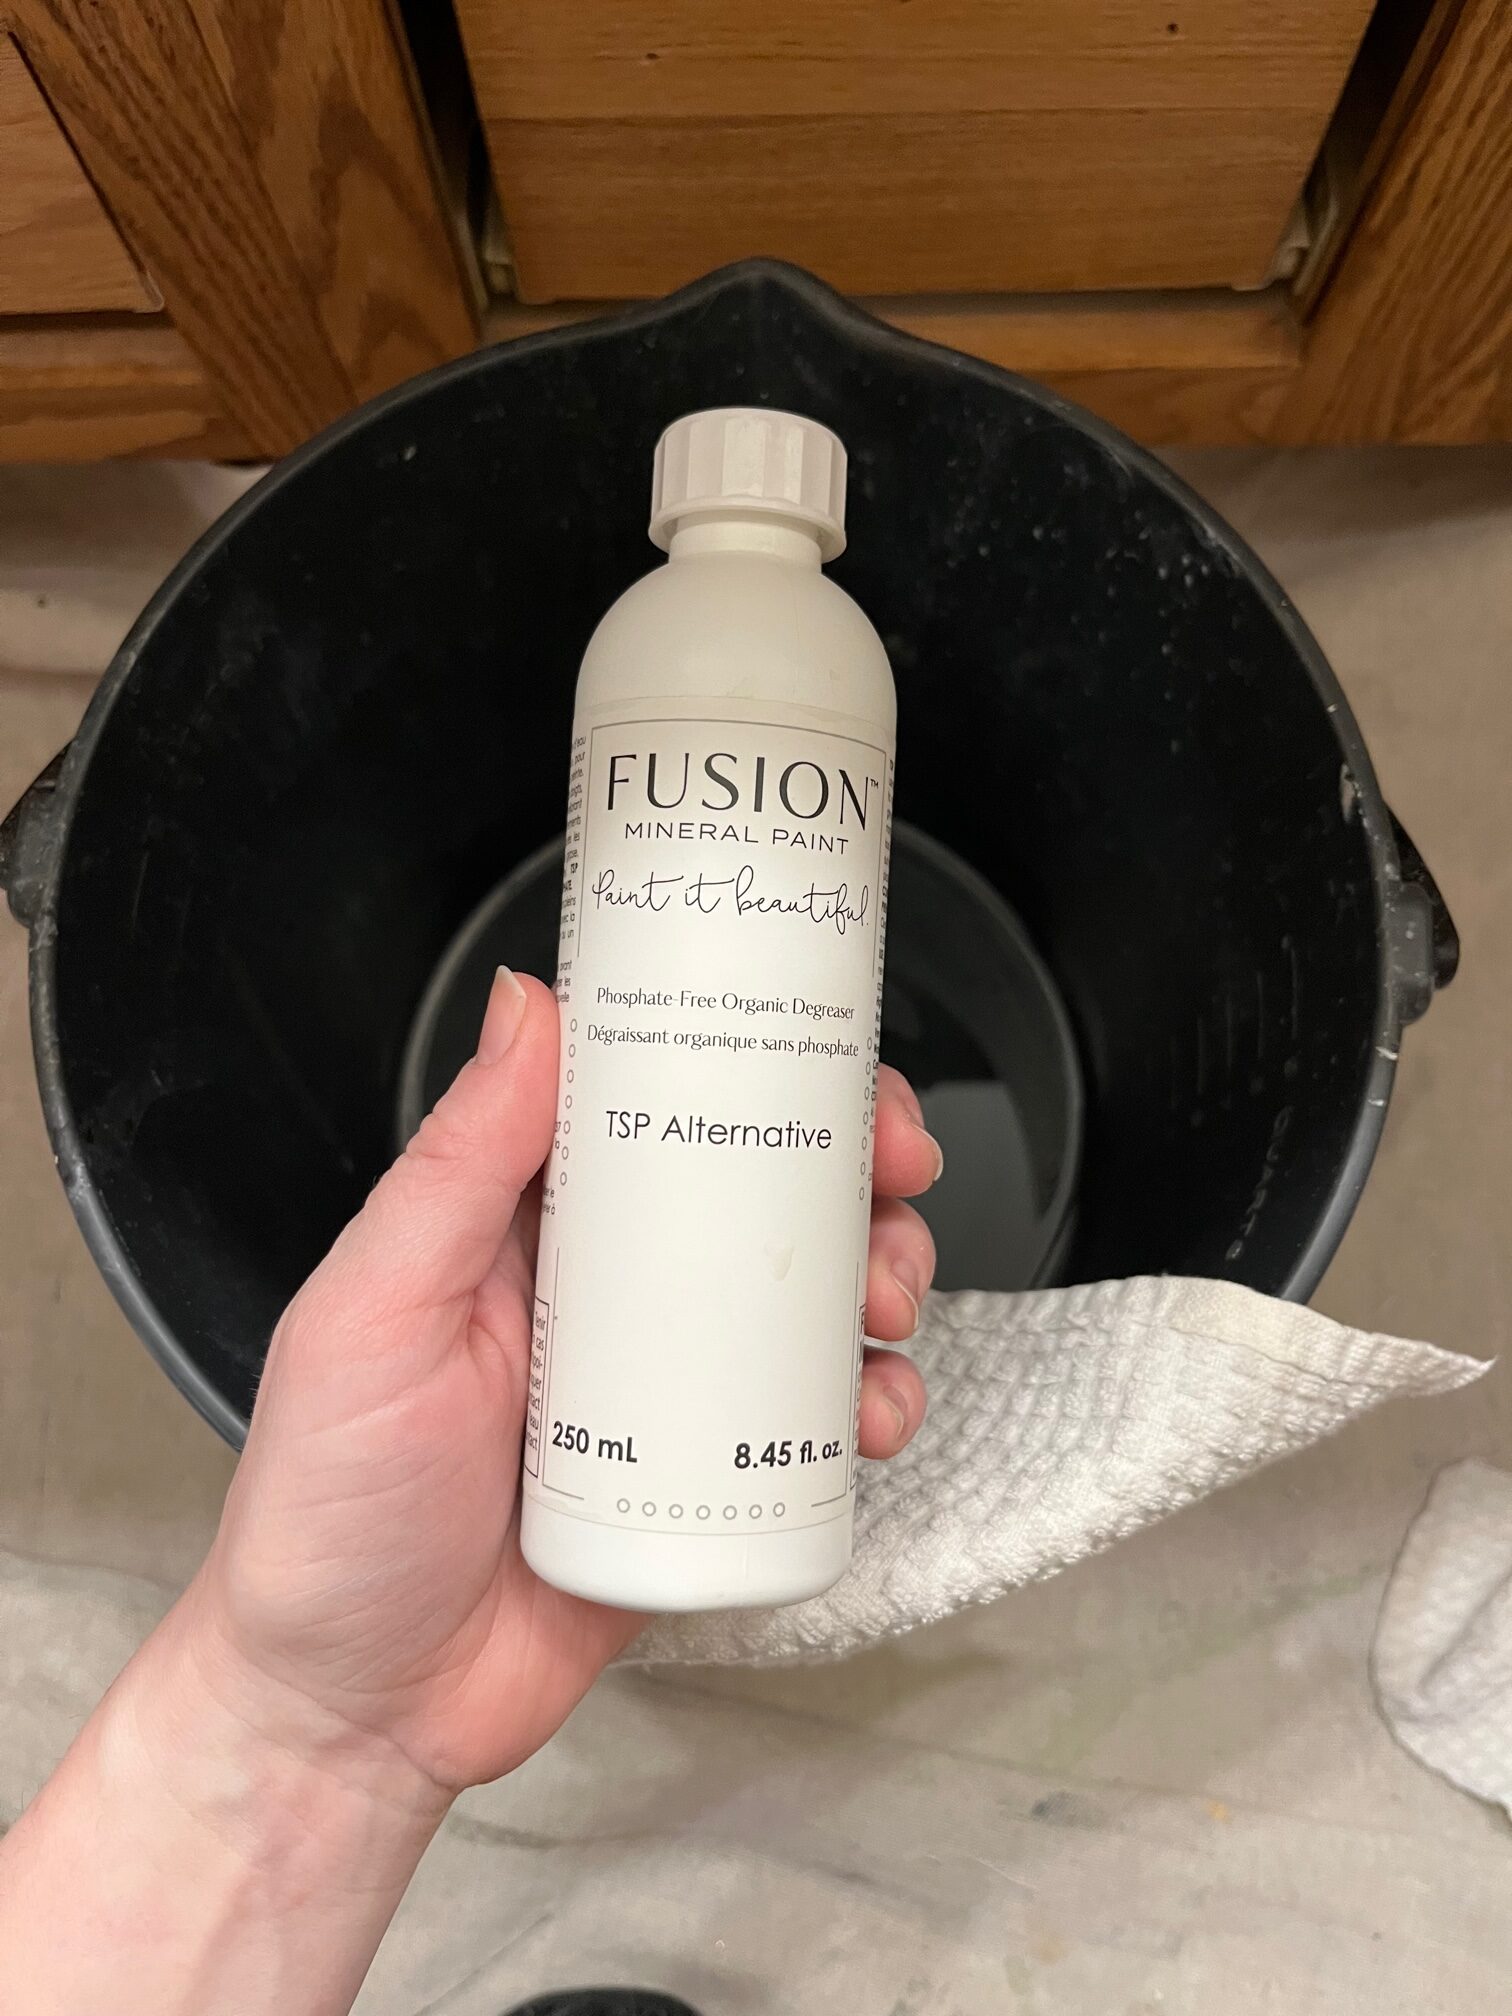
Step 3: Properly clean all surfaces that will be painted. We use Fusion’s TSP Alternative
Step 4: We always wipe down with Fusion’s Odorless Solvent after removing any dust or dirt just to be sure all oils are removed. This is especially important in a kitchen as cooking spills happen often, but oils from fingertips can also affect a paint job.
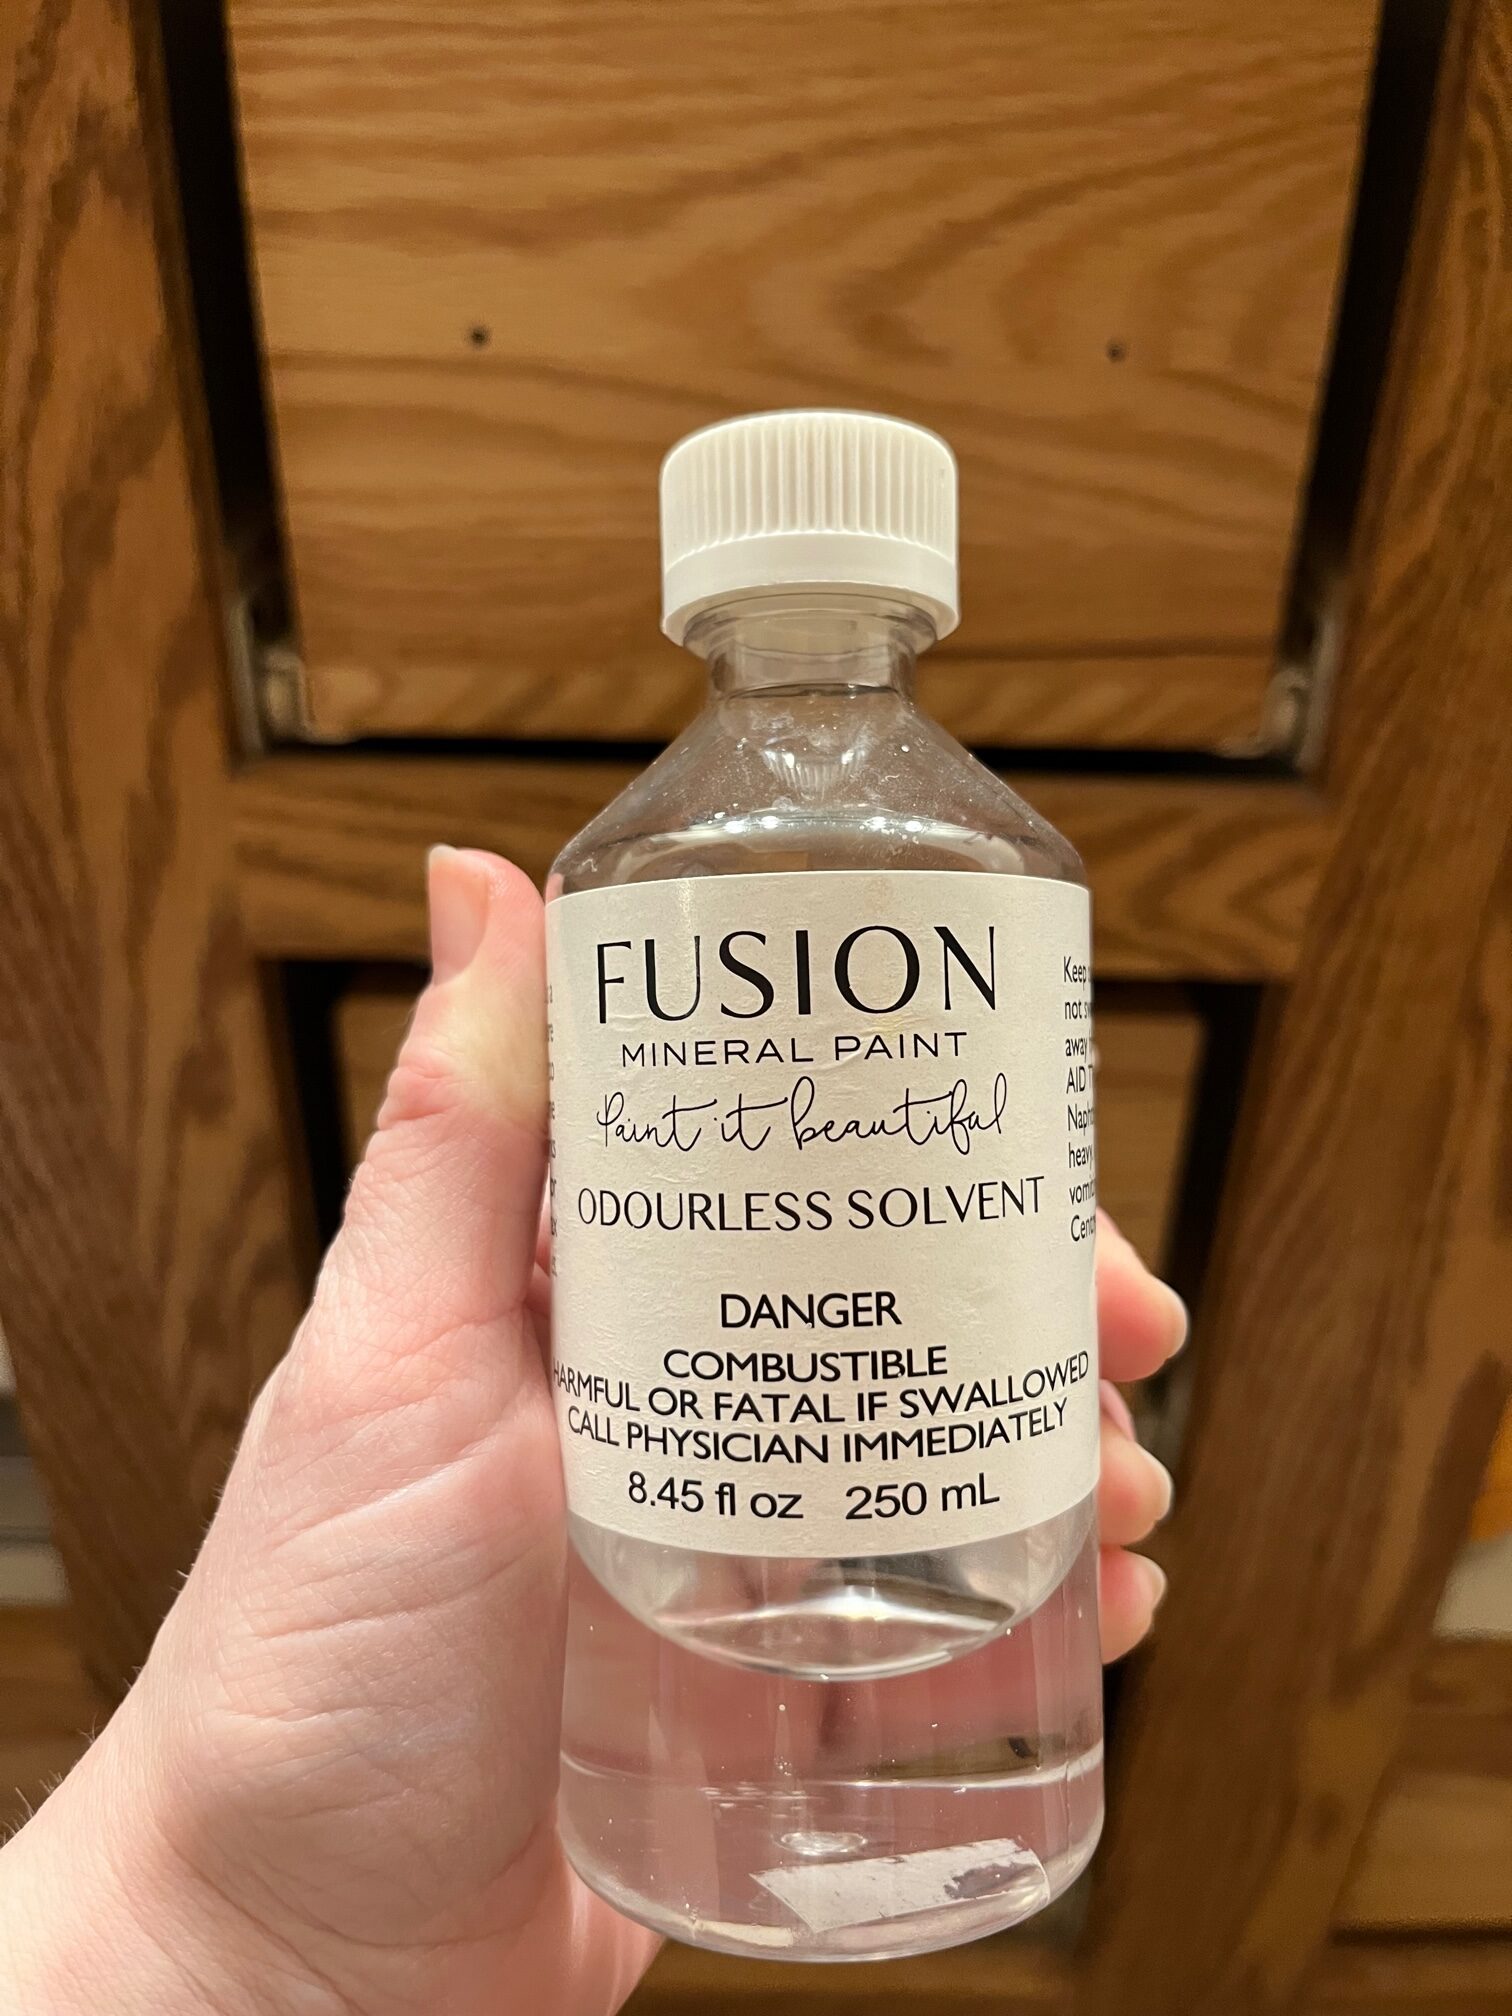
Step 5: Wipe off Odorless Solvent with TSP rag.
Step 6: Scuff Sand with grit 120-220. A quick swipe over the surface to create some teeth for the paint to adhere to – not full removal of prior finish. Then remove any dust.
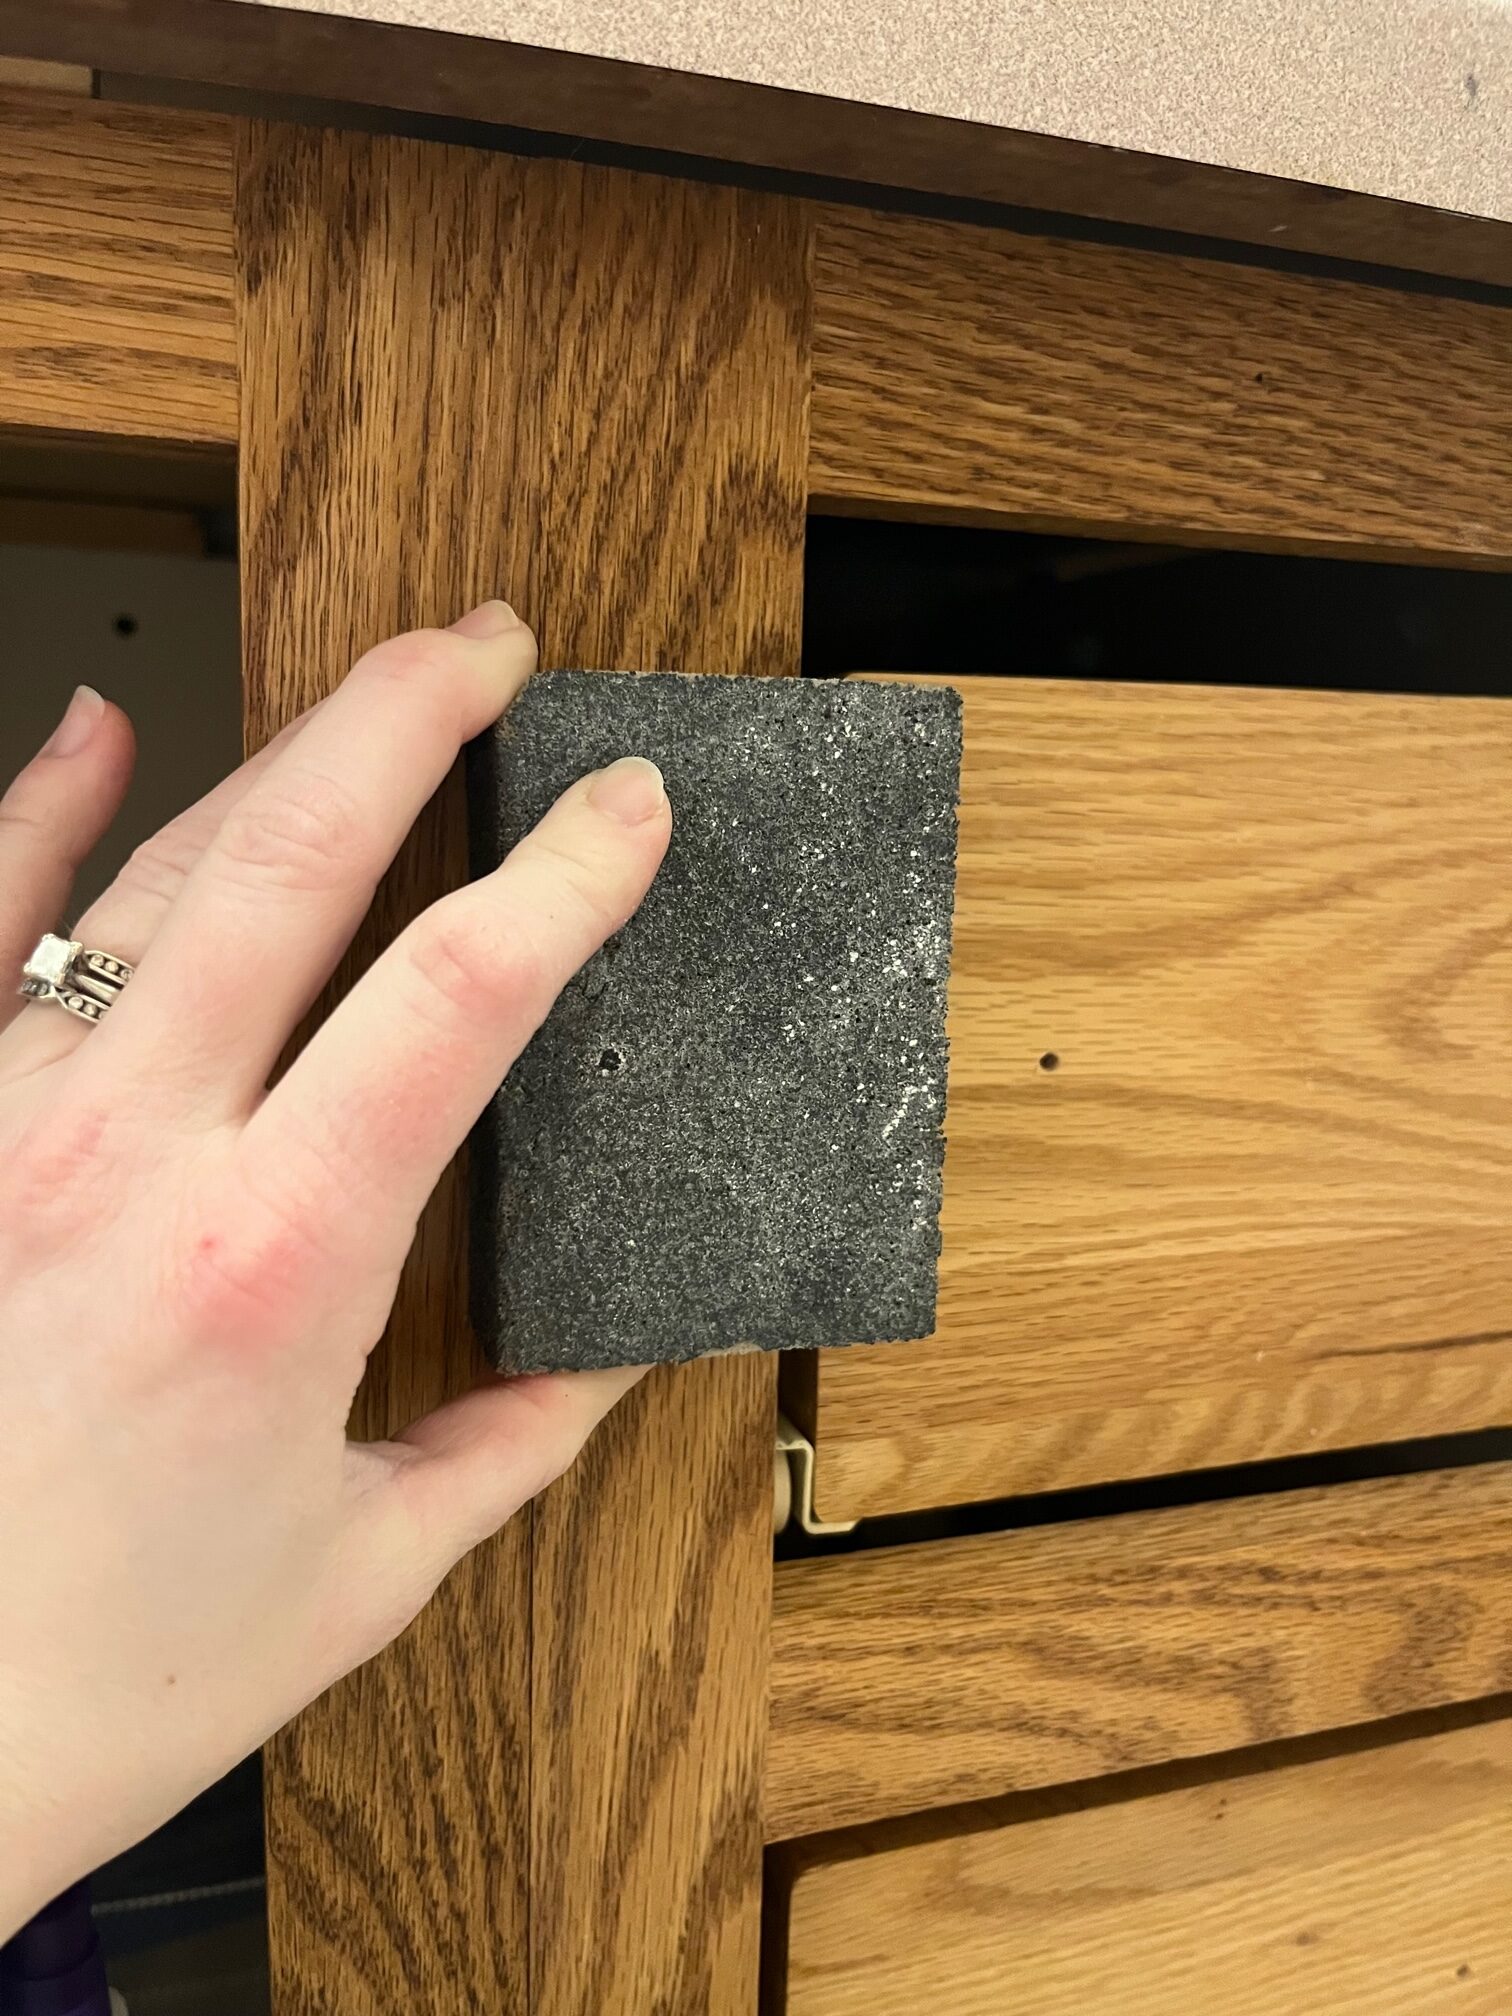
Step 7: (Optional) Prime. We prime in kitchens and for our client’s, but for this vanity I did not prime as I have painted one set of oak cabinets in my home already and the paint adhered wonderfully.
Step 8: Paint! We always use Fusion Mineral Paint when we paint cabinets as it is so easy to work with, comes with a built-in-top coat and goes on SO incredibly smoothly. It really looks like the paint is integrated into the cabinets instead of sitting on top like nail polish. My husband even made a comment on how this vanity looks like a factory finish!
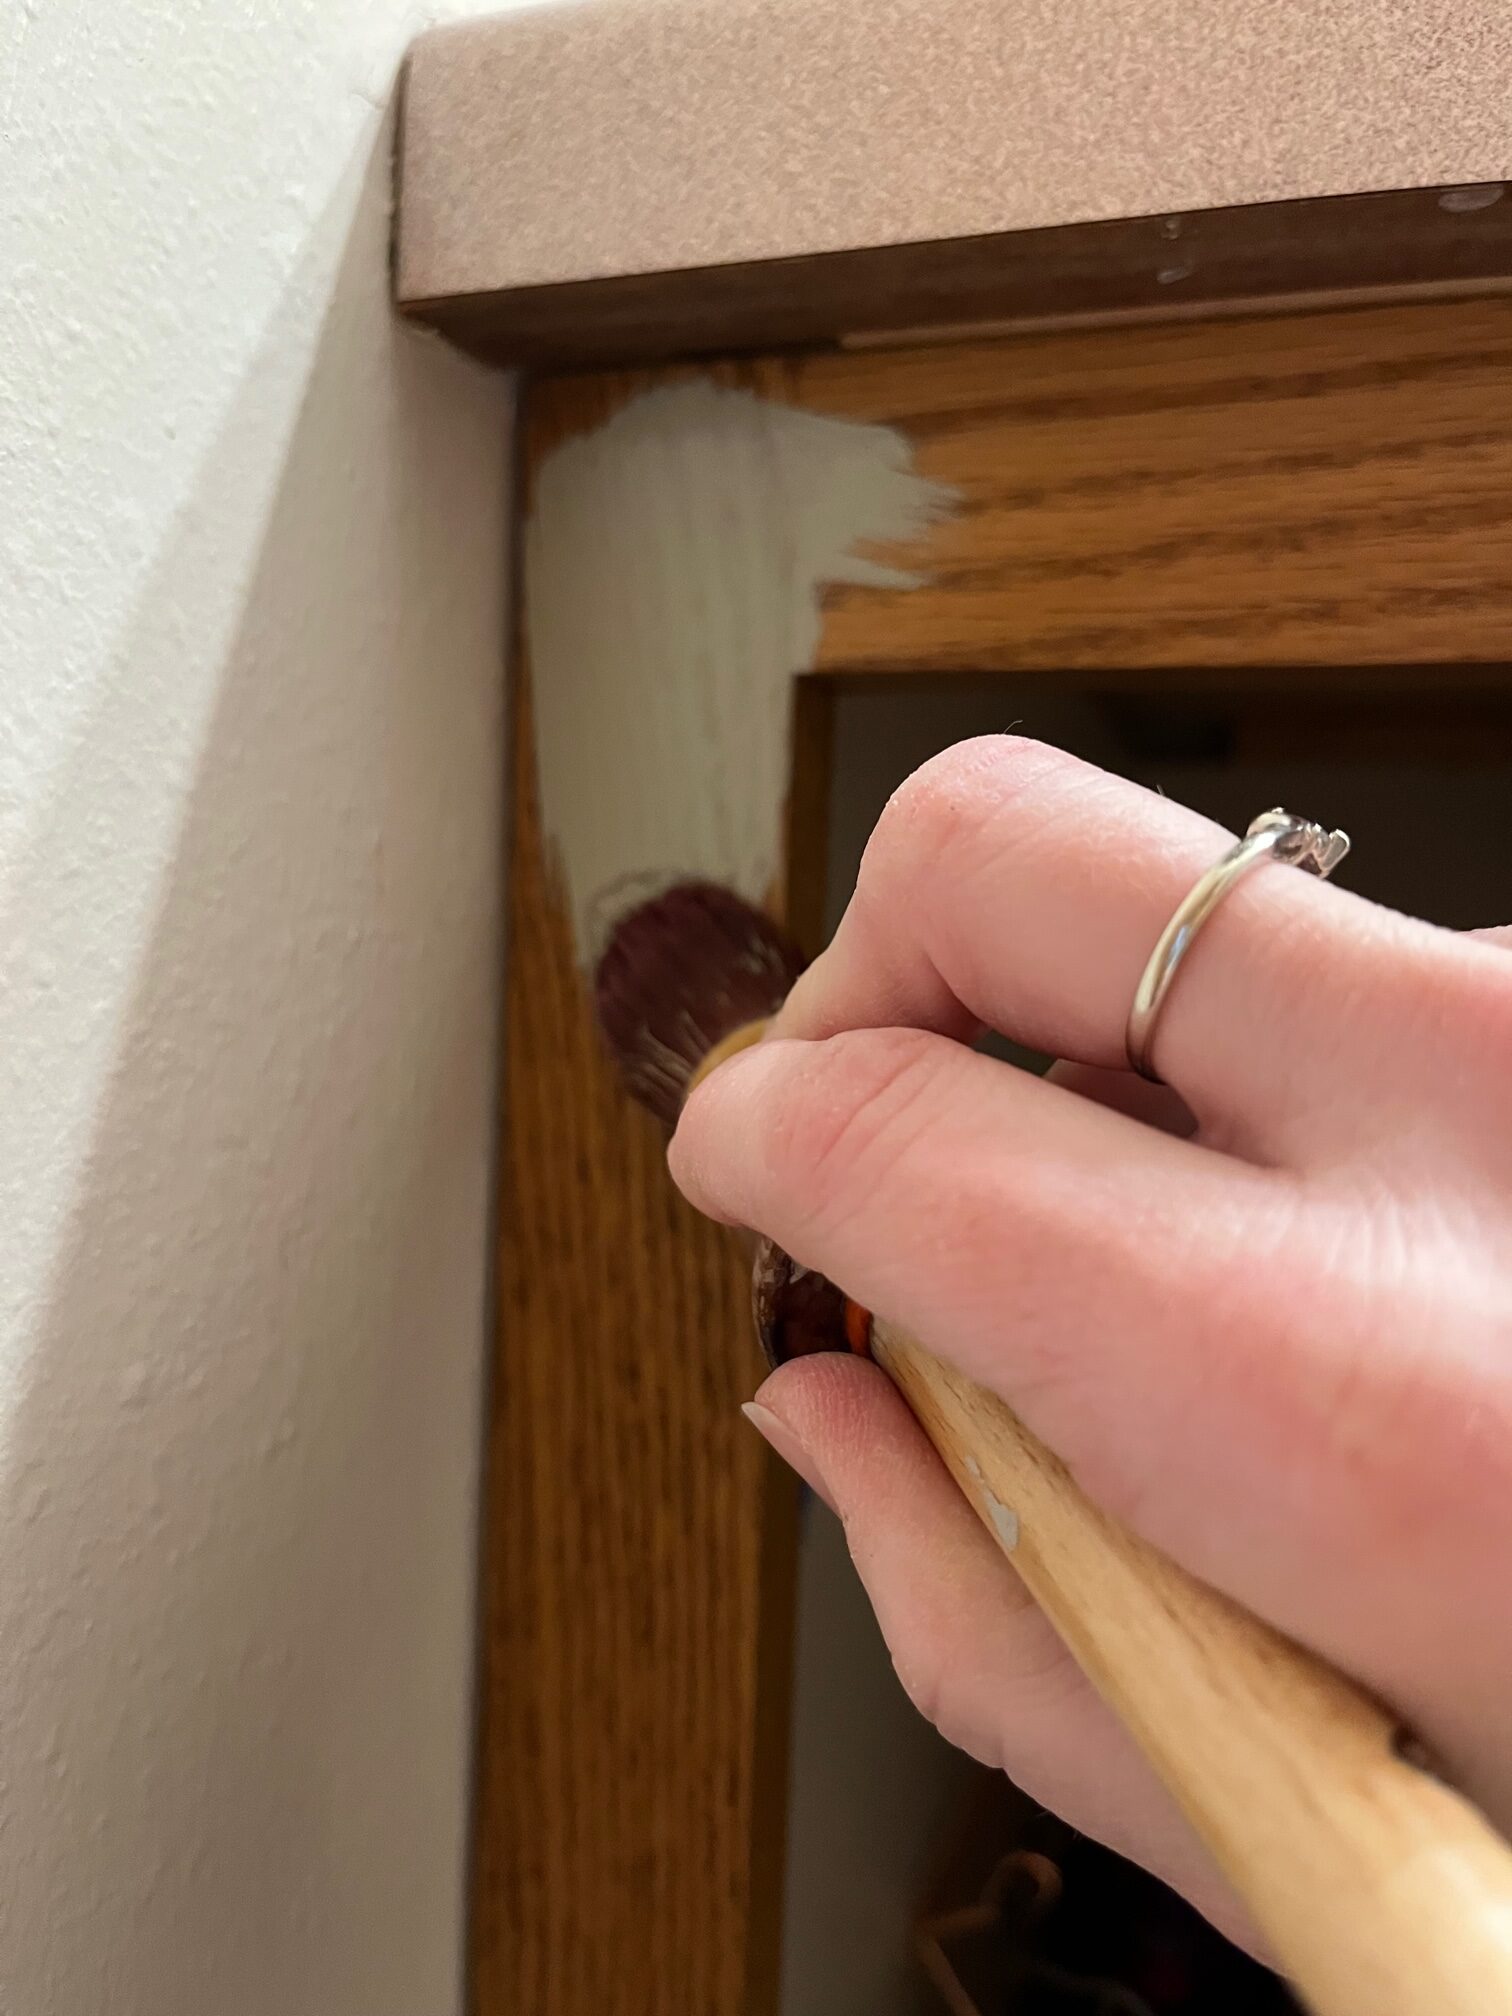
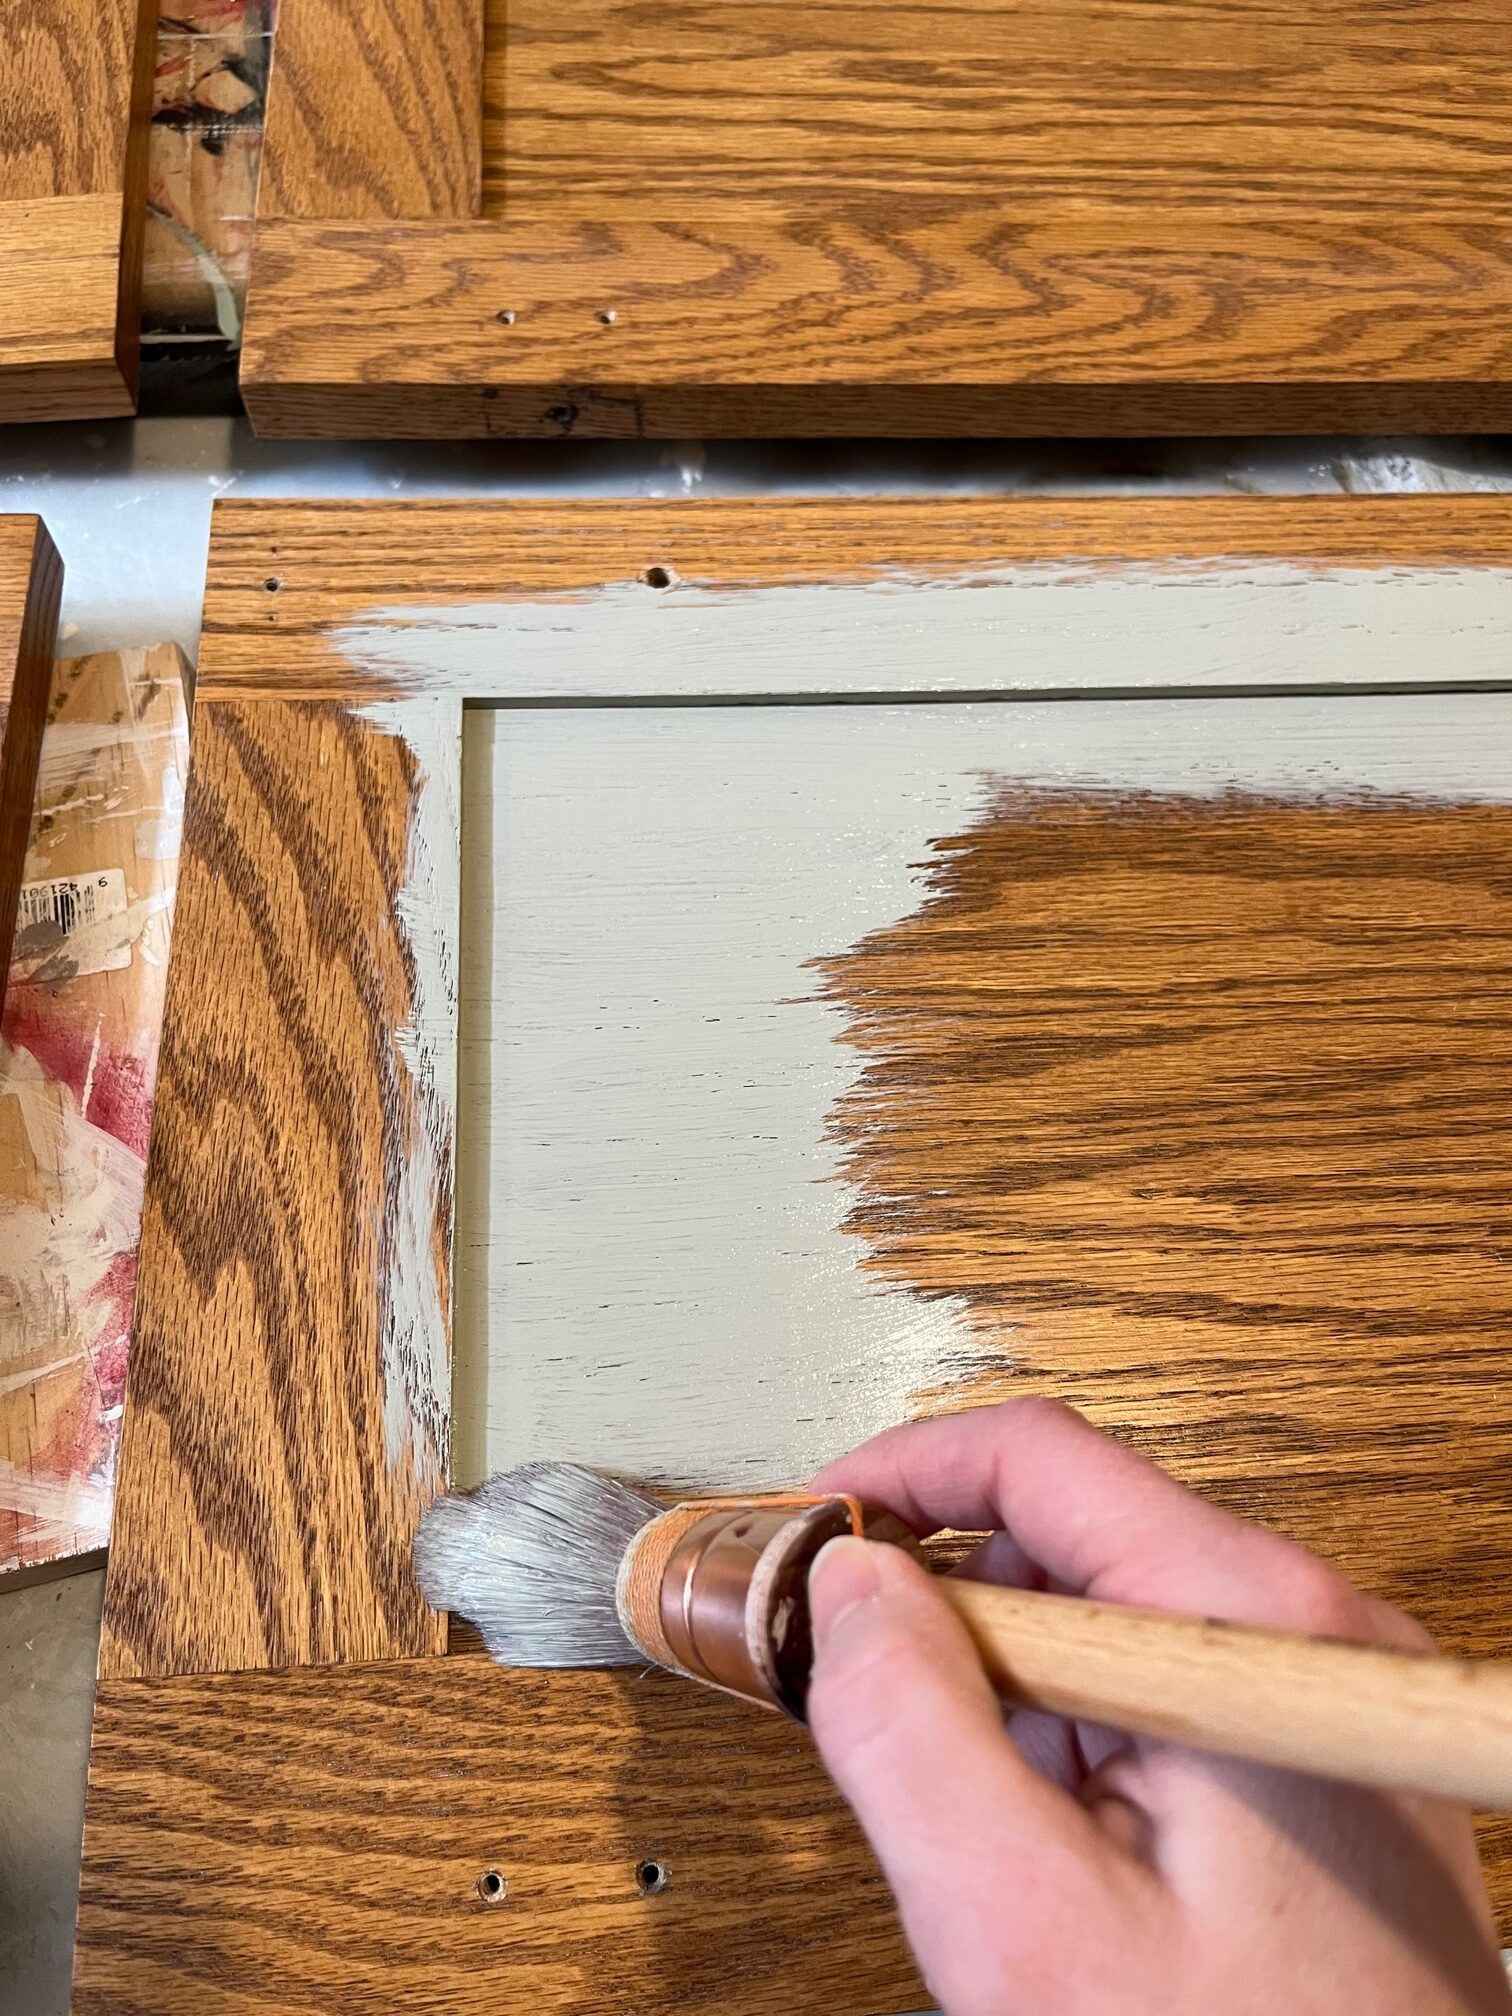
Step 9: (Also Optional) Seal. As mentioned above you don’t have to seal Fusion as it comes with a built-in-topcoat but some people prefer a slight sheen to their cabinets and sealant will just help to give it even greater durability as well as better wipeability. I did not seal this vanity yet as I hadn’t decided if I needed to! It is our most used bathroom so I might end up doing it once the countertop goes in. That way I will be able to easily touch up any paint if needed.
It seems like a lot of steps when I look at what I just wrote, however, I had all that prep work done and my first coat of paint on in about an hour. It goes pretty quickly on something this size.
A lot of people ask what the best tool for painting cabinets is and we 100% recommend the Staalmeester paint brushes. They are seriously the best for getting the smoothest application. We typically use the Pointed Sash but the flat brushes would be great too. You can brush every inch of the cabinets or use a roller in tandem with trimming out the edges with the brush. For example, you could roll any long or large areas or the cabinet doors after trimming out.
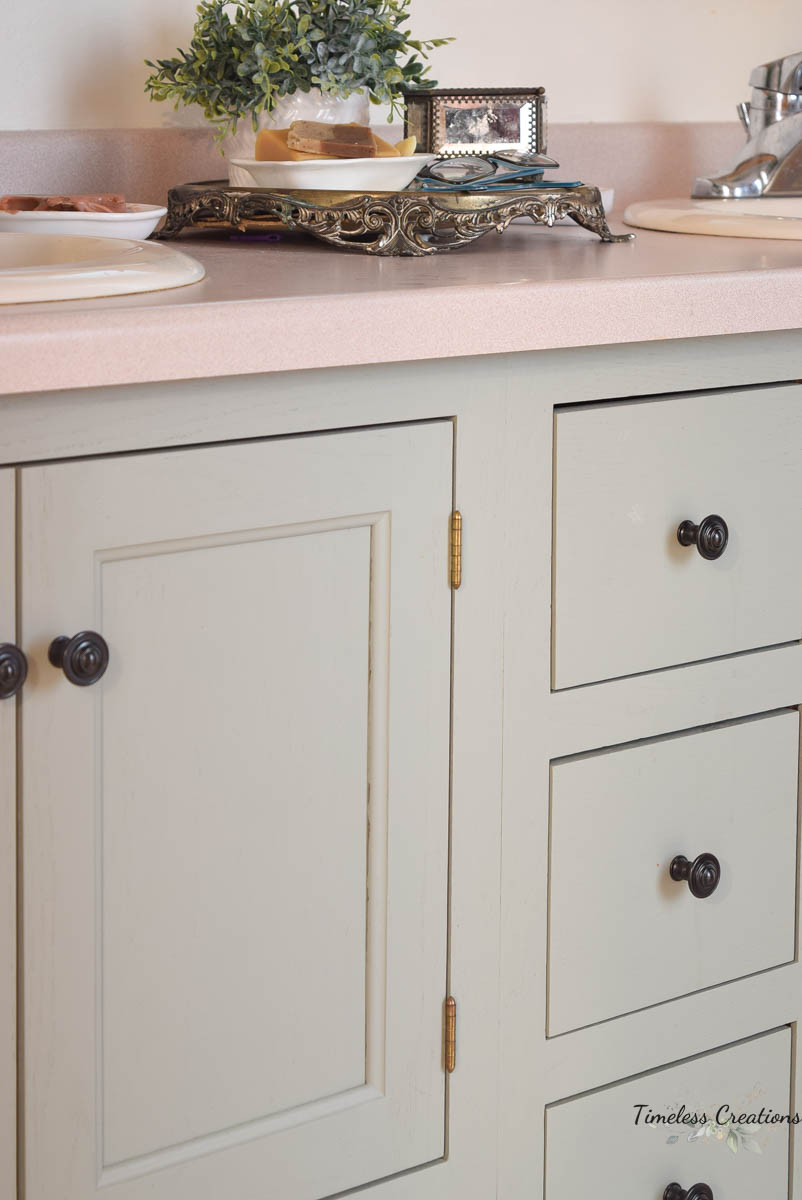
I did change out the hardware on this vanity to some lovely oil-rubbed bronze knobs we had at our Boutique. They tie in with all of the fixtures in here.
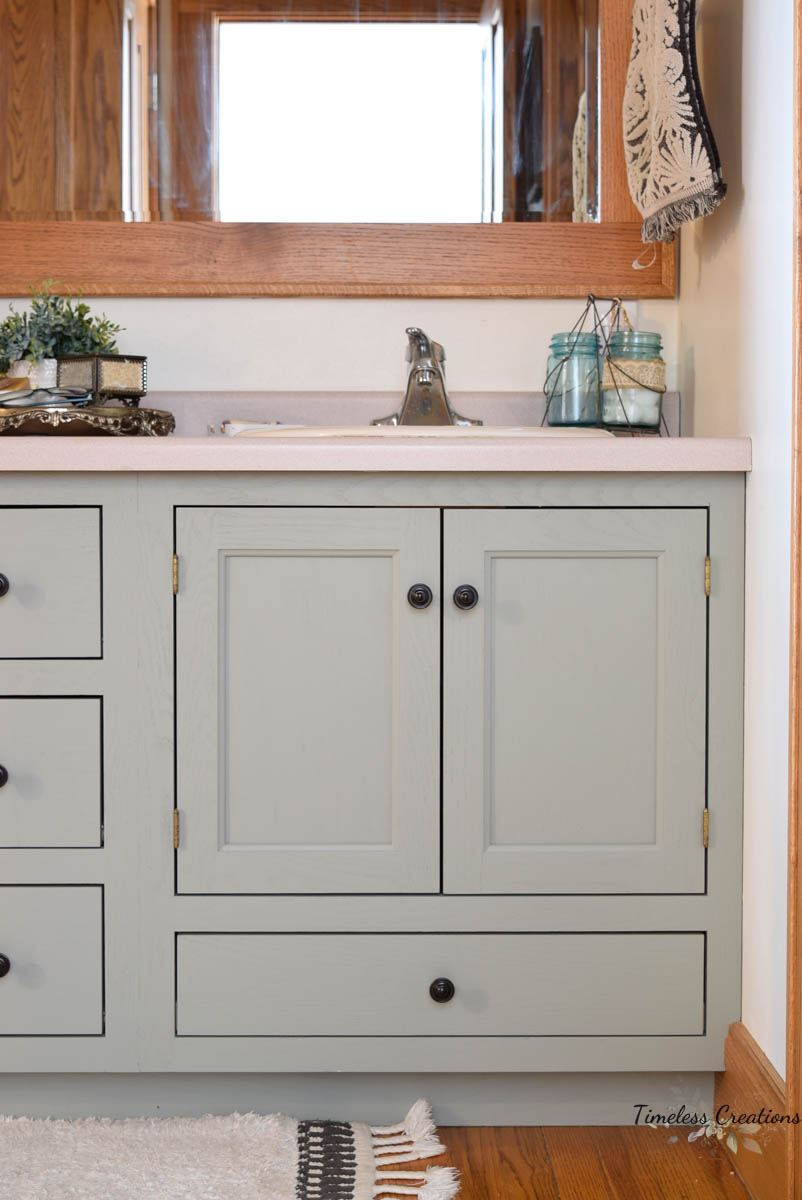
And check it out! I am loving the serene tone of Bellwood in here and am even thinking of repainting the medicine cabinet above the toilet on the other side of the wall. I just think it could use more of that lovely shade.
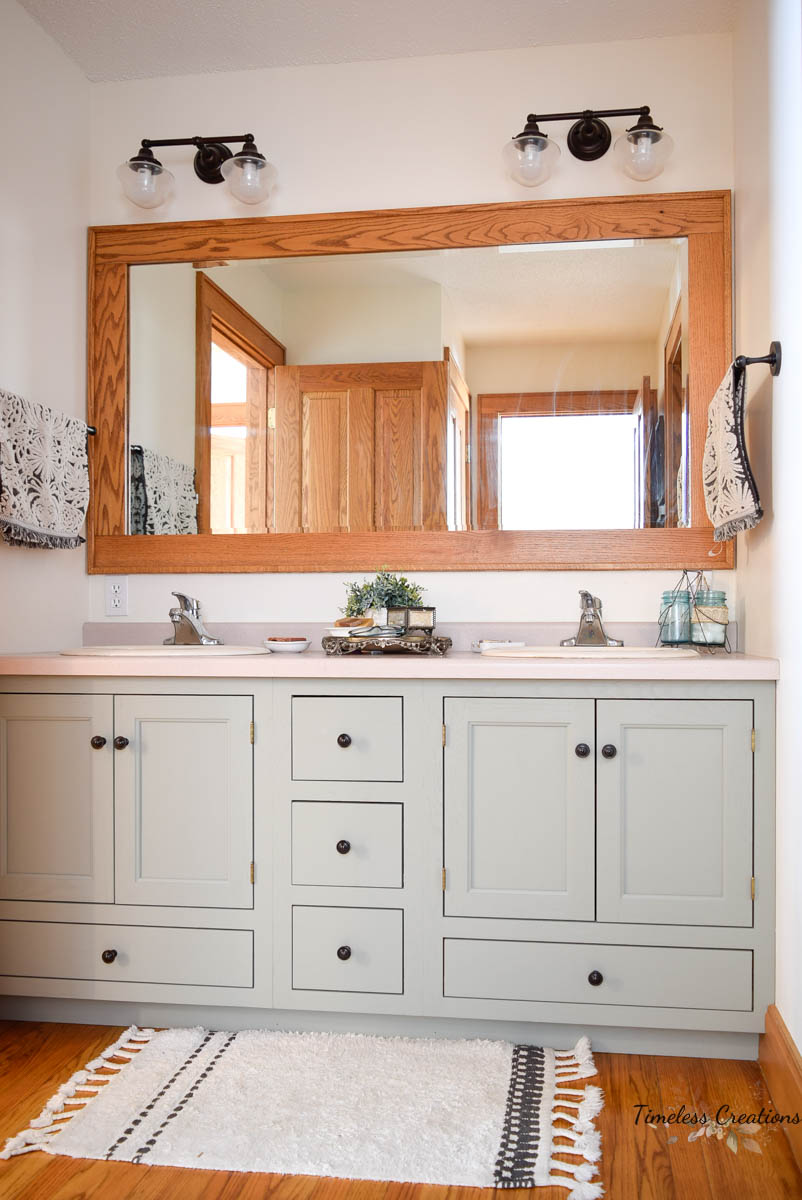
Again, painting seemed to bring out the pinkish tones of the countertop, but it’s not quite as pink in person as it seems in the photos. My laundry room countertop looked much worse once I painted the cabinets white in there!
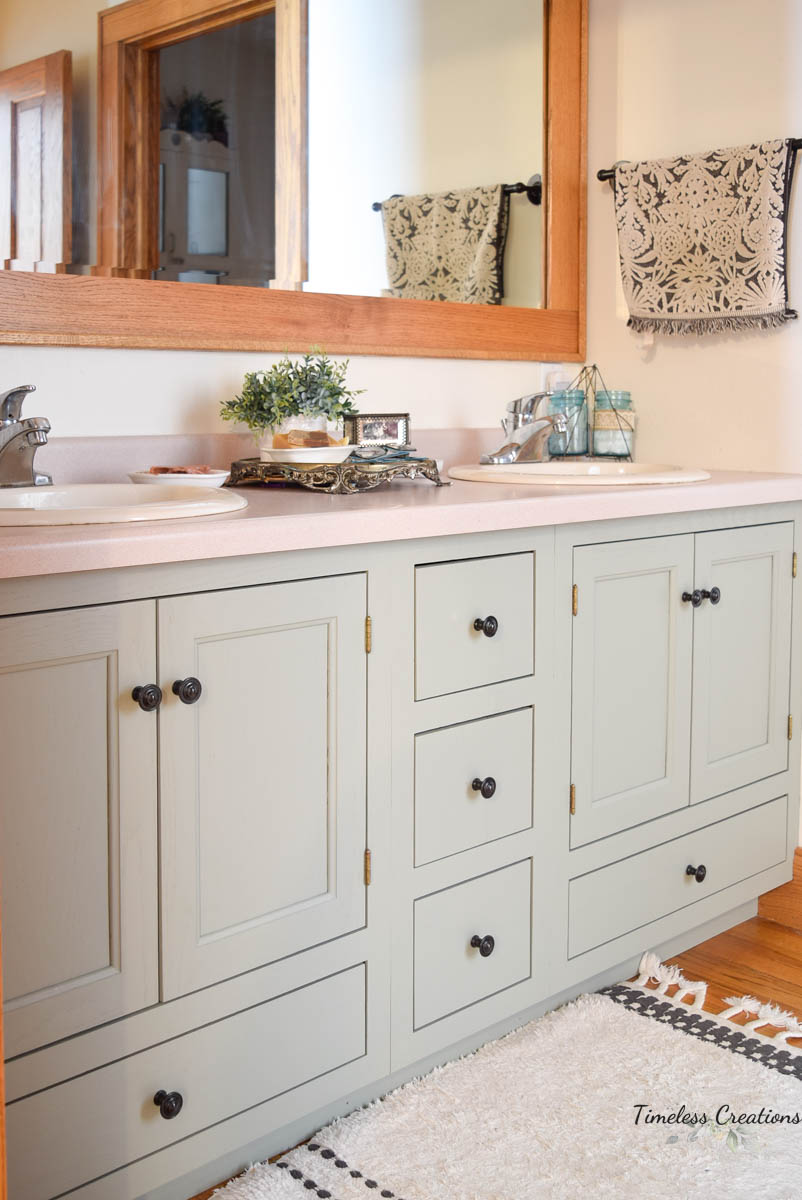
I really would like to update this counter though and still haven’t decided if we do both the bathroom and the kitchen or just the bathroom at this time. We are still looking at the pro’s and con’s of that. In the meantime I will work on painting the medicine cabinet as well as figuring out the mirror. I did find some scrap trim so I can experiment on what I would like to do for the oak around the mirror!
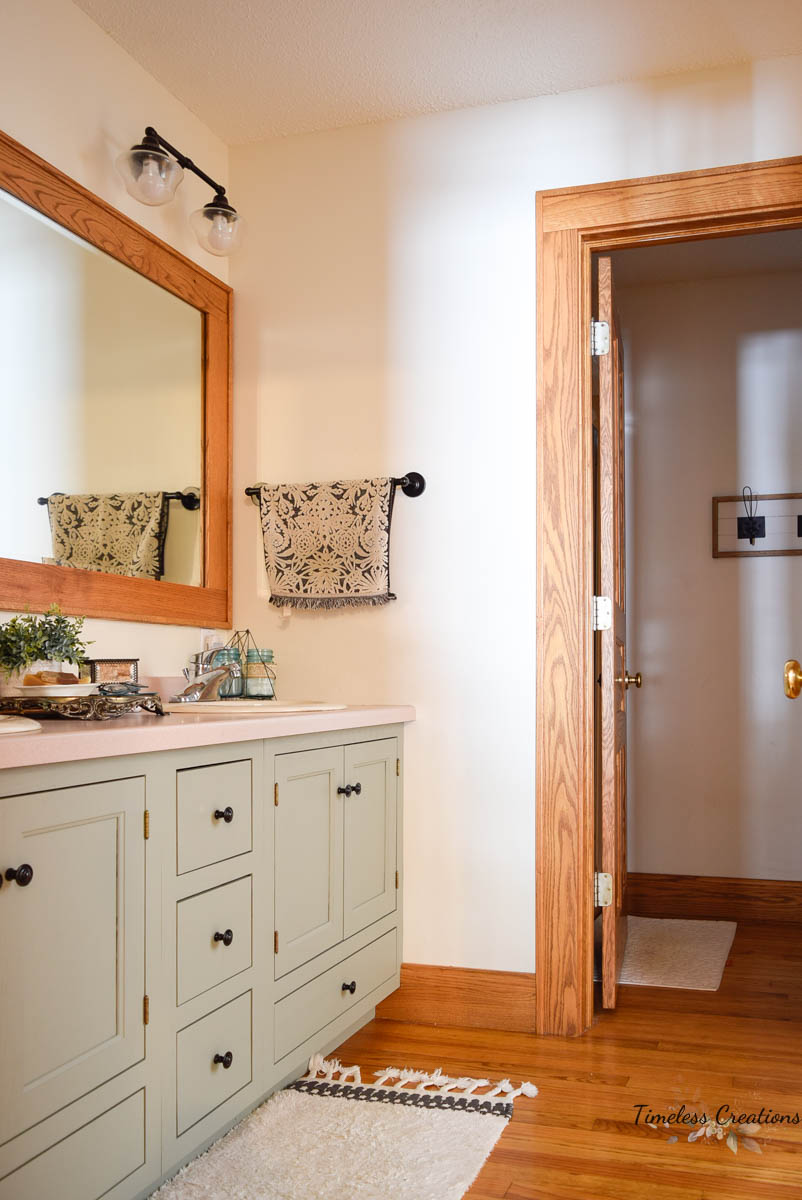
This photo above shares a peek into the space that holds the shower and toilet. Very small in there, but it is nice to have that as an option.
Well hopefully I can get some more work done in here very soon. It really isn’t hard what needs to come next, I just have to find the time to do it! Sometimes our own home and furniture projects really get put on the back burner – but that’s alright, it will come!
Products Used: Fusion TSP / Fusion Odorless Solvent / Fusion Paint “Bellwood” / Staalmeester Pointed Sash #14 / Sand Paper / Optional: Small Roller / Primer / Sealant / Sealer Sponge

