I Chose Materials for My $4K Kitchen Reno That I Can Reuse When I Eventually Do a Big Gut
Posted by admin on
We may earn revenue from the products available on this page and participate in affiliate programs.
In Renovator’s Notebook, homeowners open up about the nitty-gritty of their remodels: How long it really took; how much it actually cost; what went horribly wrong; and what went wonderfully, serendipitously, it’s-all-worth-it-in-the-end right. For more tips to nail your next project, follow @reno_notebook.
Square footage: 200
Date built: 1980s
Top priority: Transform the kitchen and breakfast nook into a space everyone can love and enjoy until the day comes to really renovate it.
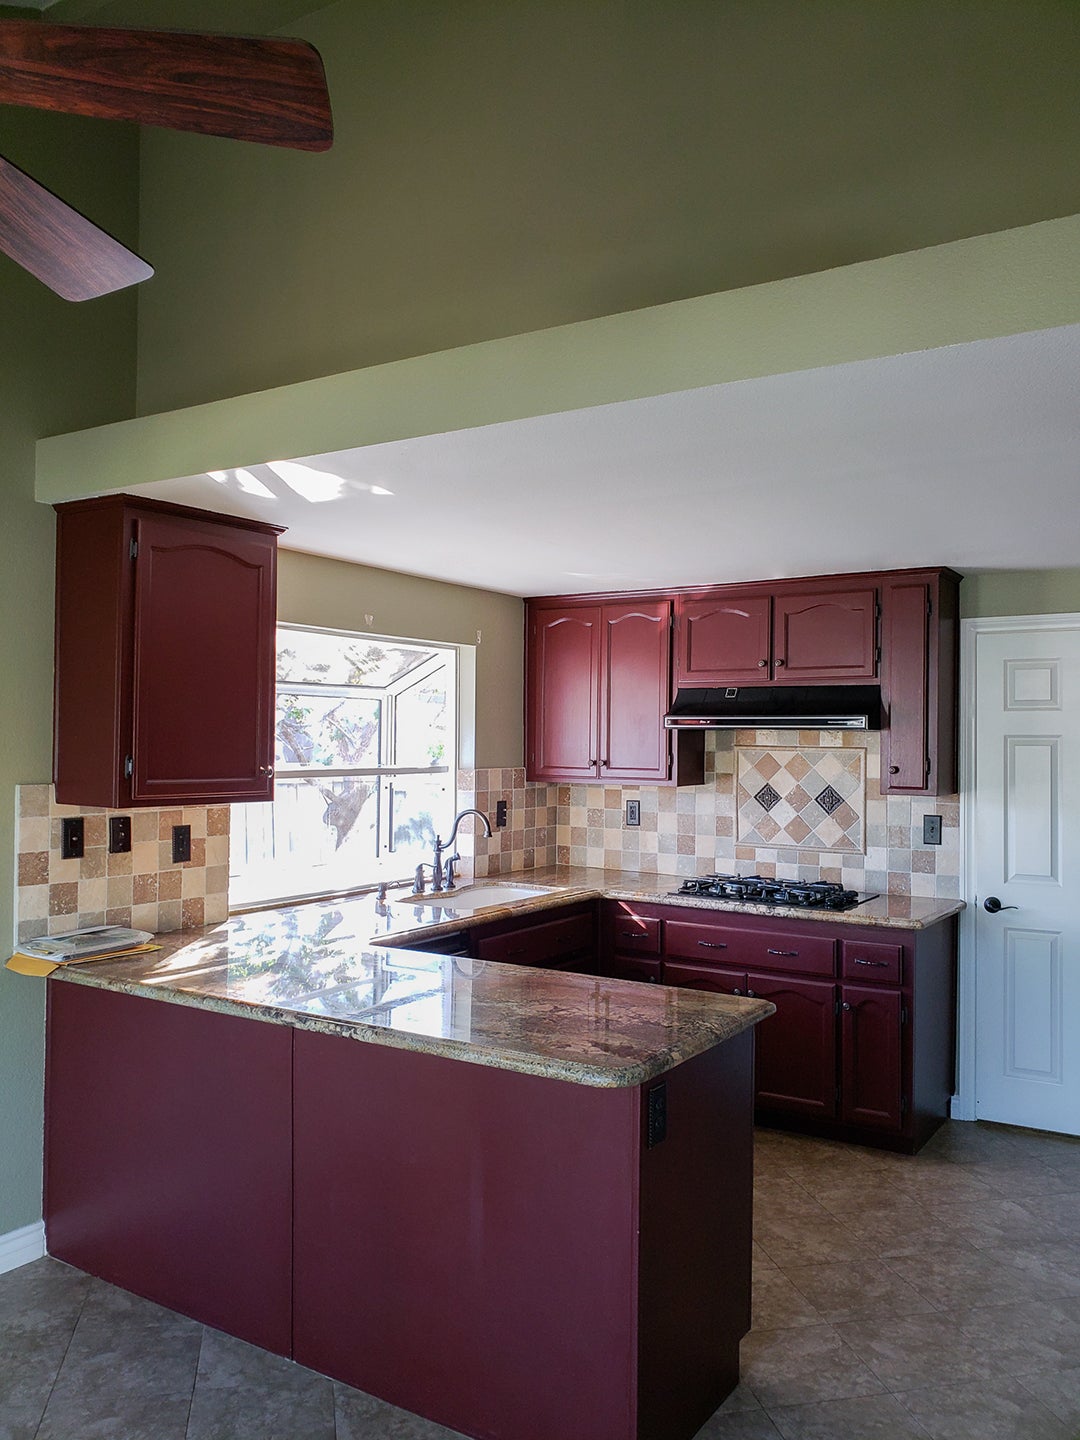
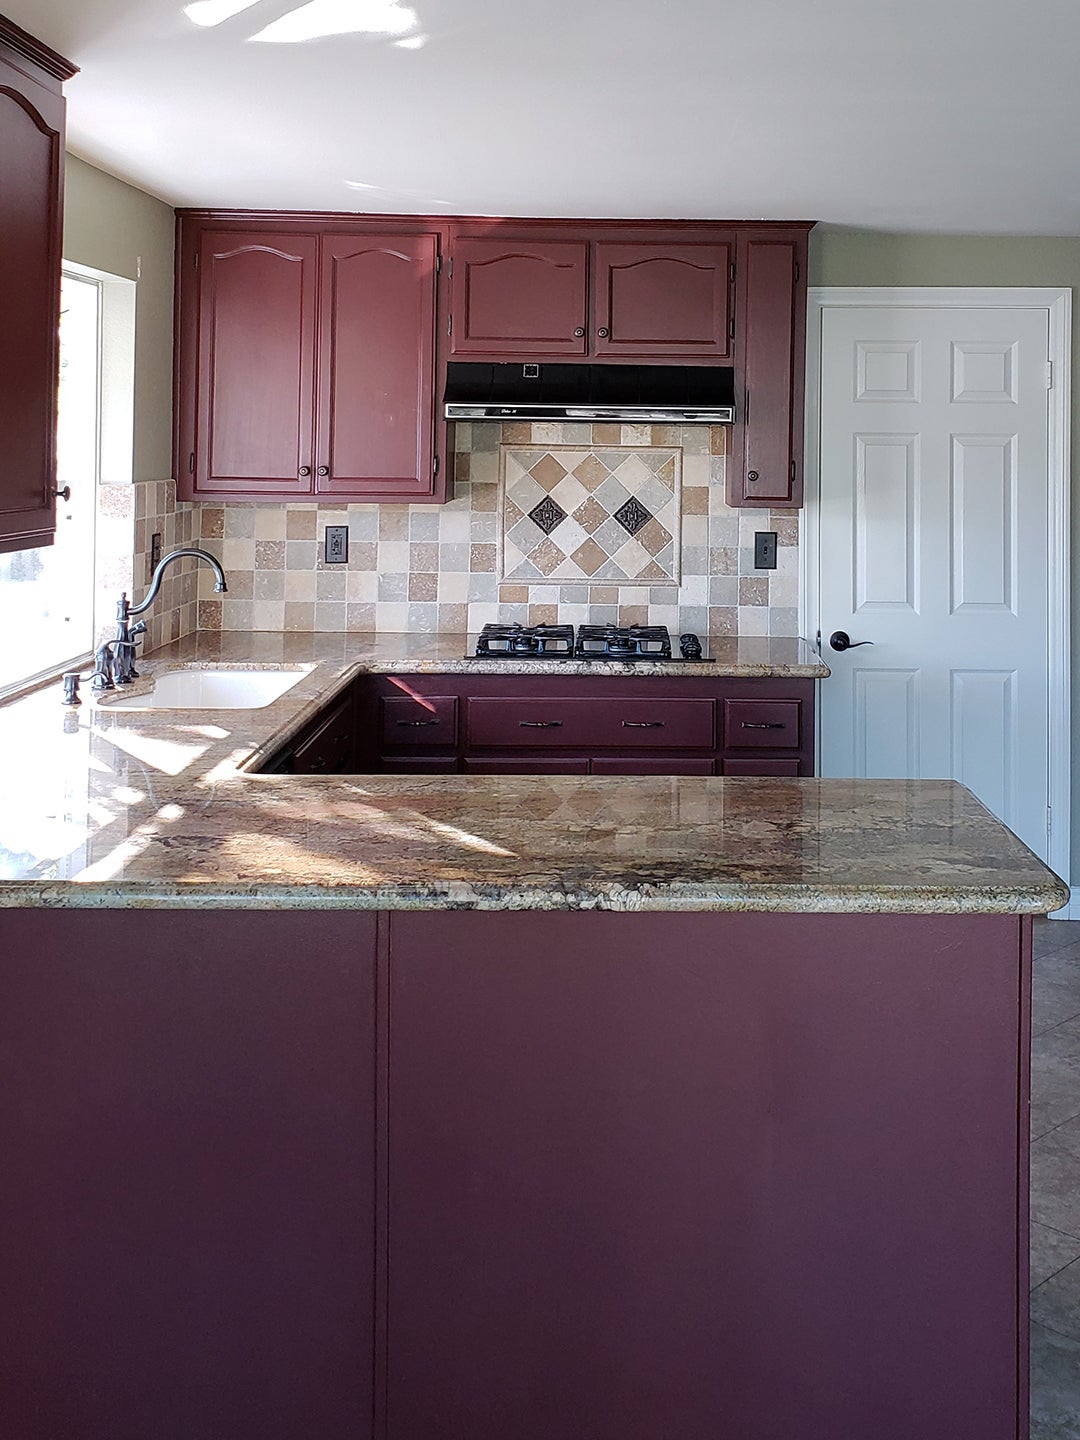
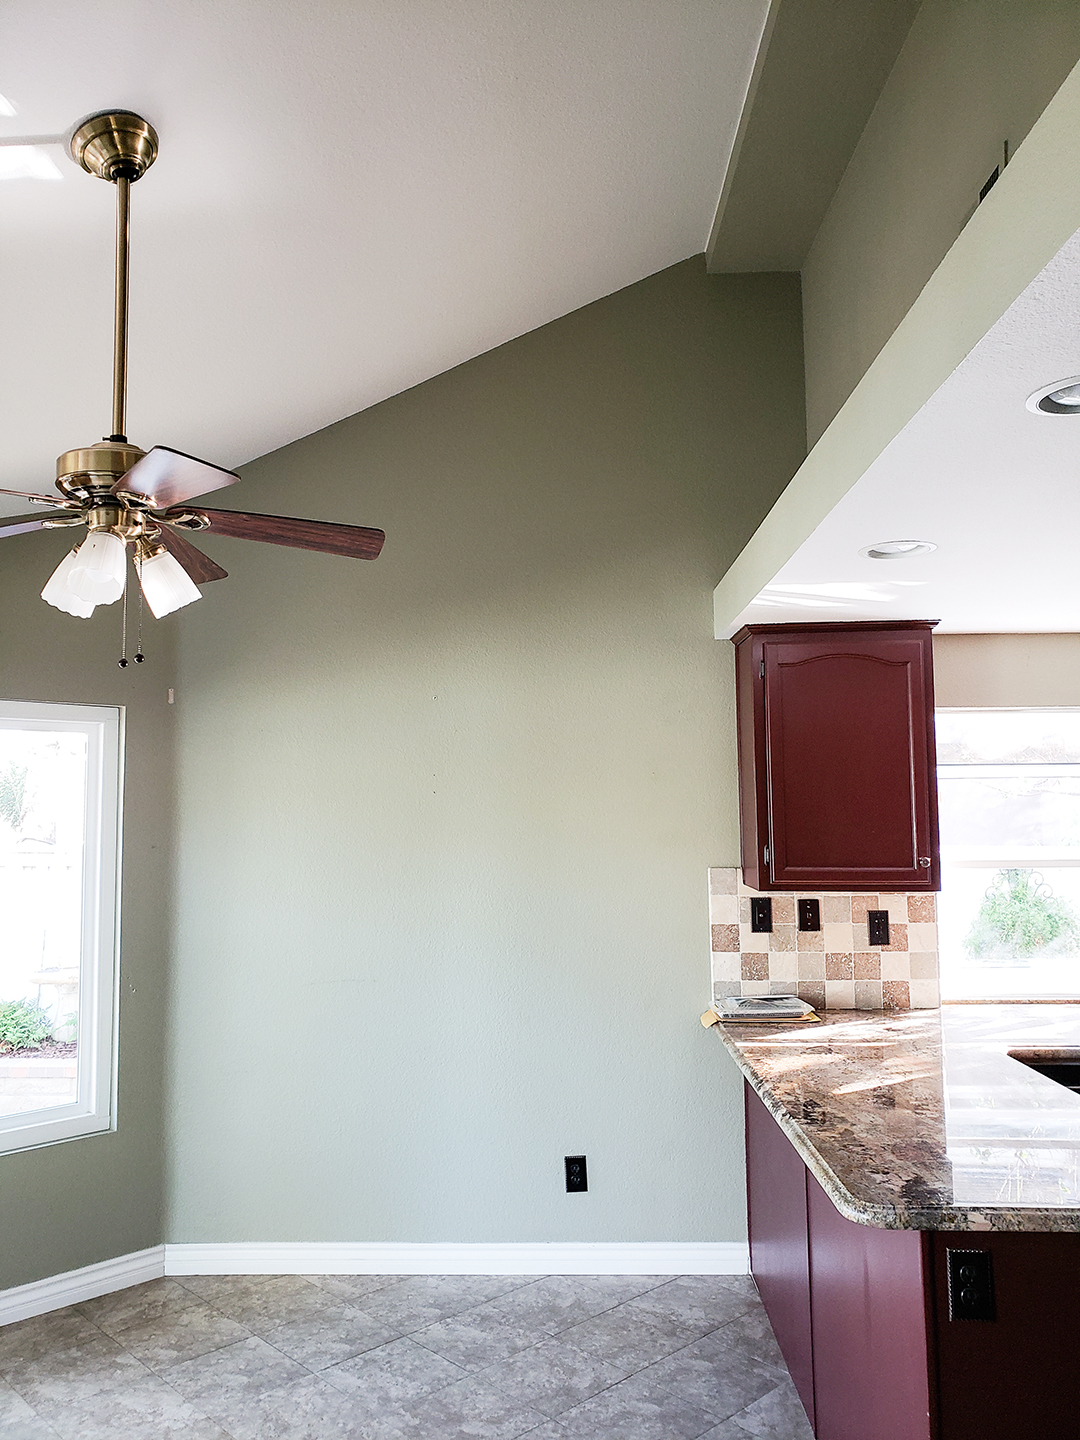
Wildflower Home blogger and designer Marynn Udvarhelyi has a confession: She’s never been a “the kitchen is the heart of the home” kind of person. “Yes, people gather in our kitchen, but I actually prefer the living room,” says Udvarhelyi. In fact, she likes her cooking space to be small and cozy—never mind grand islands and big walk-in pantries. Still, the Temecula, California–based creative was well aware that her kitchen was far from perfect when she and her family moved into their home in 2018. The cabinets were painted cranberry red and made out of flimsy particleboard, for starters. At one point, Udvarhelyi and her sister removed a pesky upper cupboard in an attempt to make the space look more appealing, but their progress quickly stalled. It wasn’t until Udvarhelyi’s daughter came to her six weeks before her 16th birthday and told her mom she wanted to have a party at their house that she felt compelled to do more. “My daughter was like, is there any way to make this kitchen more presentable?” says Udvarhelyi.
Udvarhelyi considers herself a purist at heart—if you’re going to do something, just do it—but she also believes in making the best of what you have. So when she set out to lightly make over the kitchen, she combined these two philosophies: She strategically picked fixtures (down to the pegs!) that she knew she’d be able to reuse when it’s eventually time for the big gut renovation. “For now, we love the changes that we made in here,” she shares. Ahead, in her own words, Udvarhelyi reveals how she got her kitchen birthday party–ready on a $4,000 budget.
The Receipts
Here’s a taste of what Udvarhelyi spent on her kitchen and breakfast nook came to $4,000. Here’s a taste of what she spent:
- Faucet: $185
- Shiplap: $347
- Cabinet paint and sealer: $35
- Hood and ducting: $380
- Sconces: $411
- Unlacquered brass cabinet knobs and pulls: $274
- Soft-close hinges: $120
- Floor paint and sealer: $80
- Woven roman shades: $207
Save: Prepless Paint
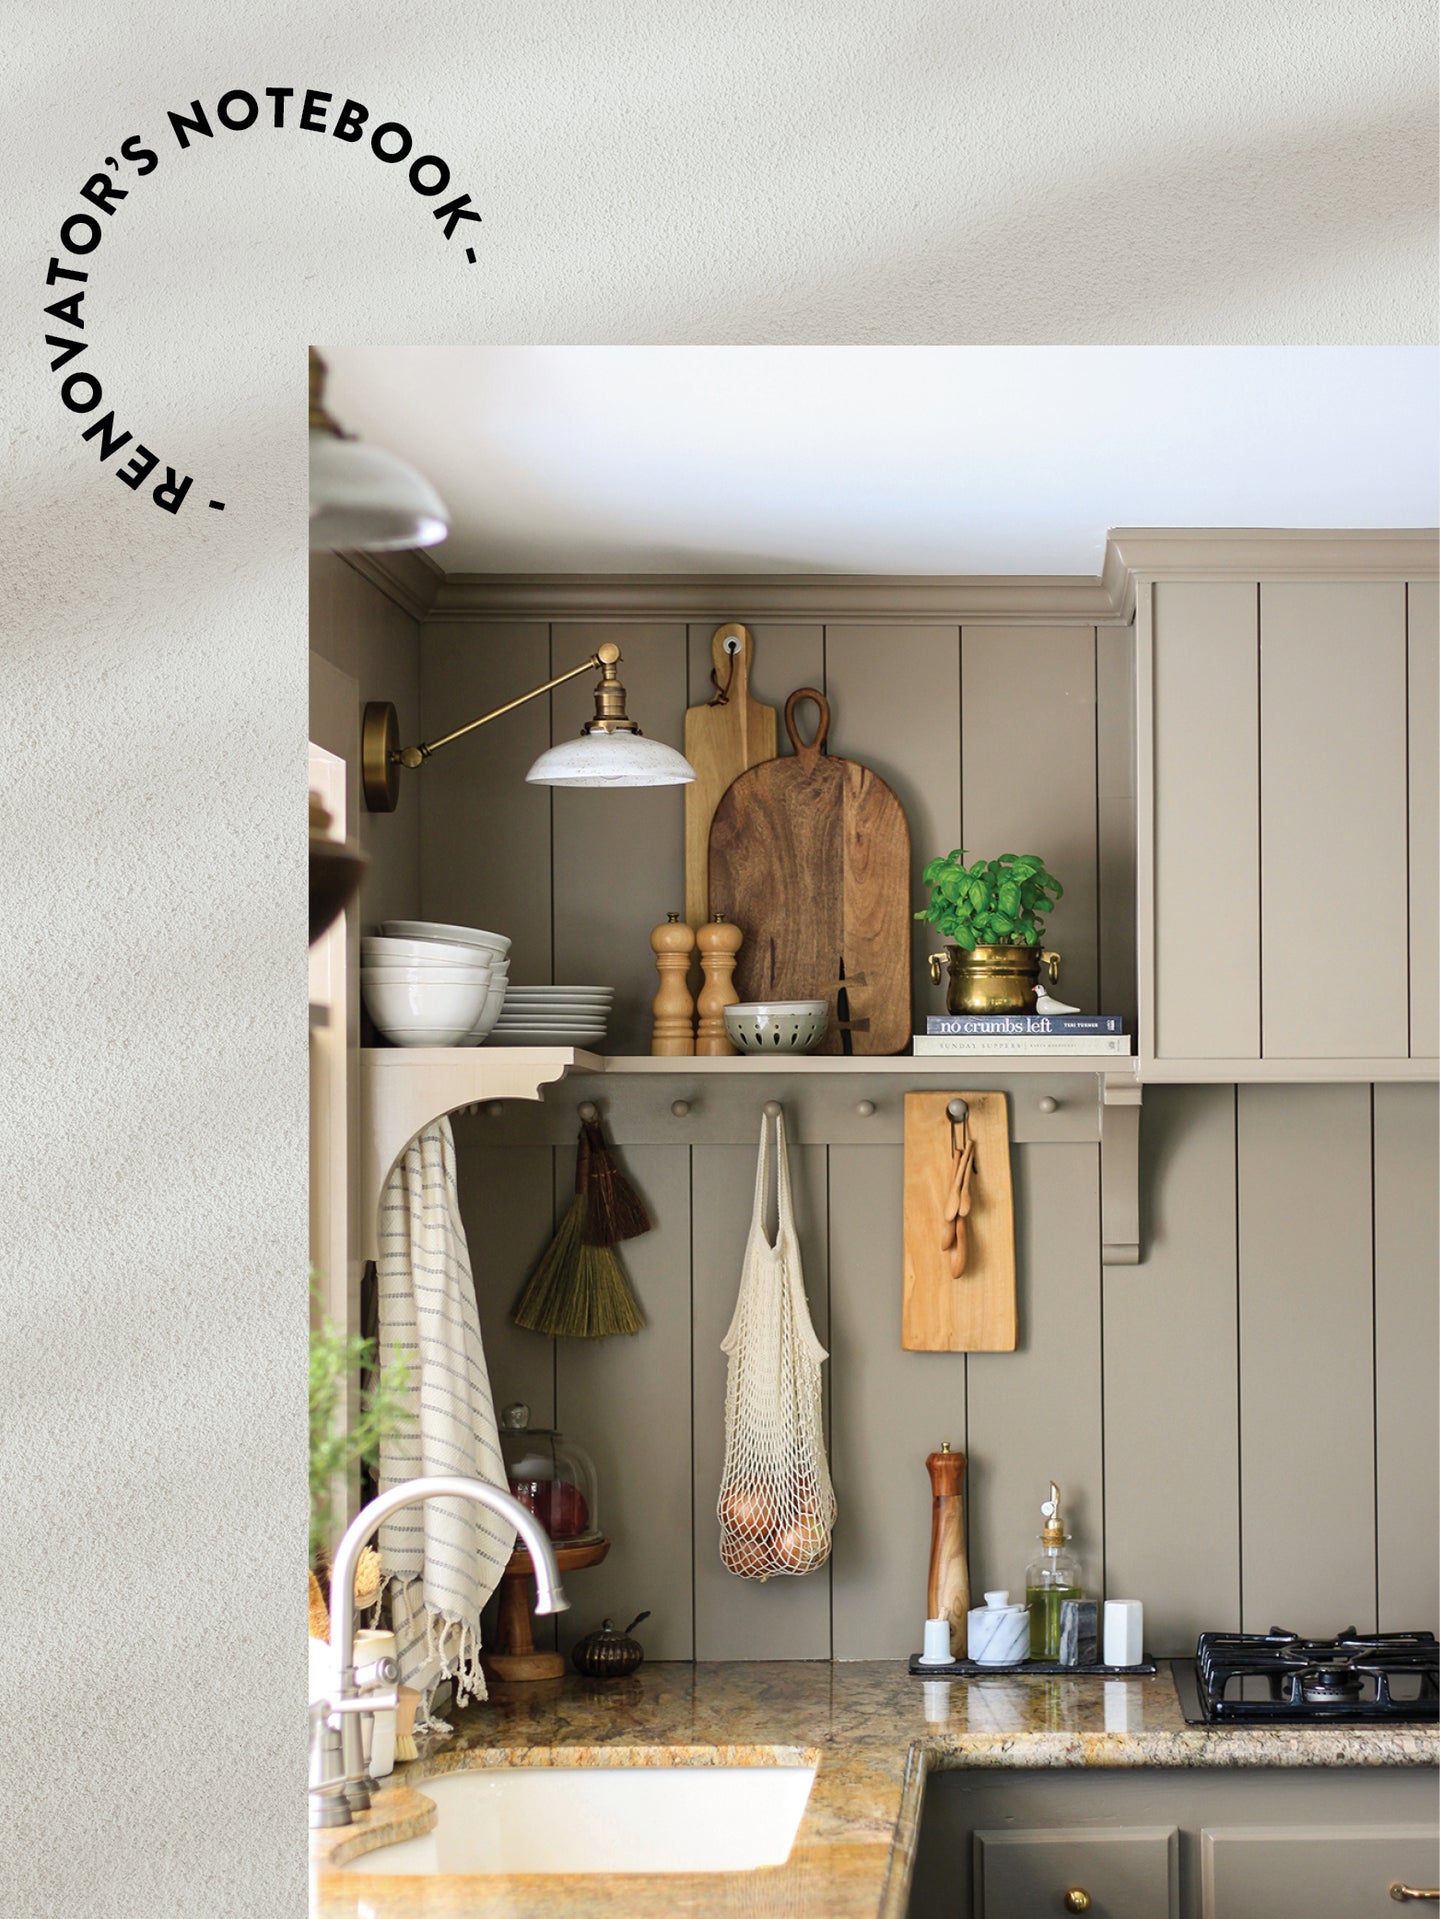
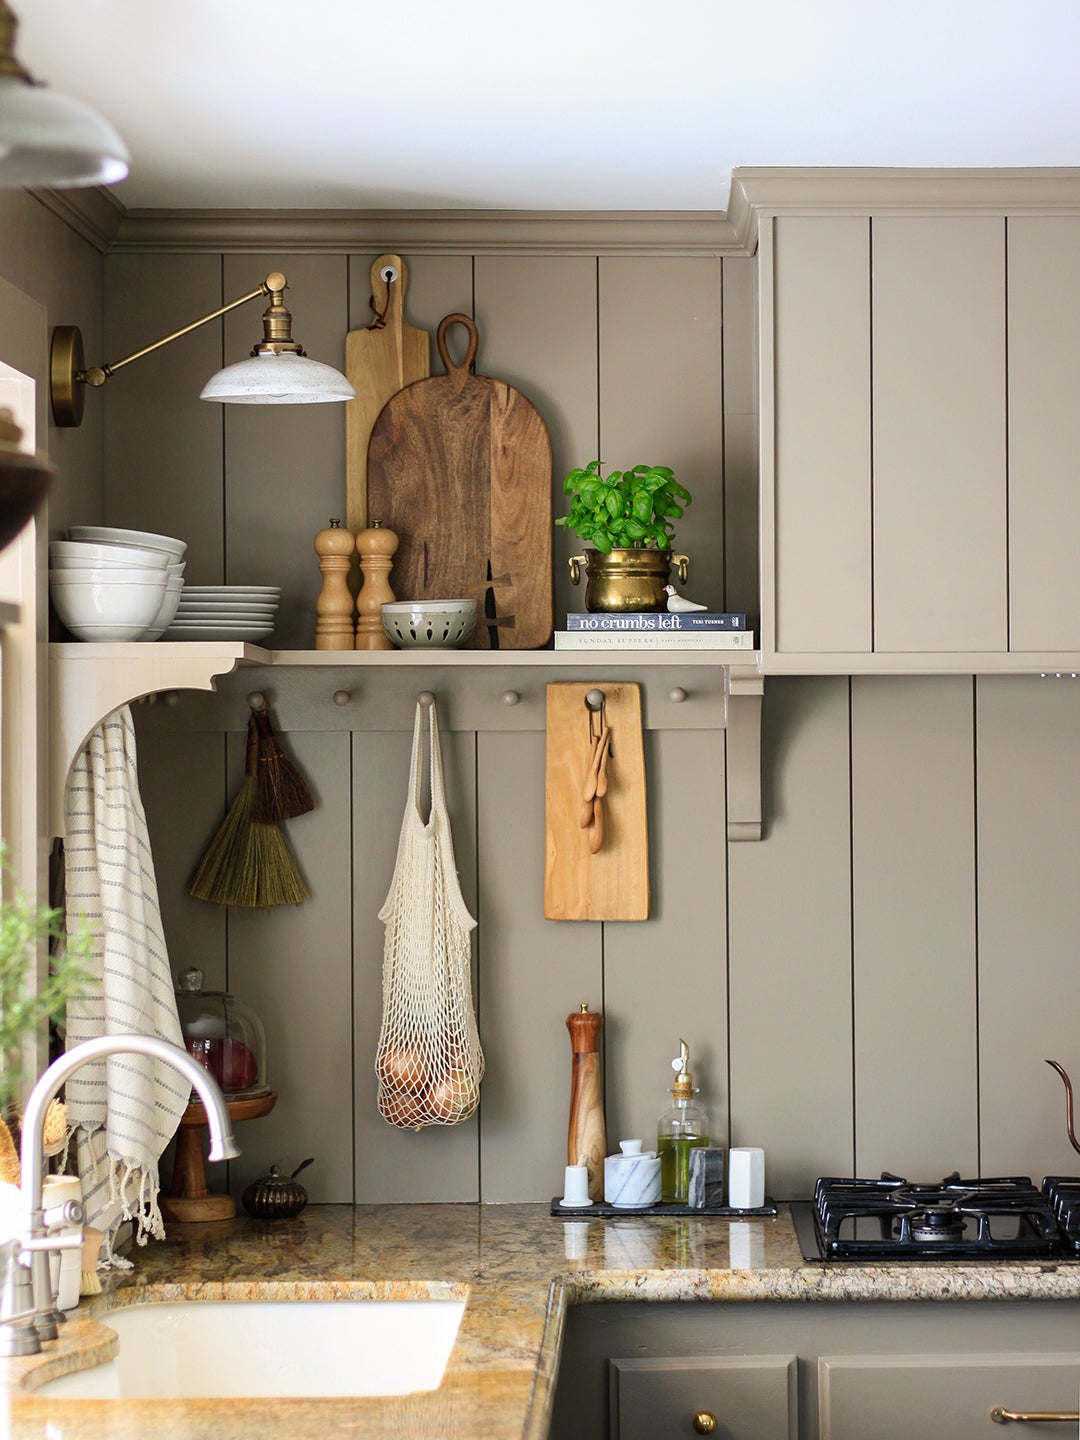
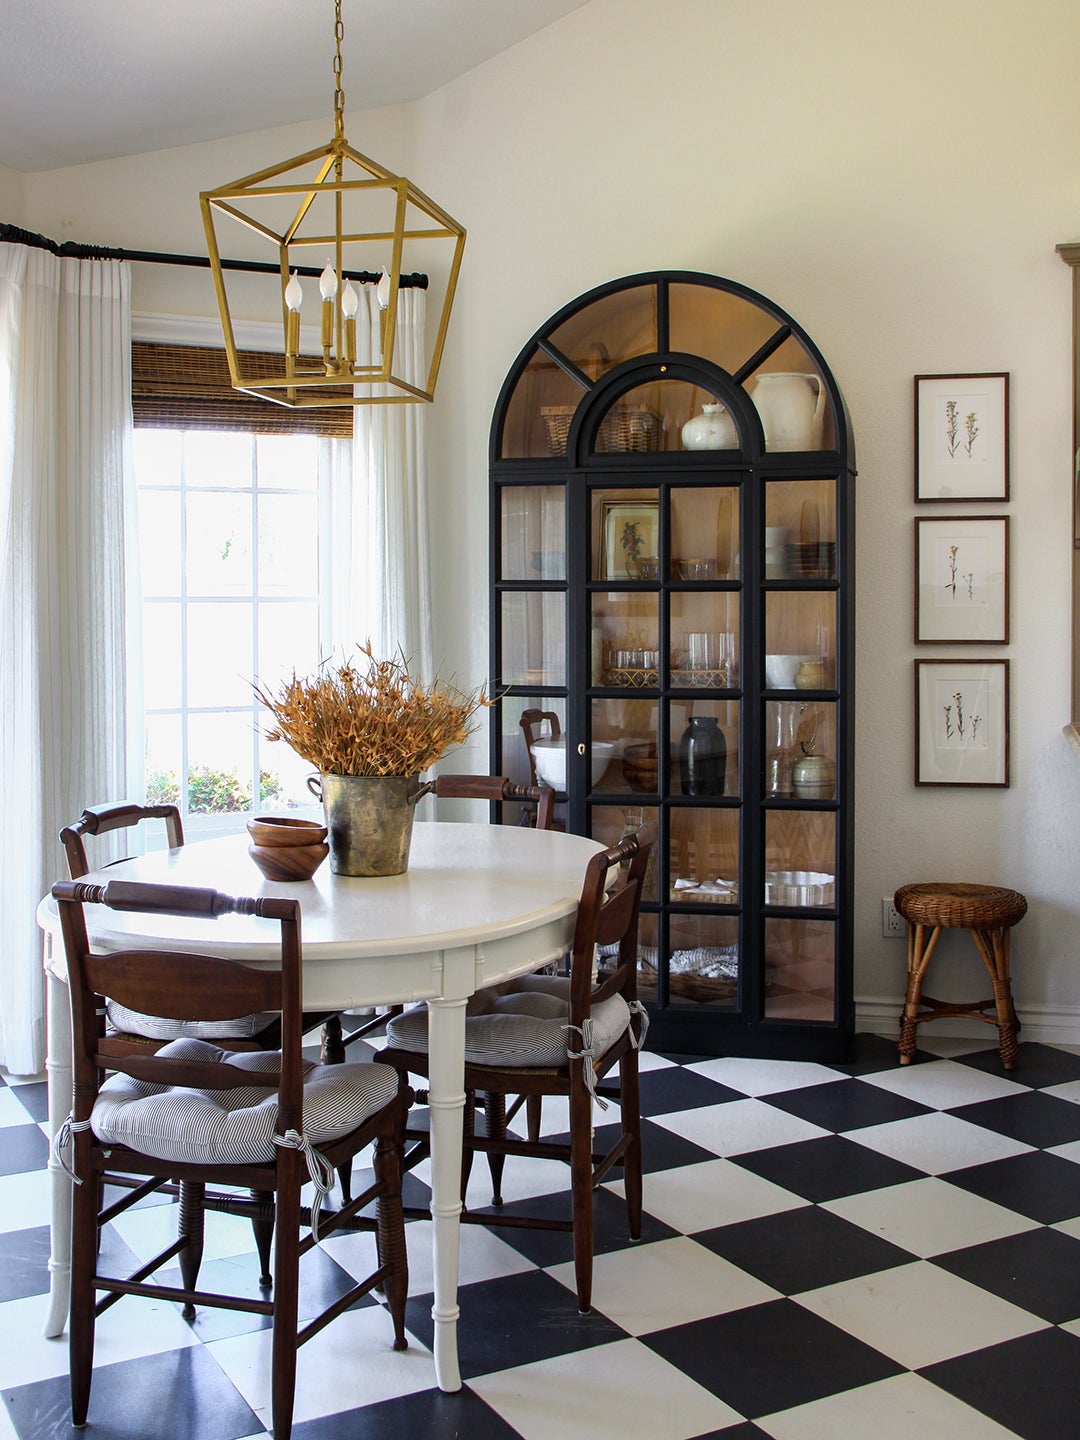
The most impactful decision I made was to paint the cranberry cabinets a mushroom-taupe color. It made our very tiny kitchen feel bigger, especially after I covered the walls in shiplap and painted that, too, because it allows the eye to only have to take in one color versus the three to four different colors that were there before. I used a product called Fusion Mineral Paint that doesn’t require any primer (it’s designed to stick to anything and has a built-in top coat). I also needed something that wasn’t going to leave brush marks, because I decided not to use a sprayer. I sealed everything with Deft Acrylic, and it has held up beautifully.
Splurge: Selections for the Future
I have a really strong aversion to loud noises, so hearing a cabinet door slam (I have teenagers)…I couldn’t do it. I replaced the old exposed hinges with hidden soft-close ones that I can use in our next kitchen. The catch: Because of the way that the new hardware is positioned, you can see a little bit of a gap around the doors. I also replaced the knobs and pulls with ones from Rejuvenation. They were pricey, but I know that no matter what kitchen I install in this house, they’ll stay because they’re classic and they’ll likely still be available to buy down the line.
I thought I could keep the existing vent hood in this space while adding the shiplap surround, but the controls were in the wrong spot. We came to the conclusion that we would buy a new insert that we could reuse in the future, given we won’t be altering the location or size of the stove.
Save: A Speedy Faucet Swap
I have a lot of tradespeople who I work with in my back pocket (an electrician, a woodworker, a flooring guy), but I don’t have a plumber who I can just call up and be like, ‘Can you come do this real quick?’ Because of that (and because I’m impatient), I swapped out the faucet myself. I had done this before in my girls’ bathroom two homes ago, and after a YouTube refresher, it was pretty straightforward.
Save: Checkerboard Floors
The biggest challenge was painting the floors. It was backbreaking work: I was on my hands and knees the whole time because I decided to tape off the grout lines (I wanted to leave them natural so it didn’t look too diner-y) and go square by square. In hindsight, I would have just painted the entire floor white, waited, and then gone back with black paint. I also wish I would have used a lower-contrast color combo—we notice every little piece of dirt and crumb.
Splurge: Lighting With Character
Lighting is such a big deal to me. For this space, I thought, how can I find something that is not too expensive but looks like it belongs in an old English-cottage kitchen? Then I stumbled upon Clay Cafe. Even though the arms [of these sconces] are very basic, the shades are handmade: They have a story and someone actually touched them. That’s always very important to me.
Spending $4,000 for a kitchen that I love, even if it’s temporary, turned out to be way better than not spending the money and having a space that I don’t want to be in. We will change it someday, start completely from scratch, and that will feel so good.
Get the Look
The post I Chose Materials for My $4K Kitchen Reno That I Can Reuse When I Eventually Do a Big Gut appeared first on domino.

