

An Ikea Hack Shared Desk with Storage for the Kids Room
Posted by admin on
Sharing, the old fashioned way, with photos and words how this shared kids desk came together.
Design Intent
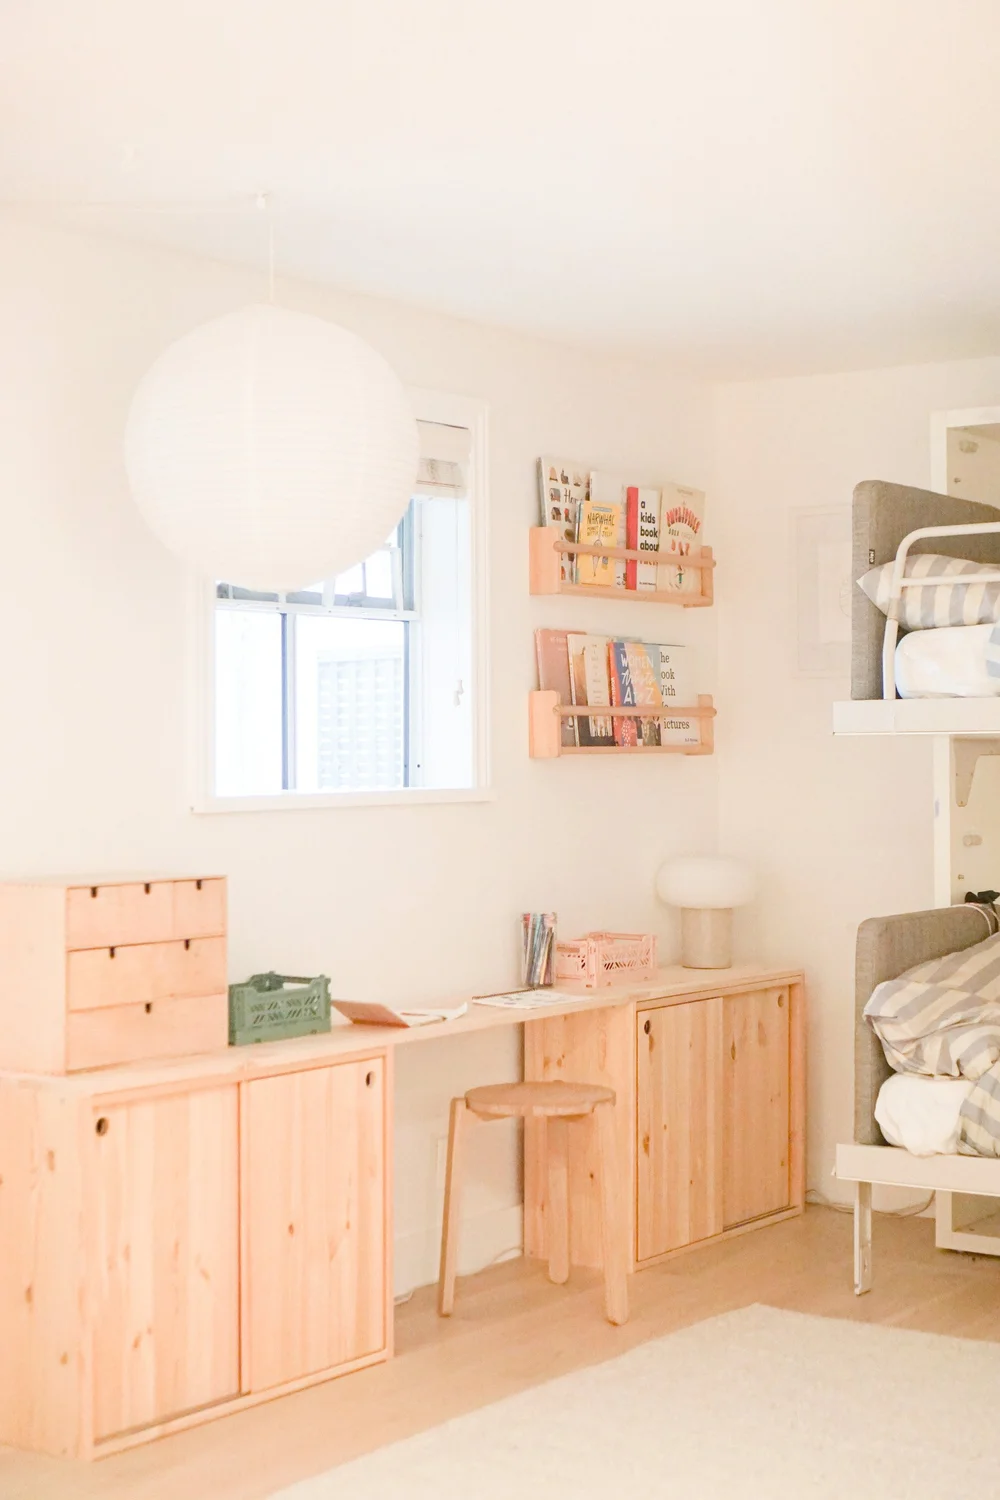
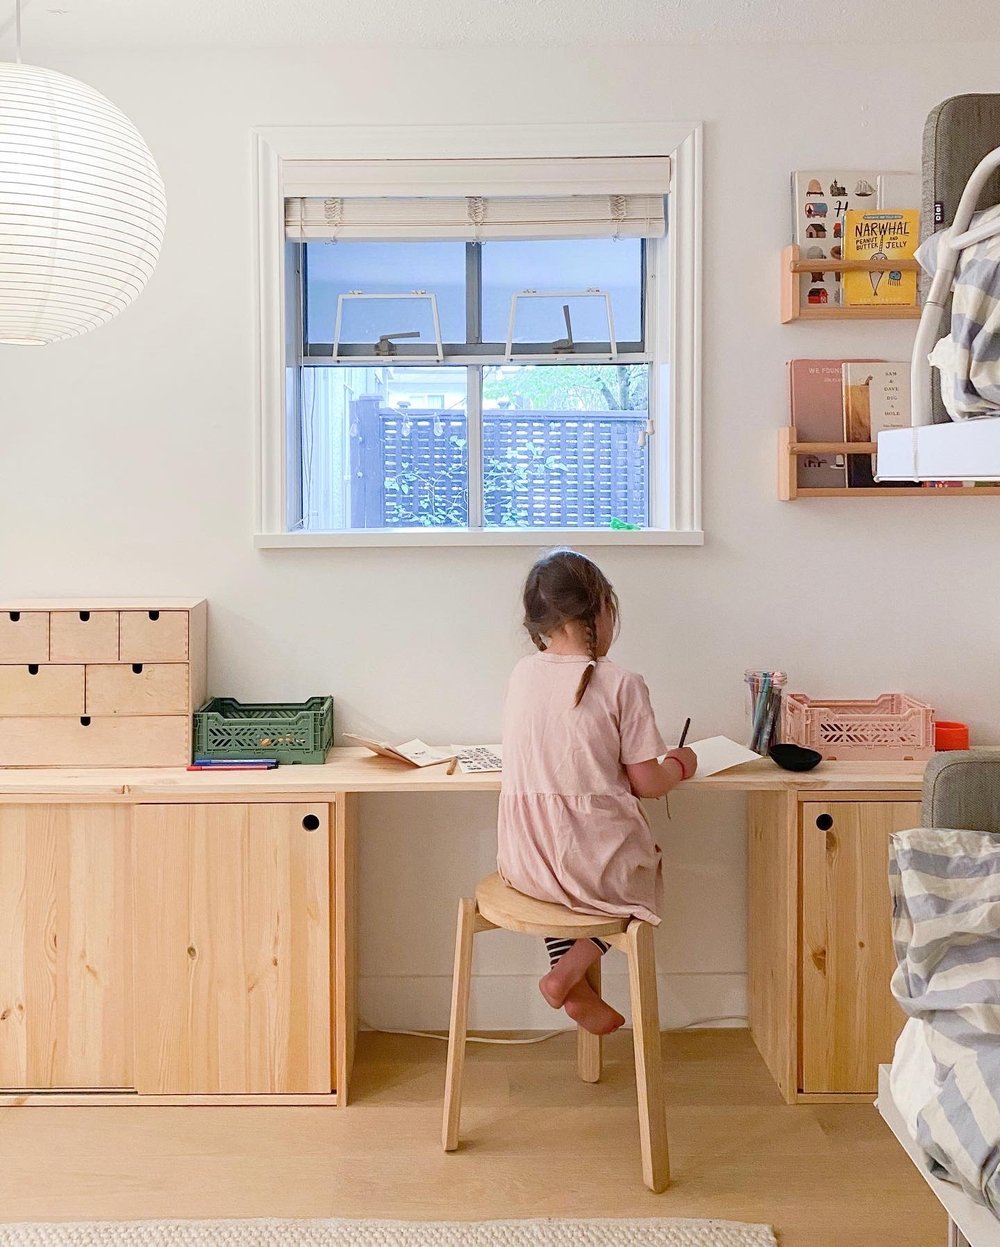
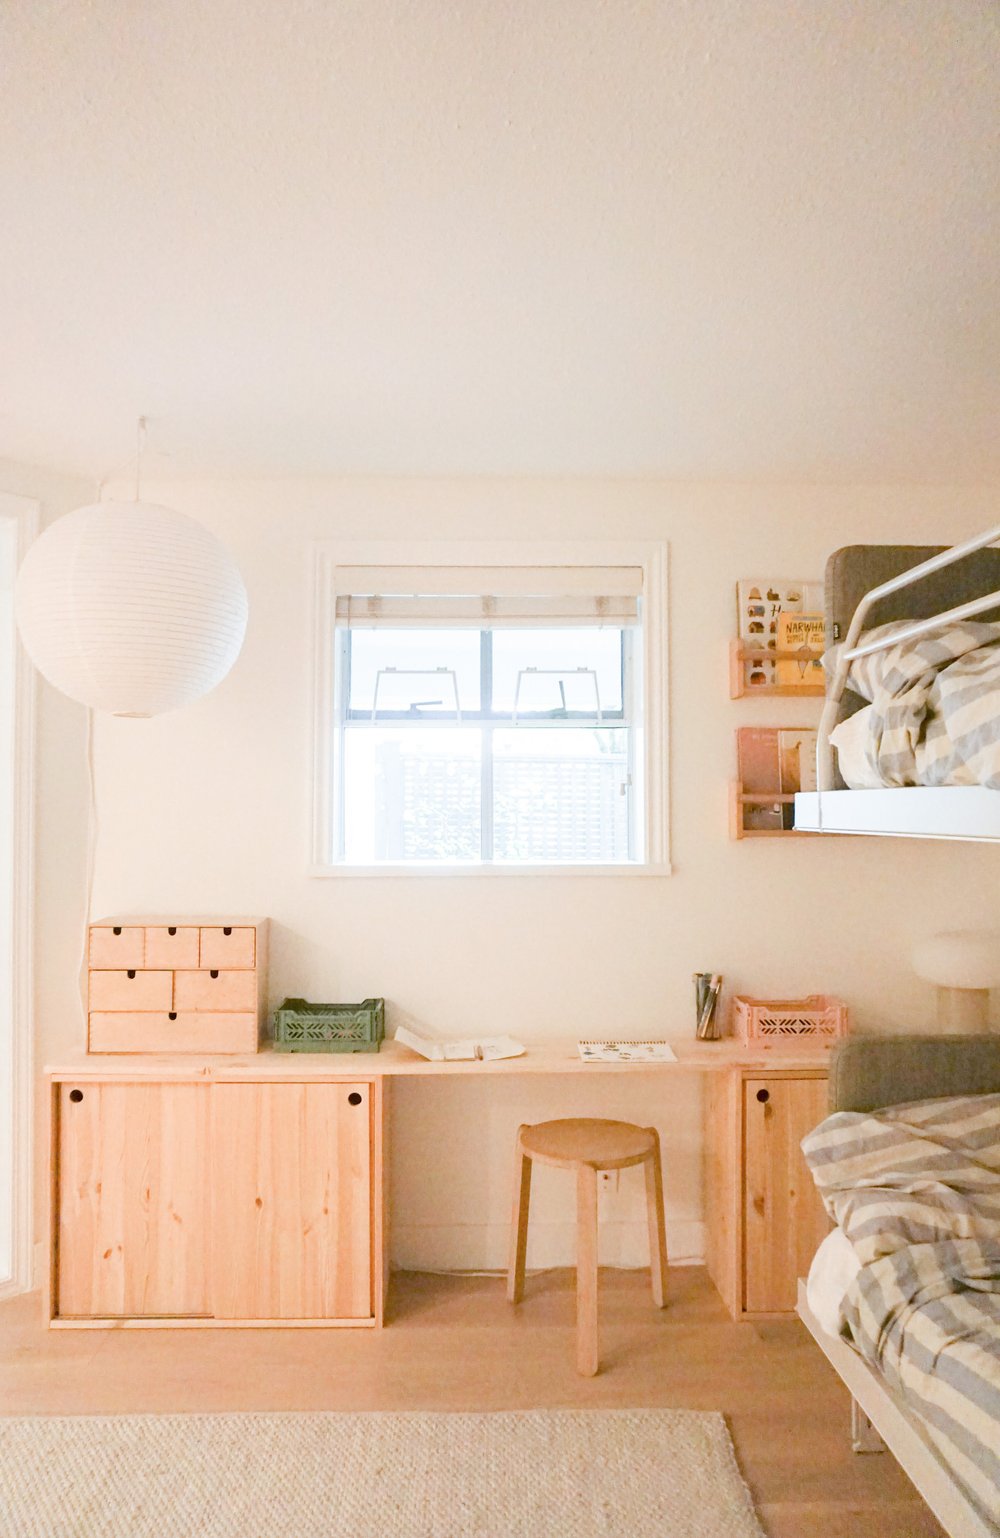
The intent of this desk was to provide a place where the kids could draw and create while making better use of a narrow space between the only window wall and the bunk beds. I needed it to be narrow. I knew I had between 12-17” of depth to work with. And I wanted to provide enclosed storage as I find maintaining open shelving effort and there already is an open shelf on the other side of the bunk beds so I wanted to minimize visual clutter.
Inspiration
I was inspired by a few custom plywood set ups on Pinterest HERE and HERE. I have the best of intentions to learn to build but at the moment I was not up for that challenge. I also did not have the budget for custom millwork.
Ikea Hack
So I turned to my favourite, Ikea, to see if something existing could accomplish what I wanted within a budget. I landed on the Ivar cabinets with sliding doors for a couple of reasons… I love sliding doors as they don’t take up space when open. I liked that it was solid pine so making handles would be less risky than other laminated or melamine options. Also, I wanted to add some warmth to their long dark room. The white bunks and white cabinets weren’t really working for it. My long term plan for this room is to incorporate wood in a big way (room planning post here) but we are not there yet. Another reason for keeping the budget reasonable as this room will change in the coming years when they need more separation.
Materials
2 x Ivar Cabinet w/ Sliding Doors
1 x 1’ x 8’ wood board
Tools
handheld drill
level
1” hole saw bit
wood glue
How to…
We assembled the cabinets (well Trevor did it for me). Then I laid them out. My dream would have been for them to go from wall to wall but this required a 9’ board. I found tracking down a 9 foot long board harder than I thought. As I was calling around to lumber yards and thinking about how I would fit it in my car I re-measured and realized that an 8’ long board would suffice. I picked one up for under $25 . I went with a laminated pine board for added stability. We glued on the top with wood glue but may add screws later if it doesn’t hold. And then attached the cabinets to the wall. I do think that fitting this between two walls helps anchor the desk and it wouldn’t be as impactful if it was floating on a wall.
To drill the handles, (because you know I love a circular cut out!) we added a spare wood board behind the sliding door and I held the door steady while Trevor drilled it. Probably would be safer to remove the door and drill it but we didn’t because we don’t have a work bench.
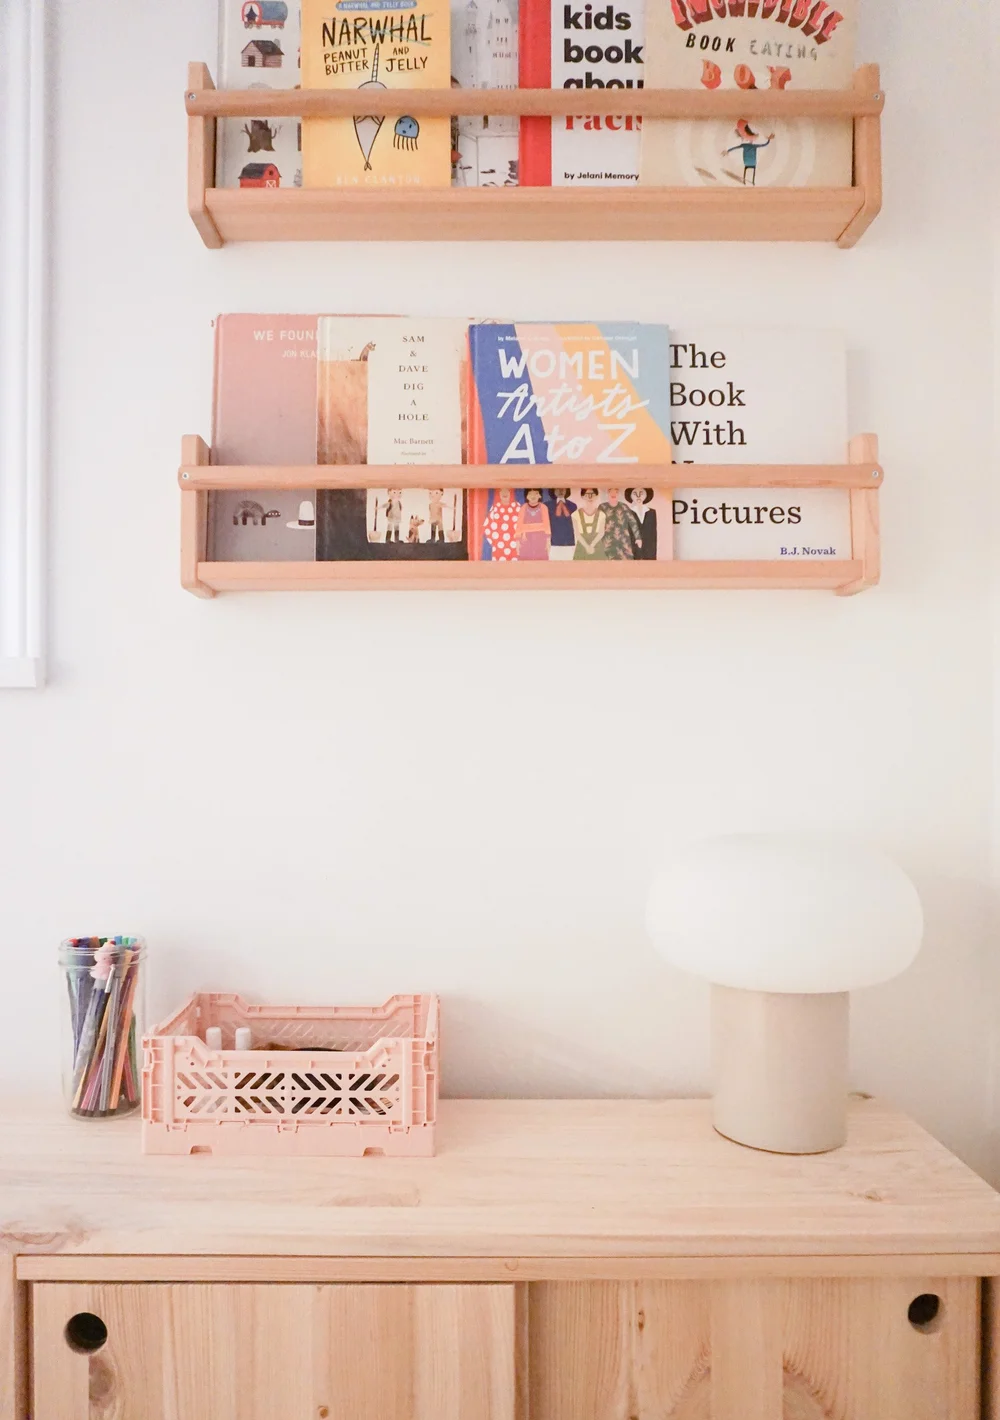
The kids room has really low ceilings 6’10”, I looked it up, it’s legal, but not sure it should be! So I am forever trying to add lighting to the space to make it cozy and bright. I feel like it’s accomplished on this side of the room now with the pendant and table lamp but I stole the lamp from the other side so now I need to add one back over there.
For the stools I used a Skagerak stool (previously gifted) that we had upstairs as an additional seat in our dining area. I love these stools because they are beautiful solid oak and stackable. I chose to buy another of these as I find them useful all over the home. I tried out our Ikea Flisat stools that we use as step stools in the kitchen and bathroom but I found they were too low. These stools are a bit tall but as the kids grow I could also raise up the cabinets.
I may add a finish on to the whole desk later to make it harder wearing and prevent yellowing but taking a break for now!
On Kids Desks
I would like to add that I have only provided desks to the kids at their current ages of almost 6 and 9, partly because we now have a bit more space and partly because they have been asking for a desk and I have noticed them drawing and creating on their own in the their room. In the past, they would only create in front of me at the dining table and I was happy to have that be a multi-use space. Or we often would create on the floor in the middle of the kitchen or their bedroom. I don’t think they were deprived of anything by not having a desk up to this point. I also think they would be fine without it but I’m happy I could provide it in this space.
I am often asked about kids tables and desks in our small space consults and I would say it is very kid dependant. Would your kid actually sit still and create for long periods of time? How you can you provide this as a multi-use space? Could a ledge or shelf achieve the same thing? I also think your space should dictate whether you can truly accommodate a small desk. Also please let go of any guilt about not providing a unique desk space for your kid. If you even have that fleeting thought, I know you are an amazing parent and are giving your kid everything they need to be creative and expressive.

Additional Sources
Stools - Skagerak Nomad
Lamp - Ikea Desja
Pendant - Hay
Bookshelves - Ikea Flisat*
-
Crates - Aykasa and Hay
* sadly it looks like these are being discontinued. I will work on a post with alternatives to these great shelves!
As always let me know if I missed anything that you were curious about. I really think this idea could be recreated for a narrow work from home desk for an adult using the taller Ivar cabinets. If you make something similar please tag me so I can see!