Tackling the DIY and Decluttering To Do List {Bathroom Edition}
Posted by admin on
Tackling the small do-it-yourself and decluttering projects in our bathroom!
I've deemed this the week to GET THINGS DONE.
Lately I've been tempted to start a few new DIY projects...but I've forced myself to hold off until I get some of the smaller things done that have been bugging me for months.
You know those little things you notice over time and think "I've really got to get to this" -- that's what I'm talking about!
A couple months ago I made a "punch list" of DIY projects and organization problem areas for a few of the rooms in our house. I've been checking things off here and there over the past few weeks.
But I decided THIS is the week to get as much as I can done. I'm taking you along for the process in some of the rooms -- I figure you might learn something new or get inspired to do the same!
These posts won't have the prettiest photos I've ever shared, but this is the real life stuff that all of us deal with!
The first room I tackled was our ensuite bathroom. We had a couple of cluttered areas to address and some smaller DIY projects to complete.
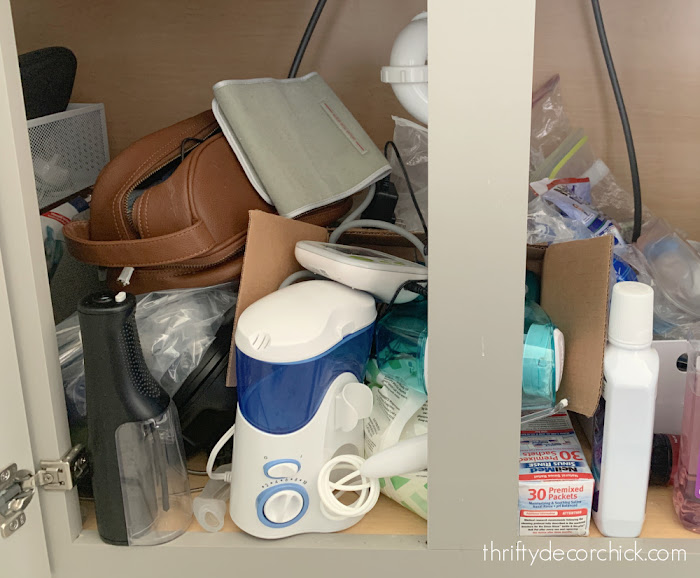
First up...I started under my husband's bathroom sink. Dun-dun-dunnnnn.
It was a mess. Between work and travel, he just doesn't have the time to address problem areas like I do. And he doesn't find organizing fun either...SO weird:
This post may contain affiliate links for your convenience.
See my policies and disclosure page for more information.
We hadn't touched this spot since moving in, so it just grew and grew.
Most of it was travel stuff that he would throw under between trips. The man never complains one bit about spaces like this and I knew I could make this work better for him!
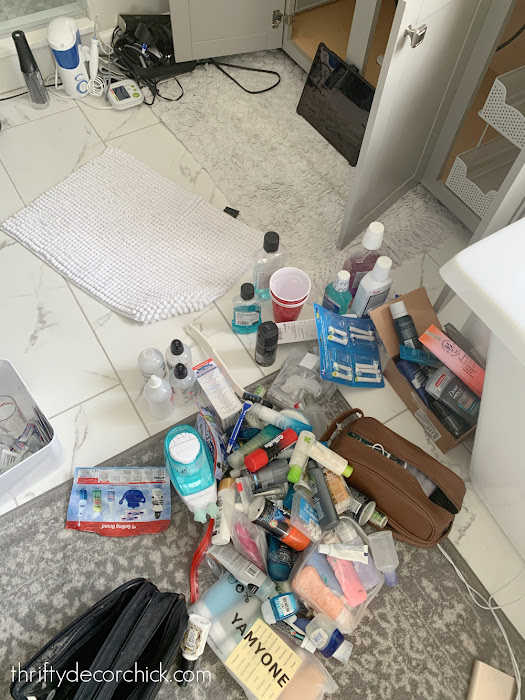
I pulled everything out so we could see what we were working with. I sorted like items together and then he went through and decided what to keep (which was most of it):
As you can see, the travel pile was our biggest obstacle. The good thing is, most of this doesn't go in here. :) I'll share where we keep that later this week.
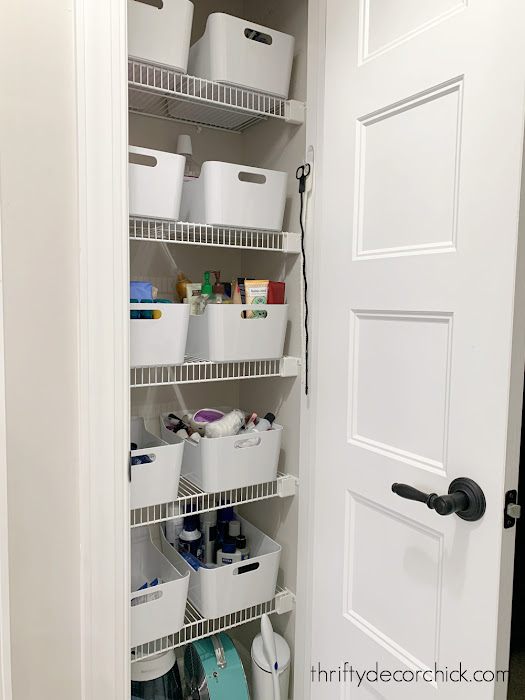
This vanity decluttering went hand and hand with a little refresh in our linen closet. I organized it a few years ago, but it was in need of some upkeep. Most of the items from under the sink went into the plastic bins in here:
Toiletries like shaving products, lotion, nail polish, contacts, makeup and more are sorted in those IKEA bins. I also keep our iron in this closet since the ironing board is tucked away in my closet.
We keep almost all of our toiletries in here since our vanities don't hold much.
After I got everything where it needed to go in the closet, I vacuumed and cleaned out under the sink and then put just a few items back that my husband wanted easy access to:
Well...you can't really see here, but on the sides we have these awesome under the sink pull out drawers I found a couple years ago. The storage in these vanities is the woooooorst and those metal units have made the under sink area so much more useful.
See how the plumbing is placed in the middle? I know they had to do that because of the exterior wall behind, but man...just a couple inches back would have been GREAT. :)
I recently shared this inexpensive IKEA under cabinet storage option as well! We use that under our kitchen sink.
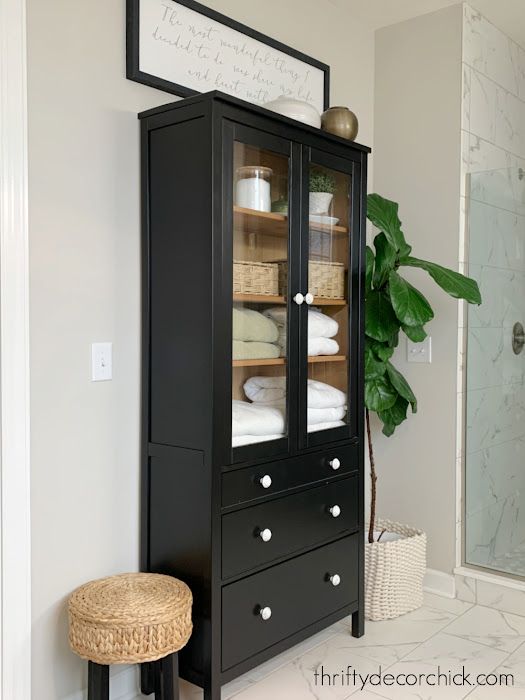
While I was in the organizing mood, I worked on touching up a few things in our two-toned IKEA linen cabinet:
This is one of my favorite furniture makeovers ever...I love the wood tone inside and the pretty white knobs contrasting the black paint.
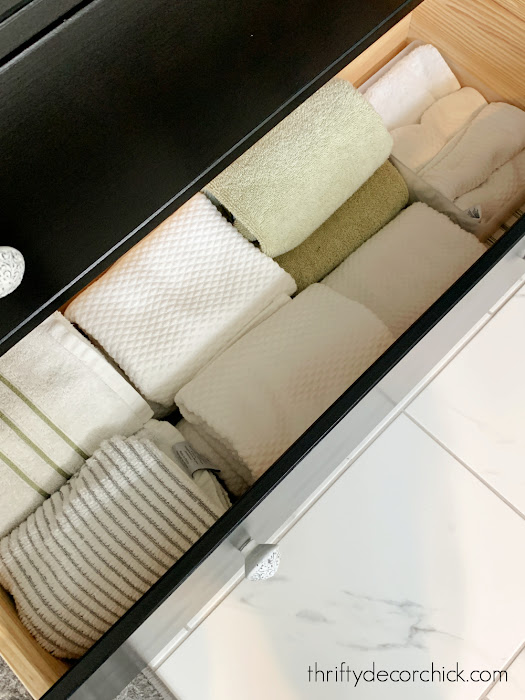
I sorted through everything and placed some items we reach for more often into these pretty rattan baskets with lids. This pretty cabinet provides tons of extra storage space -- perfect for all the towels!:
Once the decluttering was done...the tools came out! First up, I hung that art above the cabinet (that used to hang above our bed).
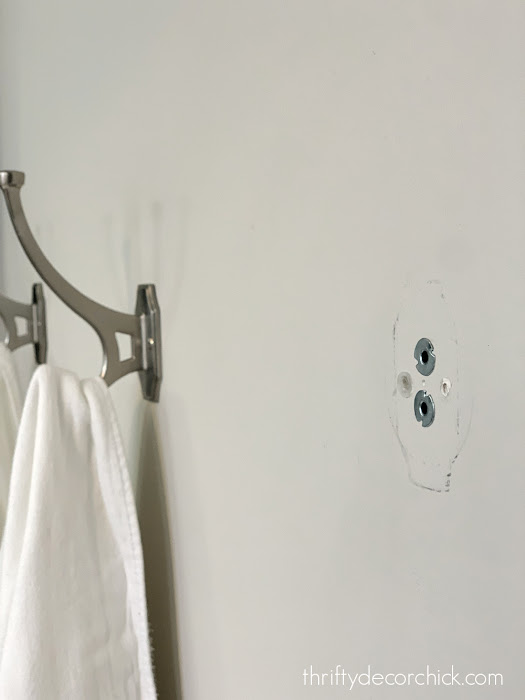
When I took down our towel rod shortly after moving in, I hung three hooks in it's place. (I so wish I had told our builder not to install the rods -- we prefer hooks for towels.) I didn't use anchors at the time and they just recently started to wiggle a bit
So I took those down and added anchors into the existing holes. You can see here that I placed the hooks right over the big anchors that were used for the towel rod:
No more wiggle!
Next on my DIY list was to replace the mismatched DIY rectangle mirrors we had over the vanities with round, brass versions that used to hang in our family room.
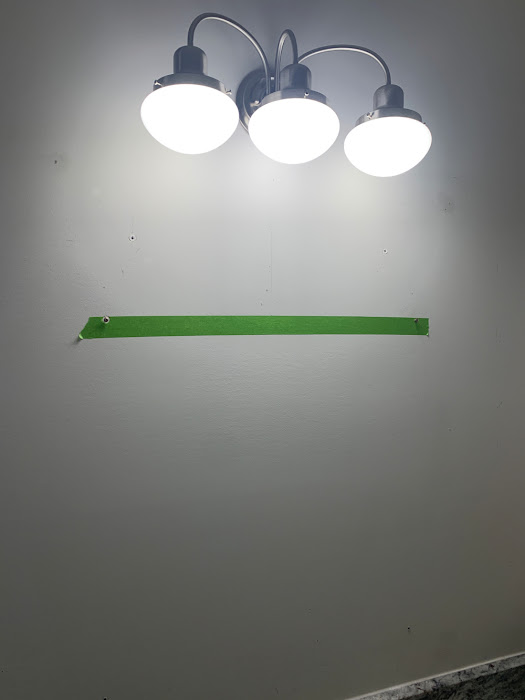
I used this great painter's tape trick to hang the mirrors:
It works so well -- perfect for art or mirrors with two hooks on the back!
Our bathroom is FULL of rectangles and hard edges...the vanities, the tile, the tub...almost everything. The soft circles and thin brass frames lightened up this room considerably:
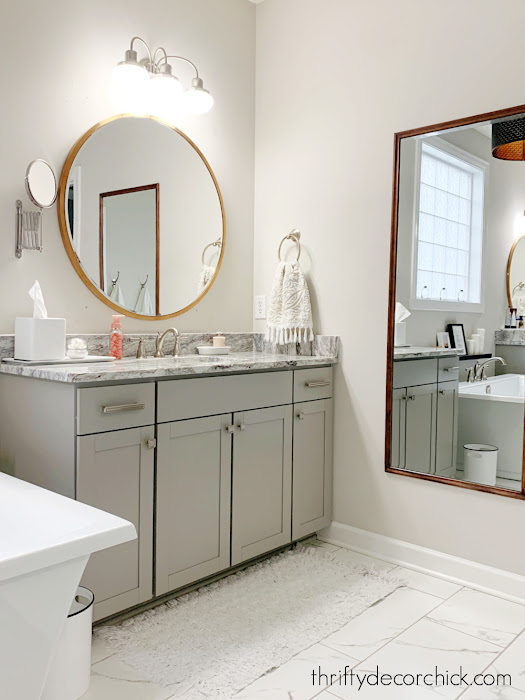
I love them in here! They helped to warm up this whole space -- the difference was more noticeable than I thought it would be. (Our round mirrors were HomeGoods finds, but these are the same size and color.)
Throughout this whole process I cleaned up some areas I hadn't touched in a while -- the top of the IKEA cabinet (gross) and the inside, front and sides of both vanities. I also took the glass covers off the light fixtures and gave those a good cleaning.
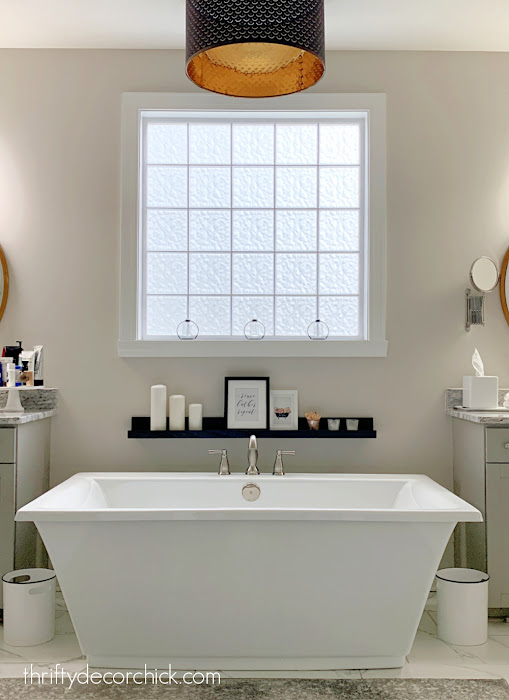
The to do list for this space is now crossed off and it feels so good! I have big plans for our bathroom...someday. For now we love how spacious and bright our bathroom is!:
See how to make this simple spa ledge for the bathroom here:
I'll be back with more small projects I'm working on this week. I can't wait to get these done so I can start my next big one! 😂
Do you have a running list of small to do items that you never get to like me?
Never miss a post by signing up to get posts via email.
This content is property of Thrifty Decor Chick LLC. If you are reading this on any other site other than www.thriftydecorchick.com or one of the blog's social media platforms, please contact TDC immediately (thriftydecorchick at gmail dot com). Any other use of this content is strictly forbidden.


