

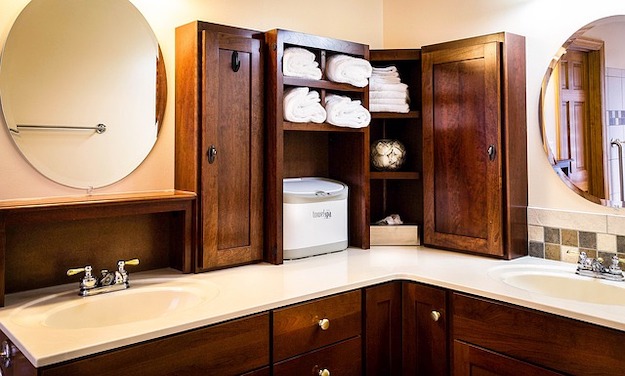
Personal DIY Projects – The $20 Bathroom Cabinet
Posted by admin on
It’s always a good idea to have some extra storage space. There’s no telling when you’ll need it, but it helps to have them. But most of us wouldn’t pay an extra dollar or two to bring in more space. Well you’re in luck! We got this amazing project lined up for you – the $20 bathroom cabinet. This is one of many budget DIY projects that we’ll be doing, so hang on to your thinking hats and read on.
Personal DIY Projects – The $20 Bathroom Cabinet
Seriously, you can play within your budget and still have something awesome like this DIY cabinet for your bathroom, made of lumber and stained for aesthetic appeal. I would have to give credit to my wife for coming up with the budget DIY projects and we are having fun making them. We hope you do too.
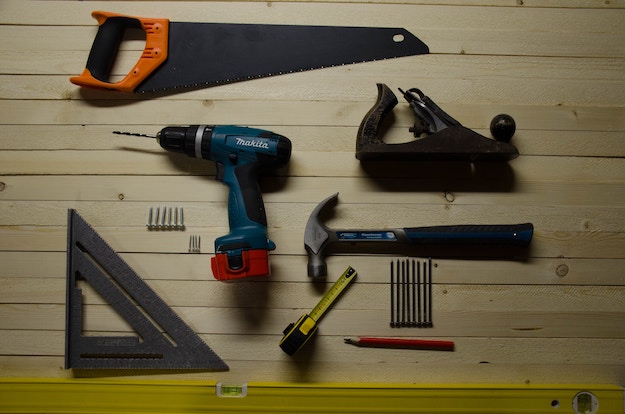
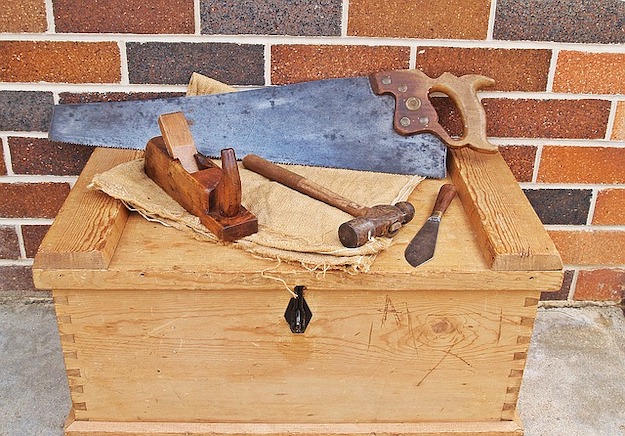
Tools:
- Measuring Tape
- Miter Saw
- Table Saw
- Hammer
- Cordless Drill/Driver
Supplies:
- Lumber
- 1″ x 8″ x 10 ft.
- 1″ x 6″ x 4 ft.
- 1″ x 2″ x 2 ft.
- 24″ x 36″ of 1/4 plywood
- 18″ long pipe
- 1/2″ floor flanges (2)
- 1/2″ 90-degree elbows (2)
- 1/2″ close nipple (2)
- 2″ nails
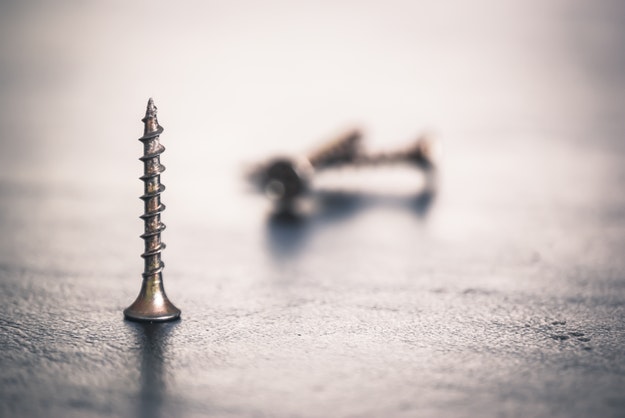
- 1″ finish nails
- 1/2″ screws
- Sanding block
- Wood glue
- Minwax Wood Finish
- Polyurethane
Steps:
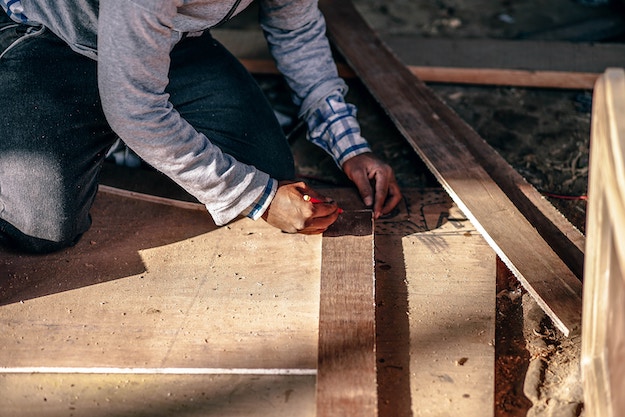
1. Measure and cut the lumber.

For the 1″ x 6″ x 4 ft. wood, cut it into two pieces 22 1/2″ long.
For the 1″ x 8″ x 10 ft. wood, cut two pieces that are 28 1/2″ long, one 24″ long, and one 25″ long.
For the 1″ x 2″ x 2 ft wood, cut one piece that is 22 1/2″ long.
For the plywood, cut 24″ x 30″ long.
2. Give your lumber some distressed look.
Slightly smash your lumber with tools such as hammers or wrenches to give your cabinet a distressed appearance.
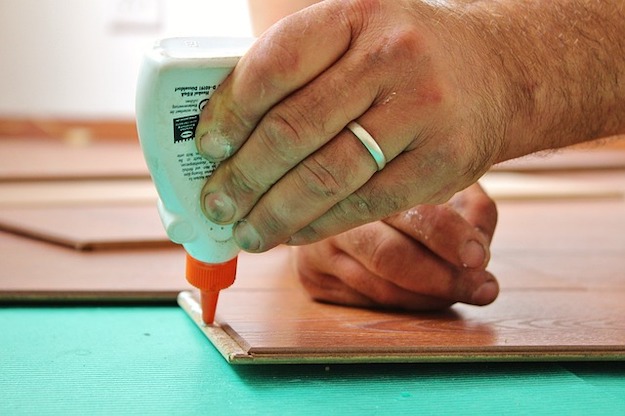
3. Create the frame.
Take one 28 1/2″ board and apply wood glue on one end.
Attach the 24″ board at the end of the 28 1/2″ and nail it using 2″ nails
Repeat the process for the other end of the 24″ board using the other 28 1/2″ board. Flip it over once you’re done.
4. Assemble the top of the cabinet.
Apply wood glue on both ends of the “U”.
Lay the 25″ board on the top with 1/2″ overhang on both sides. Nail the board to secure it using the 2″ nails.
5. Install shelves.
Lay the frame on its side. Get the 22 1/2″ boards and space them evenly inside the cabinet frame.
Secure them into place using the 2″ nails.
6. Nail the plywood.
Have the cabinet facing down and place the plywood on it. Secure the plywood by using the 1″ nails to put it in place.
Flip the cabinet back, insert the 1″ x 2″ at the back top of the cabinet.
Nail it into place. Mount the cabinet through this piece.
7. Sand and stain.
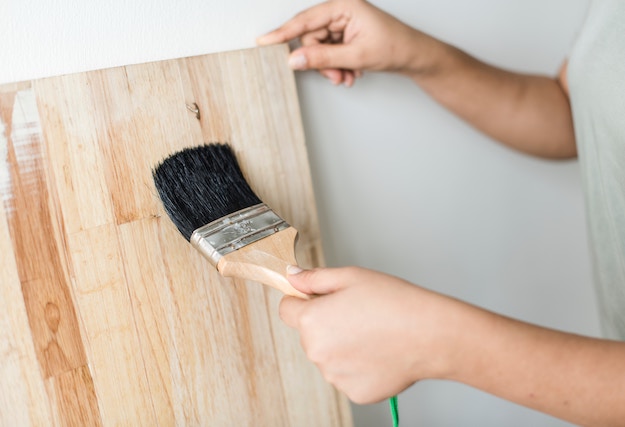
Sand the whole cabinet to get rid of uneven spots and rough edges.
Once done, you can now stain the cabinet. I also used Minwax stain for my DIY cabinet at home. Or you can try this 11 DIY Painting Tricks For A Successful Home Transformation if you want to make it more colorful.
Allow it to dry and then apply the polyurethane. Leave it to dry once more.
8. Assemble the towel bar.
Arrange it first like this before connecting it to one another.
Screw everything together.
Attach the towel bar to the bottom of the cabinet by screwing it in place (use the 1/2″ screws). You are done. Now mount it on your bathroom wall.
Watch the project’s full video tutorial from The Rehab Life:
Who said cheap meant less quality? It isn’t the case of this cool DIY project. Absolutely useful and adds aesthetic appeal to your bathroom. So what are you waiting for? Make your own now.
Click here for more cool DIY projects for your home.