

Linen Closet Organization {Tips & Tricks}
Posted by admin on
I won’t lie, it feels a little laughable that I’m writing a post about linen closet organization tips right now. Because…up until very recently, my linen closet was an actual disaster.
I mean, should I be giving tips on how to organize your linen closet? Probably not. I’m a mess.
But, here’s the thing – after living with a disaster of a linen closet for years, and after spending months thinking about how to organize our linen closet, weeks planning and ordering items, and houuuuurs getting it just right… I’m practically a pro now.
I mean…I can prove it with this quick before and after.
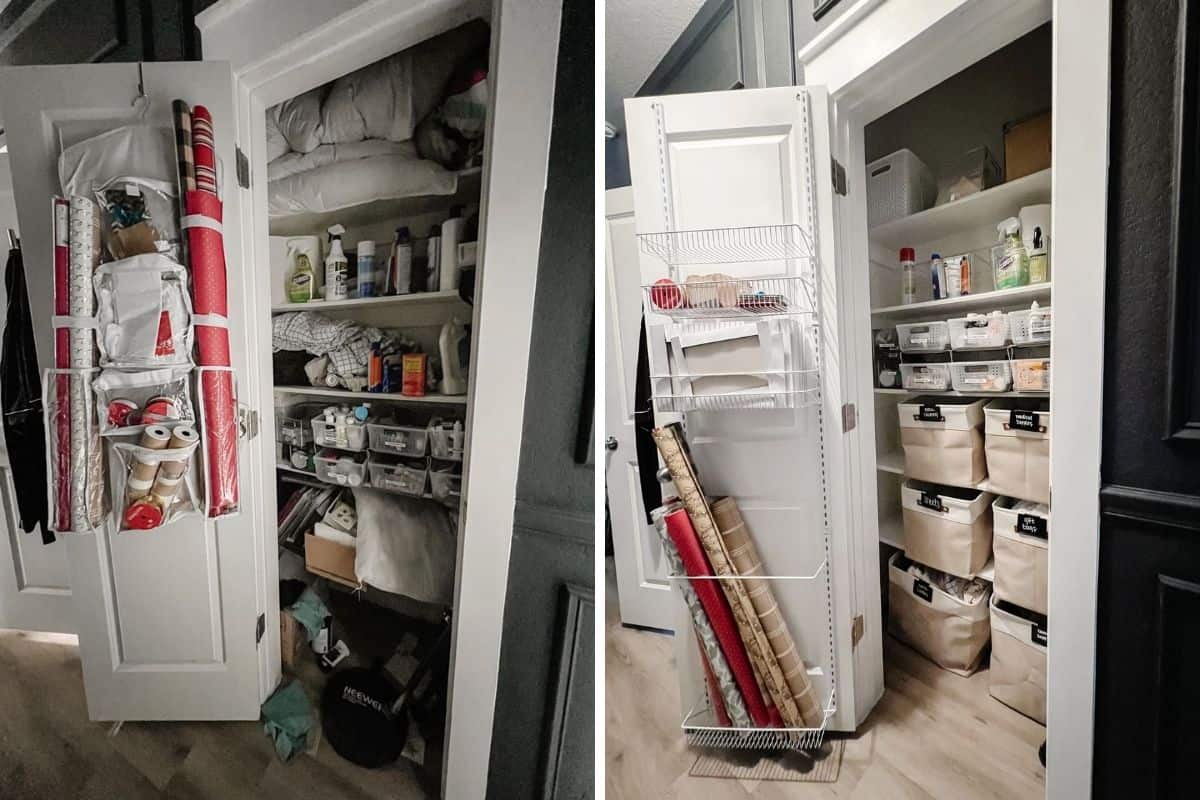
So! Much! Better! Right?!
Our linen closet is a bit of a catch-all. We don’t keep towels in there, because those all stay in our bathroom. So, it’s basically just extra sheets, blankets, and pillows. But then, it also stores all of our medicine (see how we organized that here), along with gift wrap, some precious memories, a few cleaning supplies, and a few other odds and ends.
I mean, let’s be real: I’m asking a lot of this small closet.
But, I knew that there was ample room to store everything I needed to in an orderly fashion. I just needed to get creative and intentional about it! So, I pulled everything out and spent more time than I’d like to admit getting everything in order. And today, I’m going to share everything I’ve learned about linen closet organization with you.
linen closet organization tips
Tip #1: Take EVERYTHING OUT.
Listen. I know you don’t wanna. I know it’s dumb and it makes a mess and then you want to quit. But if you really want to get your linen closet (or any space) fully organized once and for all, you have to empty it out.
Once you’ve fully emptied the closet out, take the time to go through and purge a bit. See what you don’t need, what you can get rid of, and what can be relocated. If you really want to go deep with it, check out my decluttering ebook with looooooots of tips and help for doing this step of the process in your whole house!
Why is it so important to empty it out? Let me break it down:
- When you empty out a space, you get a fresh perspective on what you have and how the space functions. If you leave everything in there, you may keep some stuff around that you don’t actually need, just because you didn’t see it!
- Often, the layout we’re using in a closet or cabinet isn’t the most efficient, but it’s all we can imagine because it’s what’s there. By taking everything out, you can try something new that may work much better.
- It’s a reset for your brain and encourages you to try new combinations, layouts, and solutions.
Just trust me and do it, okay?
For me personally, I managed to get rid of a lot of excess, just by taking the time to empty things out. We had lots of extra pillows, sheets, and other linens that hadn’t been touched in 2+ years. I went ahead and donated them, and my closet feels so much lighter because of it!
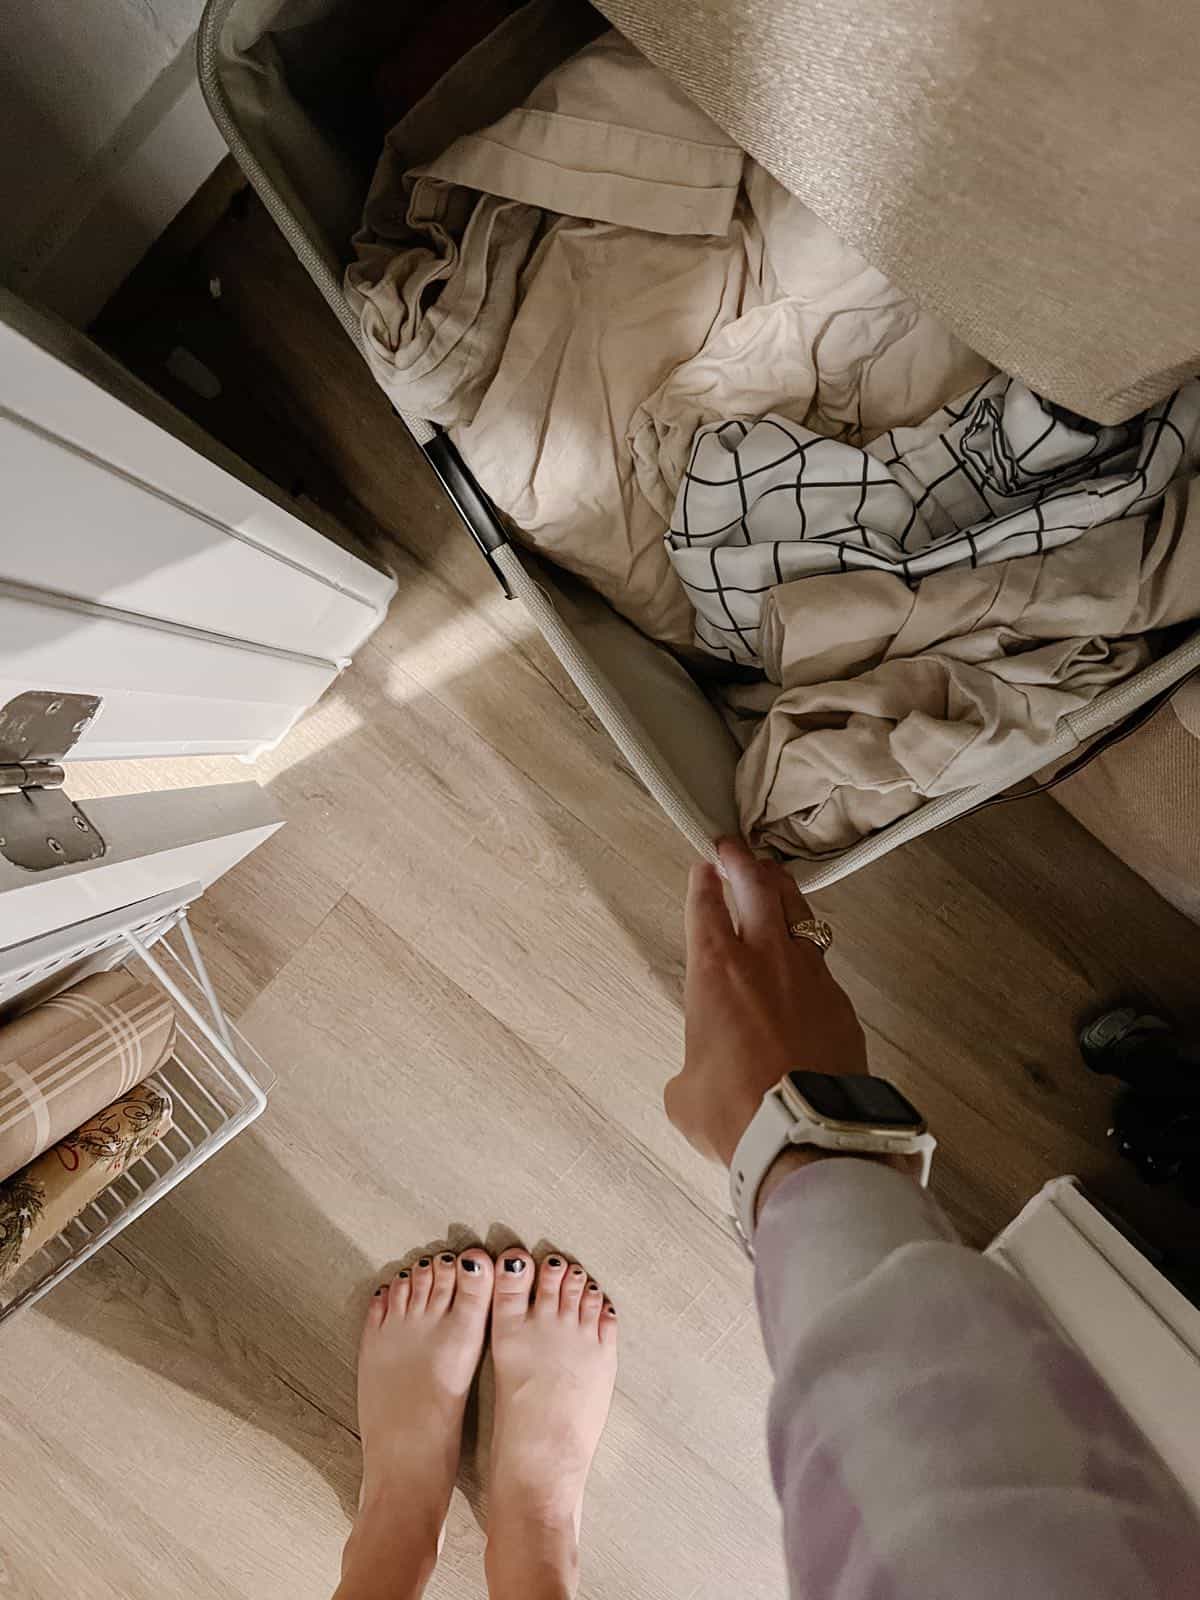
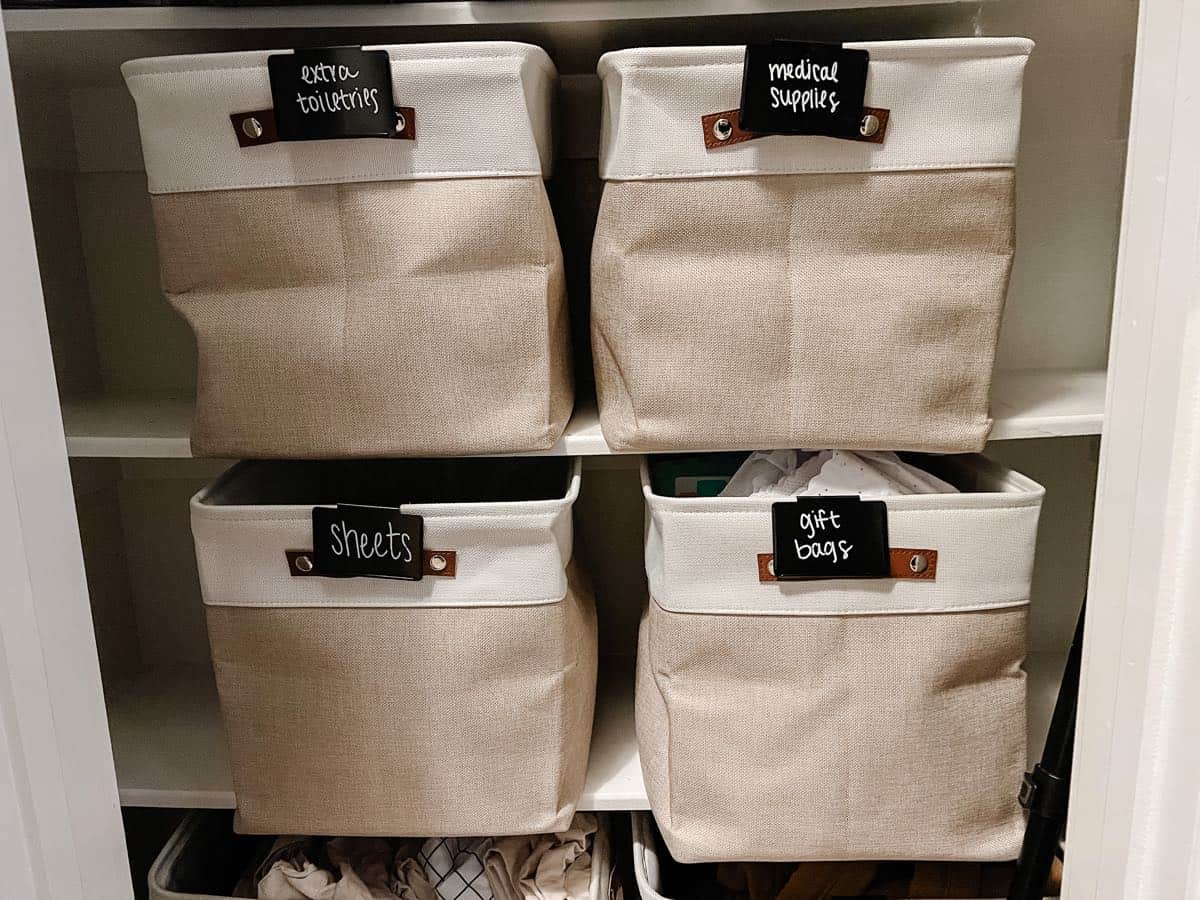
Tip #2: Group Linens in Baskets
I’ve always just kept everything tossed on a shelf in the closet. But, oh man, does that ever look messy!
Instead, I decided to grab some large baskets this time around and grouped things together. Sheets for our bed in one basket. Linens for guests in another basket. Extra pillows in another.
The difference it makes is incredible. Things feel far less visually cluttered, and it’s actually easier to access everything because I can pull out the exact basket I need without risking toppling over the precious pile of linens jammed into the shelf!
If your linen closet holds mostly linens (and not a ton of other random stuff), this may be the bulk of what you do! Maybe your shelves are full of large baskets. And that’s great! But, having categories of baskets on the shelves is far more accessible and easy to use, and you’ll find it’s way easier to keep things organized this way.
Plus, you don’t even have to fold the sheets and no one will know. Shhhh!
See a roundup of some really great baskets for this purpose right here!
Tip #3: Utilize the Door!
The back of any closet door is super valuable real estate, and if you aren’t using it, you’re missing out on some really great storage space!
For a few months now, we’ve had this wrapping paper organizer on the back of our closet door. It’s been really great in the sense that it got all of the wrapping supplies off the floor and into an organized system. What’s not great? I have so much stuff that it ends up being really bulky. This is a tight space, and it feels like the organizer is fully in your face as you’re trying to grab some medicine or swap out the sheets.
I also don’t love that it’s two sided – if I want to get a bag out of it, I have to pull the whole thing down to flip it over!
I wanted something a little more streamlined and easier to use. So, I grabbed this metal door organizer and hooooly cow. What an upgrade!

Everything is still off the floor and fully organized, but now it’s not in your face at all, and it’s so easy to grab what you need. I have more than enough room for all of my paraphernalia, and I can see this system working for us for the long haul. And, as you can see, there’s still plenty of room for growth!
Of course, maybe you have a different wrapping paper solution. Maybe you’d rather store your iron and other laundry supplies on the door. Or cleaning supplies. Or something else entirely! Whatever you want to store on the door, I encourage you to take some time to think about actually trying something. The amount of storage space it will add to your closet is staggering, and it’s such a simple solution.
I’ve also got a roundup of great back-of-the-door storage solutions right here!
Tip #4: Plan Your Layout Carefully
As I was putting everything back in my linen closet, one thing I spent a lot of time thinking about was where everything would go. Our previous layout didn’t make a ton of sense. We rarely used the things that were at eye level or below, and there wasn’t much thought behind it. We literally just shoved things on shelves when we moved in, and they’ve stayed there!
So, this time around, I took a lot more time to think about where I wanted things. For example, the old scrapbooks and memory boxes that are incredibly precious but don’t get pulled out all that often? They can live on a high shelf – they’re still easy to access, and they’re safe from little hands up there!
But, the sheets for our bed that we trade out every single week? Those need to be really easy to reach!
Just make sure to spend a little bit of time thinking about how you use the space (and how you want to use it) before you start putting things back. It’ll make a world of difference when it comes to the functionality of your linen closet!
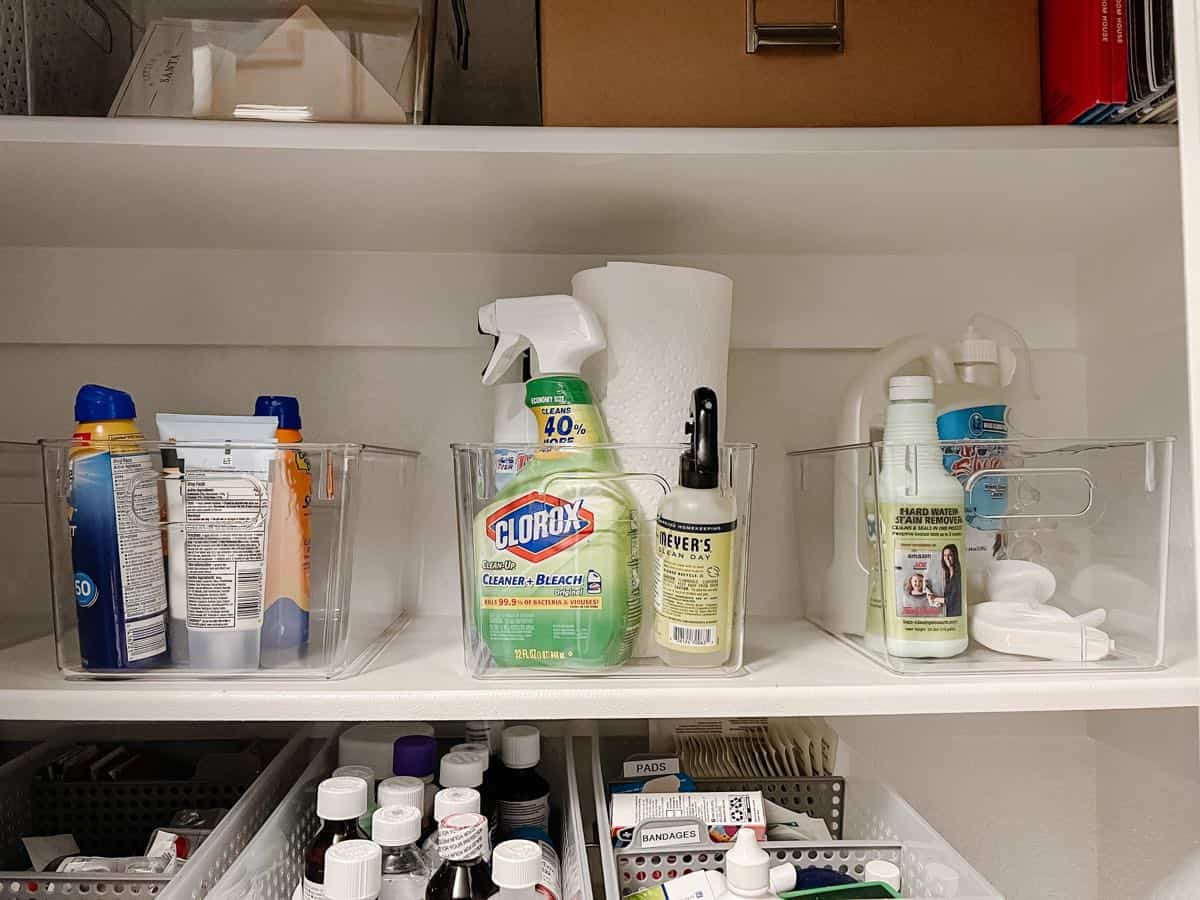
Tip #5: Create Cleaning Caddies
If you store cleaning supplies in your linen closet like I do, one key tip to make things easier is to sort them into baskets by how you use them!
For example, most of the cleaning supplies in my linen closet are specifically for cleaning our bathroom. I was keeping everything in a large basket before, but it was slightly too big for the space and it was in a spot that was hard to access.
So, when I needed something, I’d tip the basket out, wrestle out whatever supply I needed, and leave the basket askew on the shelf. And often, when it was time to put the cleaning supplies up, I was too annoyed with the basket to put them away properly so they just got shoved onto a shelf!
This time around, I spent a lot of time thinking about how I use the cleaning supplies. I have a certain set of things I tend to use all together every time. So, I got a set of smaller baskets and designated one for bathroom cleaning supplies. Now, when I’m cleaning my bathroom I can grab the entire basket and bring it with me. Things stay more organized, and my life is easier. I designated a second basket for the things I don’t use everyday (like our weekly shower cleaner and my favorite deep cleaner for the shower), and I can just grab that basket when I’m doing a deeper clean!
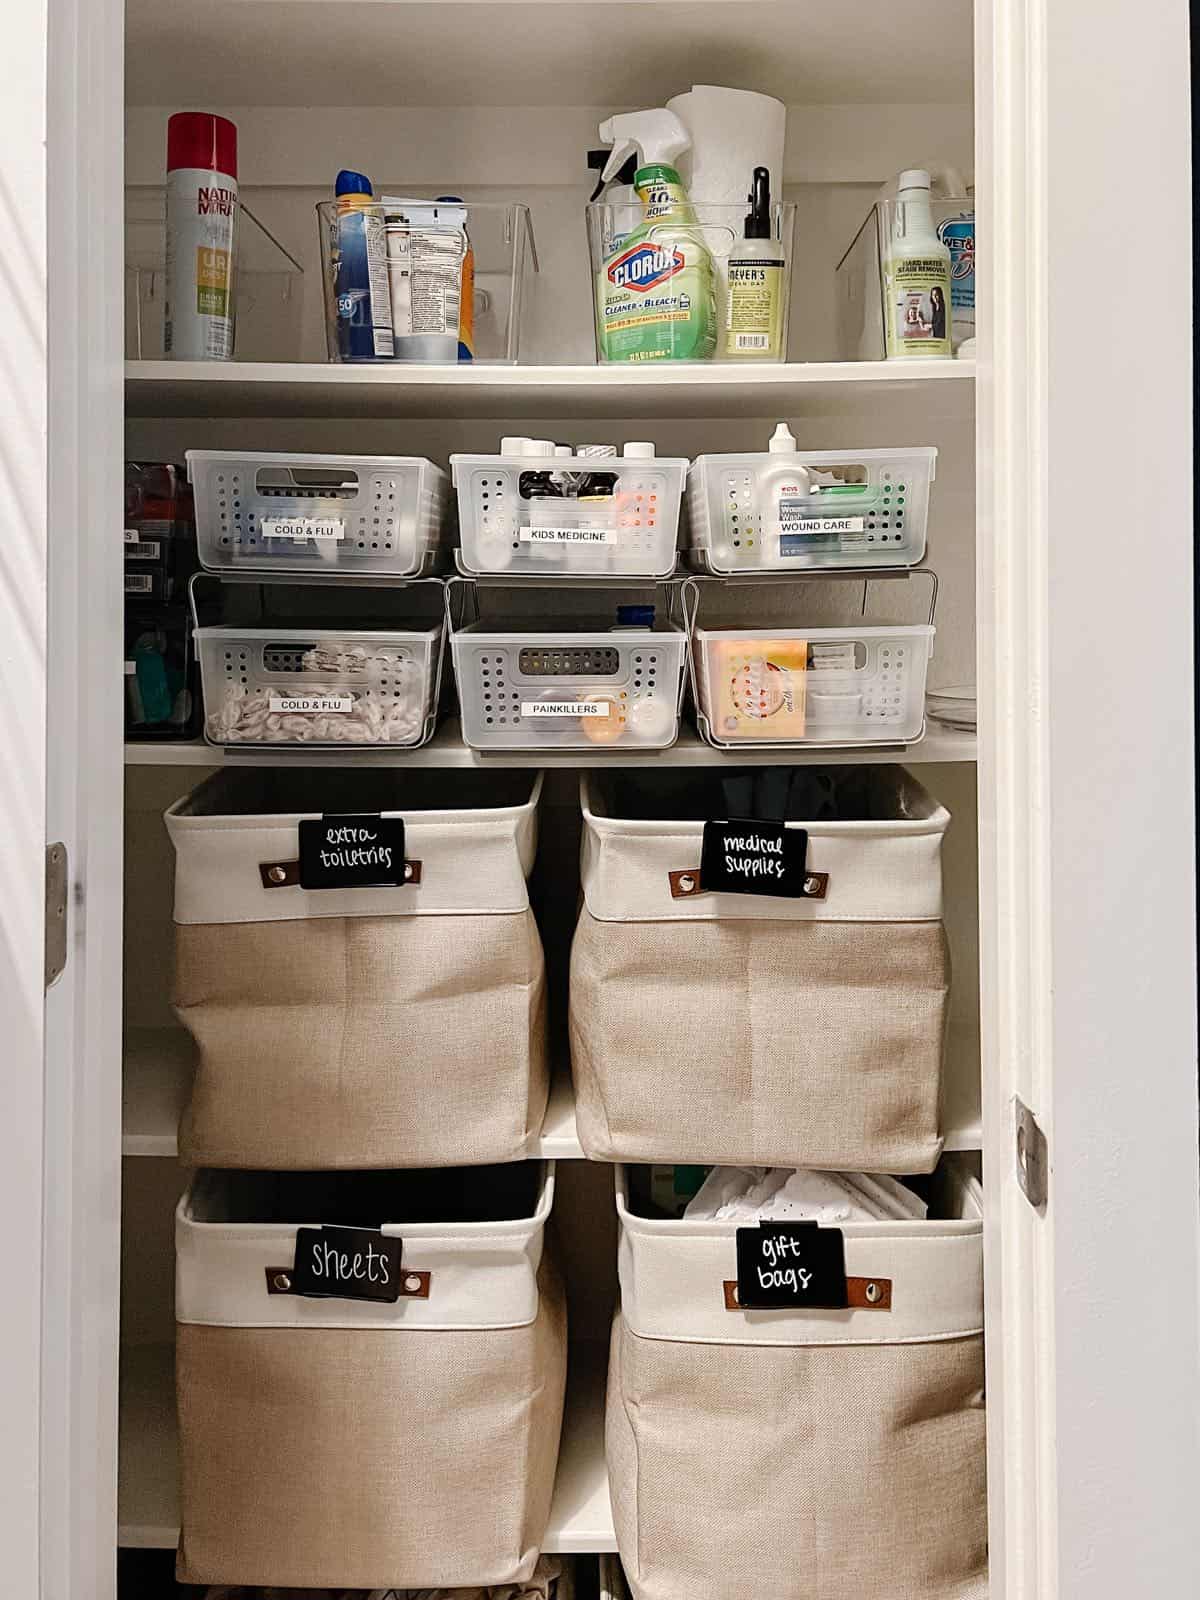
I also grabbed some baskets to store extra toiletries and other random things that get shoved into this closet. It was important for there to be a space for everything so that nothing ends up just floating around on a shelf!
Tip #6: Label, Label, Label
Finally, maybe the most important step of them all: LABEL EVERYTHING!
I’ve said it before and I’ll say it again: you can organize a space all day long, but if your family doesn’t know where things go, it’s only going to last about 5 minutes. Taking the time to label every single thing in that linen closet is you best hope at the rest of the people who live with you being able to keep up!
I used these labels for some of the baskets, and this label maker for the rest. There’s absolutely no question about where anything goes in here, and no one can tell me they put something back in the wrong spot because they were confused. I still need to label a couple of the clear baskets – I wanted to live with the setup for a couple of weeks to make sure it works for us before I label everything. But once it’s settled for sure, every tiny thing gets a label!
I’m not making any promises that this closet will stay organized forever…because life. But, this is certainly our best shot!
I can’t even tell you how much of a difference this sort of things makes on a day-to-day basis. Instead of dreading needing something from the closet, I look forward to opening it up and seeing my organizing handiwork. Maybe it’s just me, but there’s something about a hyper-organized nook of my home that makes me heart absolutely sing!
More deep organizing projects
- Organizing our junk drawer
- DIY pull-out pot and pan organizer
- Silverware drawer organizer
- Small pantry organization tips
- Spice drawer organizer
- DIY back of the door pantry organizer
- Organizing the kids’ art closet
- Medicine organization
The post Linen Closet Organization {Tips & Tricks} appeared first on Love & Renovations.