How to Paint Your Kitchen Cabinets Tutorial
Posted by admin on
A detailed tutorial on how to paint your kitchen cabinets.
If you've ever considered painting your kitchen or bathroom cabinets, this tutorial will take you through every step! This particular process uses a paint sprayer, which will give you the absolute best, factory-looking finish.
If you're interested in painting your cabinets by hand, check out this cabinet painting by hand tutorial.
This post has been updated to share with you again!
This is the entire cabinet painting process, step by step to break it down for you. Painting your cabinets is NOT hard. It's a practice in patience and it can be stressful at times, but it's not hard. :)
I have to first thank my friend Jenny from Evolution of Style again -- she traveled over from Cincinnati to help me get set up and go through the process with me. She is a pro at this and her advice was SO helpful!
Check out her site to see her kitchen redo as well:
OK here we go!
This post may contain affiliate links for your convenience.
See my policies and disclosure page for more information.
Prepping your cabinets for paint
1. Remove and label all your doors and drawer fronts. Use some painter's tape to label each front with a number that corresponds to the cabinets around the room.
Keep track of your screws and hardware in separate baggies -- and label the bags well! I had bags for door screws, drawer screws, hinges and then one for random stuff like our tip out trays and the lazy Susan cabinet doors.
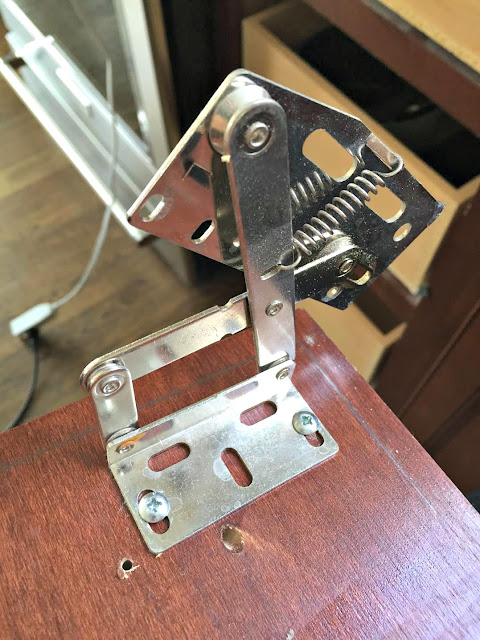
If there is something you'll need to remember how to put back together, take a photo of it before you take it apart. I did that with our tip out tray doors and it helped a ton:
Number your cabinets doors when you take them off -- use painters tape and a sharpie and write the number of the cabinet on the tape. This will eliminate the guessing game of where they go back when you are done!
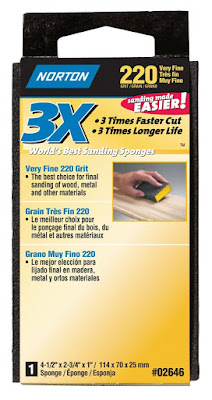
2. Wipe down your cabinets with a wet rag, then sand lightly. I used a 220 grit sanding sponge:
I recommend wiping them down first because if there's crud on them then sometimes that just gums up the sanding block. It's best to clean them a bit first and then sand.
2. Wipe down your cabinets with a wet rag, then sand lightly. I used a 220 grit sanding sponge:
I recommend wiping them down first because if there's crud on them then sometimes that just gums up the sanding block. It's best to clean them a bit first and then sand.
You don't have to go crazy with sanding -- more on that in a minute. But you just need to get a little bit of that shine off the cabinets. I didn't sand hard or much, just a quick pass over the fronts.
3. After sanding you need to clean them well.
3. After sanding you need to clean them well.
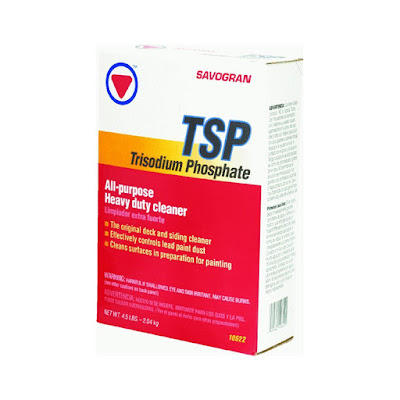
The BEST product I've found that I've used over the years is TSP:
I used it in a spray bottle already mixed but I can't find that anymore. Spray it on, wipe it off and then do another wipe with a clean wet rag to make sure all of it is removed.
There are TSP substitutes but I think TSP is still the best.
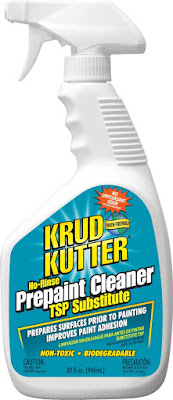
This Krud Kutter is good stuff too:
I really like that the spray version is already mixed up so if you can't find the spray TSP than this is a good option.
Here's the thing -- you really do need to sand a little bit. But in my experience the MOST important step is cleaning really well. Paint will not stick to goo. :) And if it does it will wipe off with the goo later.
Cleaning is by far the most important step.
It's time to prime!
After wiping down your cabinets well and letting them dry, it's time to prime.
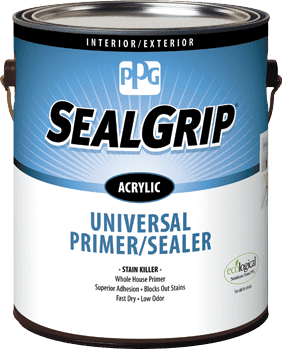
This is where the paint sprayer comes in. Jenny recommended this primer from Porter Paints so that's what we used:
This part went incredibly fast.
We did one coat on the backs, waited an hour for them to dry (actually a bit longer but you can after an hour) and then we flipped them and did the fronts. I could not start the topcoat (the paint color) for another 24 hours to ensure they cured well.
This is when you start to see your vision come to light!:
And it's very exciting! (More on that drying rack in a minute.)
**Please be sure to check out my post about the paint sprayer I used here. I share all of the nitty gritty details and tips on actually spraying the cabinet fronts there.
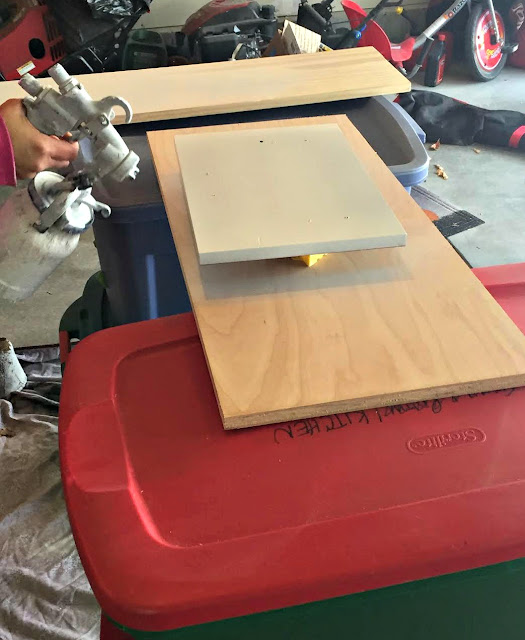
Here's our set up -- my sawhorses fell apart and I don't have new ones yet (two sawhorses would be ideal) so I dragged out two sets of Christmas bins.
We set a board across the top and then placed the cabinets on there:
I mentioned in my post about the sprayer that you'll want to be able to walk around your set up while painting. Give yourself plenty of room!
I later added a tarp so the bins wouldn't get paint on them. The spraying process goes incredibly fast! Jenny did the priming with her gun (she does this professionally now and has a very nice spray gun) and she finished up each side in about 30-40 minutes.
That's 23 cabinet doors and drawer fronts!
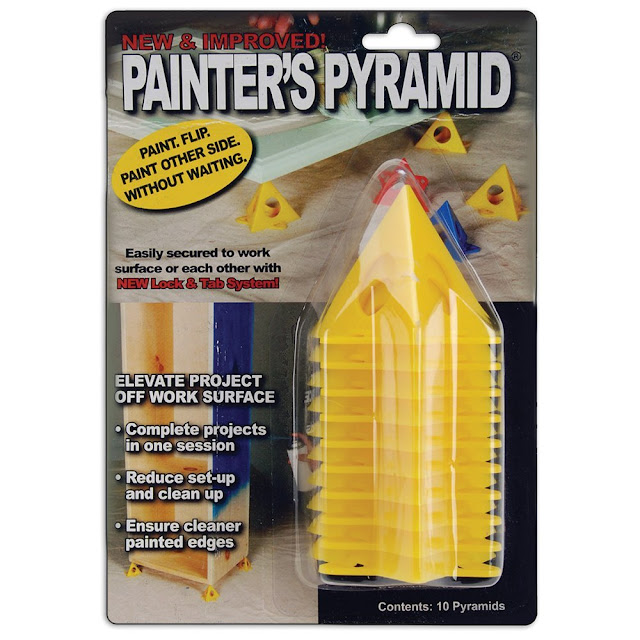
You definitely want to get these painter pyramid supports to get your cabinets up off the board:
That way you can get them higher so you can spray the sides of each door. I've used these for various projects over the years and they're handy to have.
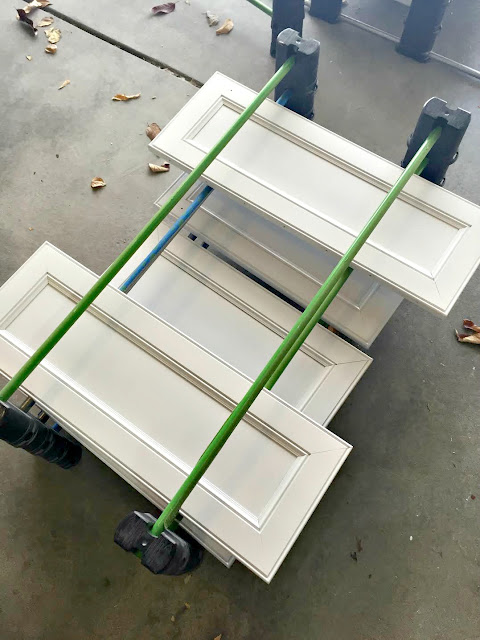
So...that drying rack. I'll tell you what -- this thing made a HUGE difference!! Jenny graciously let me borrow it and I am SO thankful to her. I can't express how nice it was to have this thing!
Hers is an Erecta Rack and you place the wet cabinets on there and stack up the railings as you go:
We would not have parked in our garage for two weeks without it. It also was nice because it kept out of the way -- I feel like it protected the drying cabinets from dust better than if they were just laying all over the floor. It also helps them to dry faster as well.
You can absolutely still paint your cabinets without this drying rack, it just makes the drying process easier. If I didn't have it I'd use boards to lay the doors and stack them. You'll want something to let the air flow through a little bit.
Painting your cabinets
After 24 hours you can start your topcoat (your paint color).
First you'll want to give the cabinets a very light sanding if they have any imperfections. I didn't go crazy with this -- I'd run my hand over them and if I felt anything I'd sand it down lightly.
Do this between all your coats! Fuzz and small debris are sure to get in there at some point and sanding them down will get rid of that.
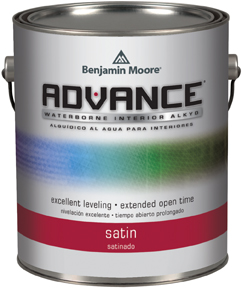
For the paint, Jenny recommended Advance by Benjamin Moore:
I've heard of this for years but had never tried it. A friend used it in their house years ago and didn't love it, so avoided trying it. Now I understand in some applications it's not great and I'll go into that more in a minute.
I used the satin finish and it is much glossier than I expected for satin -- it's perfect!
The lower cabinets were mixed in Sherwin-Williams Peppercorn, the uppers in Pure White.
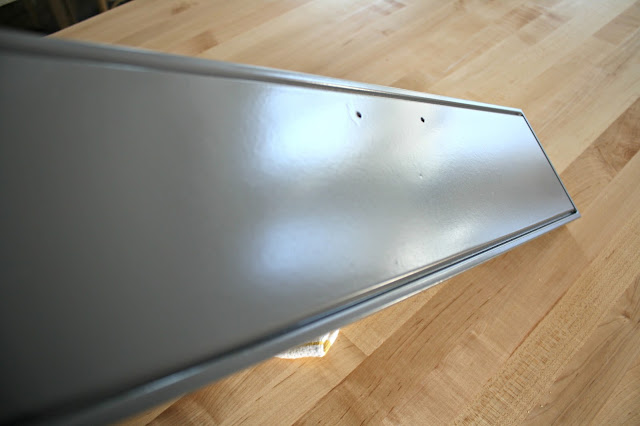
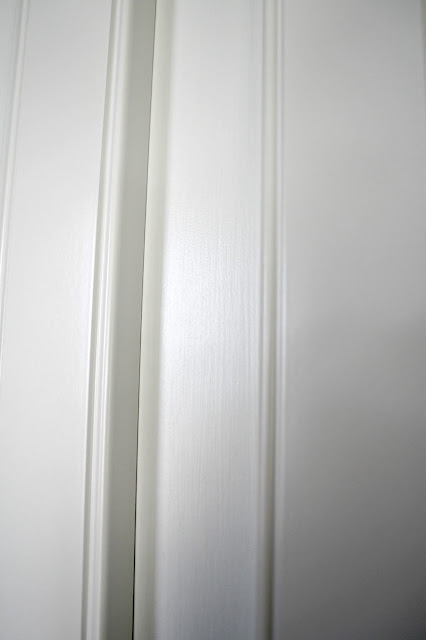
This paint is crazy good when using a sprayer. The finish is fantastic!:
Things to remember about this paint -- it can go on thick and will look bumpy when it's applied with a sprayer, but just hang in there!
Your weather will affect this and drying time -- I had a bit of a freak out moment and texted Jenny the first night because they were taking forever to dry. Usually within a few minutes you can see some parts starting to dry and that first coat didn't start to lose the glossy wet finish for hours.
It was raining that night and I knew that would play a part in it, but it just looked thicker and wetter than paint I've used before.
This paint is pretty amazing at self-leveling, so it takes a long time to dry. It should be dry to the touch by six hours but you can't recoat for 16 hours. Because of the weather I started waiting even longer between coats to be safe.
Since we were doing a two toned look on the cabinets in dark gray and white, I could paint one color one day, then the next day do the other. This gave them a couple days to cure each time.
When the rain stopped the dry time got much shorter, but it's never a bad idea to let them dry a little longer if you can.
Another tip from Jenny that I didn't think of -- start on the backs. This lets you get the kinks out with your sprayer and get used to using it. This is a REALLY good idea if you've never used a sprayer before.
Sand lightly between each coat of paint and then spray again. Jenny recommended one coat of primer and two coats of paint on both sides of the cabinet fronts.
I cheated a bit on the backs -- I only did one coat. It covered so well I didn't need to do more. Considering I never even paint the backs of my cabinets I was impressed I even did that. Ha!
Painting the cabinet frames
The frames of your cabinets are a very similar prep process but I have some additional advice to offer here. You'll want to clean and sand them like you do the doors -- I noticed that our frames were dirtier than the doors. I guess I don't clean those as much?
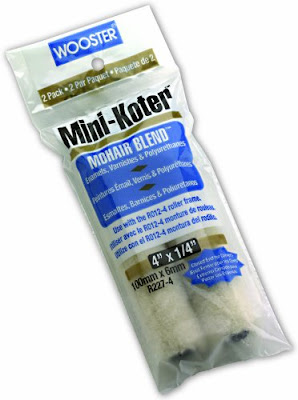
Jenny recommends this mohair roller for larger areas like the side of the fridge:
They worked great! I usually use foam rollers but I quite liked these and the finish.
Here's where I wasn't thrilled with Advance paint -- I used a brush to apply it to the upper frames (those were the first ones I painted) and I didn't like the finish at all.
It was crazy because for as long as it takes this paint to dry on the doors, it was drying super fast inside and was hard to work with. I also didn't like the finish on the frames -- you could see the brush marks very easily, even with sanding in between.
It's just the nature of the paint. What should have taken two coats of white took three and honestly I could have done a fourth.
In the end no one will even notice it. Because I did the last couple of coats with a roller that helped a bunch.
Here's the frame in the middle and the sprayed cabinets on the side:
See the brush marks?
I ended up using the mohair rollers on the bottom frames and that finish is SO MUCH BETTER. So smooth. I used a brush for corners and hard to reach spots and then rolled over it as much as possible.
One issue I ran into along the lower frames was the silicone the granite folks added during installation. I put the painting of the cabinets at the end of my list so that they wouldn't get messed up during the install of the other parts of the room.
If you do the same, ask your granite installers to hold off on the silicone underneath and you can do it after you paint.
They really piled it on ours and some of it was so low on the cabinets I had to remove it, which is a total pain in the butt:
I gave up on the stuff higher under the counters. Thankfully our lowers are dark so you can't see it well. If you are going from dark cabinets to light all over and are having granite installed, be sure to remember this!
I tackled the doors first and the frames second -- I first thought I should have flipped that. The doors were sitting done and I had to wait days while I painted the frames. Now...I actually would recommend the order I did it -- it gave the doors a chance to sit and cure for awhile while everything inside dried.
This paint (any paint really) takes a good month to REALLY cure well. That means it's not super hard till then. Some say even two months. I put our new hardware on the cabinets but didn't screw them in all the way -- I'll wait for another few weeks to do that.
I thought the process would take me a week, but it would be difficult for one person to get it done that fast with the dry time needed.
It ended up taking about 12 days and I finished installing the cabinets on the 13th day. The cabinets had cured for about five days at that point, the frames a few days less.
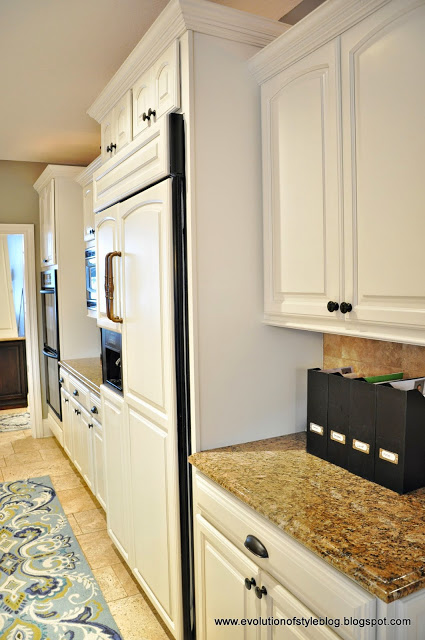
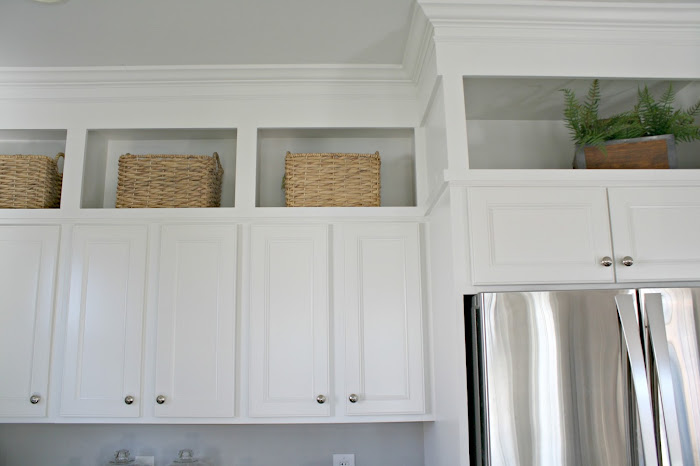
For now I'll leave you with a couple shots -- first of the uppers:
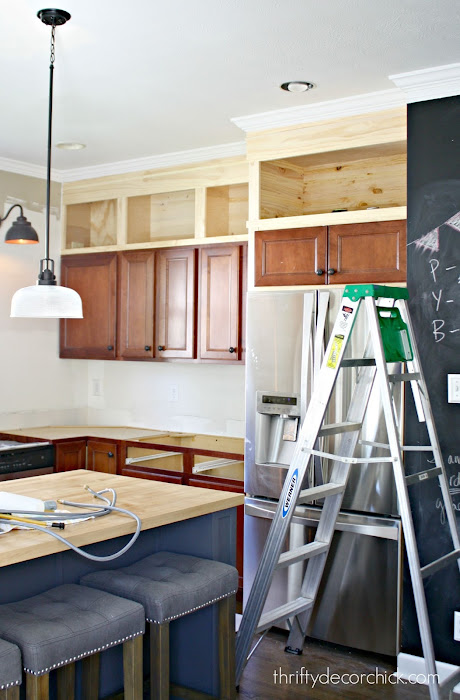
I know it can be hard to see my vision, especially when they were two-toned for so long:
WOW! I love the white uppers!! I nearly cried when I put them up, not kidding. They are so beautiful and it was so thrilling to see what was in my head all this time come to life.
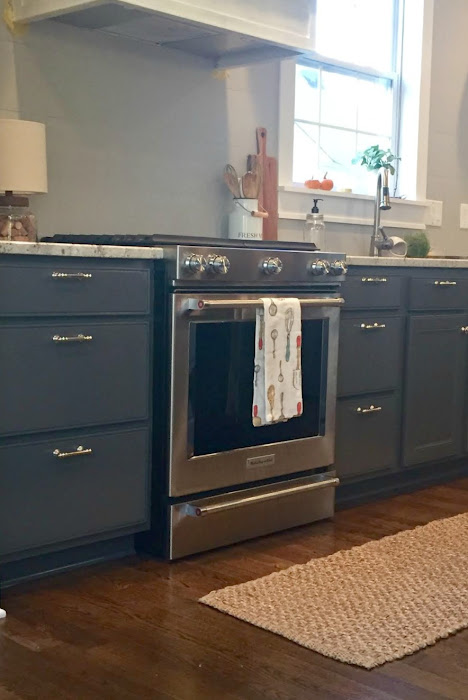
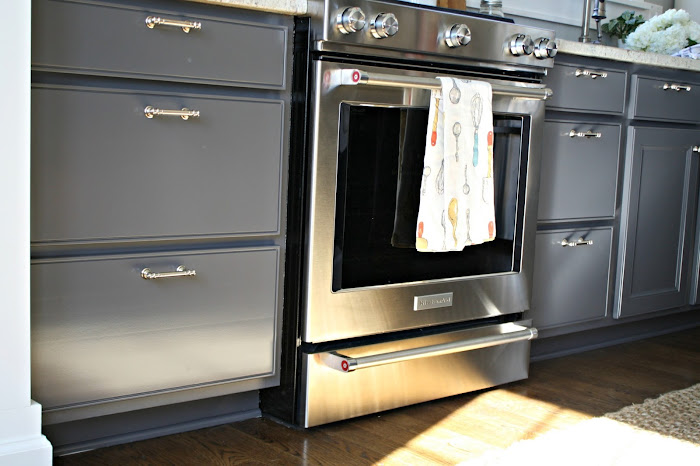
I love the white but I have to tell you I think I love the dark gray lowers even more:
I'm a contrast girl and they are absolutely stunning with our floors and with our light countertops.
Here's another pic that shows the sheen a little better:
I have a lot of touch ups to do by the stove and on the quarter round -- it's never ending. :)
I hope you found this helpful if you are interested in painting your cabinets! Remember if you have a grain on your cabinets they will not be quite as smooth. Sanding well before and between coats will help to reduce the grain but it's hard to eliminate it.
Oh and I've been asked a ton about a protective coat. No, you don't need to add one. I've painted many pieces of furniture and cabinets and if you use a good paint you will not need to do that. If you want to add one keep in mind if you are painting your cabinets white you need to use a water based poly so it doesn't yellow down the road.
See the full kitchen renovation reveal here!
See more of our home here.
To shop items in our home, click here!
Never miss a post by signing up to get posts via email.
This content is property of Thrifty Decor Chick LLC. If you are reading this on any other site other than www.thriftydecorchick.com or one of her social media platforms, please contact her immediately (thriftydecorchick at gmail dot com). Any other use of this content is strictly forbidden.

