Beachside Bungalow - Kitchen Accomplished!
Posted by admin on
As the title of today's blog post suggests, I have great progress to share! The first time I ever posted about the Beachside Bungalow's kitchen was July 25, 2016. Wow! Doesn't that seem like eons ago?!? We've all been through a lot in the last five years, we've seen our dreams realized and even came up with a few new ones. But even way back then, I had big plans for this tiny kitchen, Although my plans and methods evolved a lot over that time, I am happy to proclaim that the Beachside Bungalow's kitchen is finished! And I just love the results!
I started the weekend by installing the lower cabinets and appliances, then the uppers and the microwave. I ran the wires for the oven, microwave and under cabinet lights out the back of the kitchen wall. From there, they ran down to and through the foundation, under the house and joined the rest of the wiring. When I work on the landscape, I'll disguise the wire bump with a vine that climbs the wall.
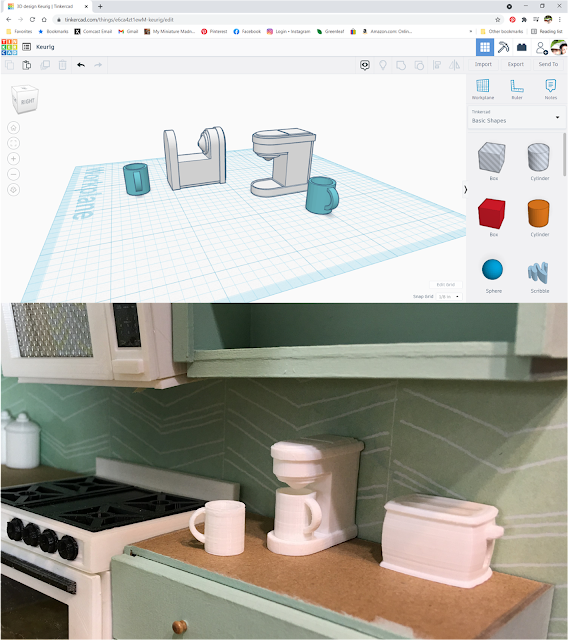
A few weeks ago I made Keurig minis, coffee cups and toasters with the 3D printer. This week I made the essential coffee K-Cups to go with them.
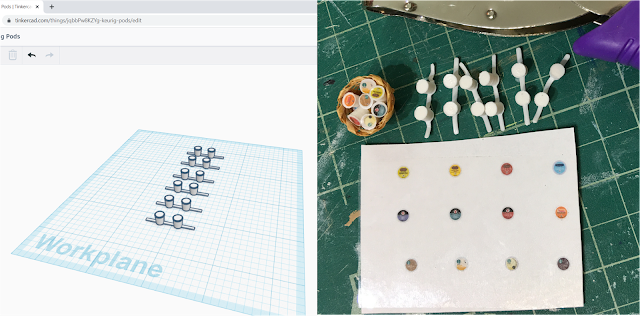
I made about three dozen of them, all brands and flavors (even tea) then auditioned a couple different containers to hold them - a basket and a glass canister.
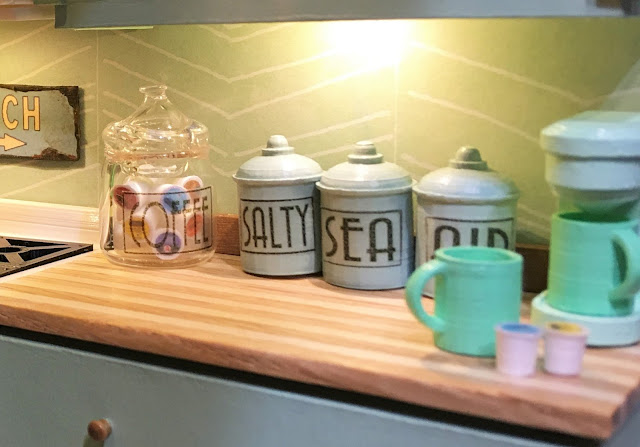
I liked the glass canister better, but it needed a label. I made 3D printed canisters, too, and they also asked for labels. I used water slide decals.
Time to fill up the kitchen! I had collected quite a few things for the Beachside Bungalow project over the years, and although my ideas for the project radically changed, I was able to utilize a lot of it for the kitchen.
Some things (the mixer), I was able to "borrow" from my collection for Pound Cake, and others (bisque dinnerware/serveware), I had in my stash. They just needed painting.
There were still a couple holes to fill on the top of the cupboards, so I made some plants.
| When I grew houseplants, my pothos always had yellow and white spots on the leaves, too. |
When I thought about what the fridge needed, I looked to my real life fridge. I made a tiny "magnetic" tear away note pad, some beach themed magnets, a couple fun beach signs and then put some extra butcher block chopping boards on top. You might also notice the bamboo shade on the door and the light switch.
Last week I mentioned that I had been working on a faucet for the island. I won't bore you with all of the technical details, I'll just say that this is the best version I have been able to accomplish, so far. But it's still not what I am going to settle for. I will keep trying and let you know when I am able to do better. The fun thing is, the taps actually turn.
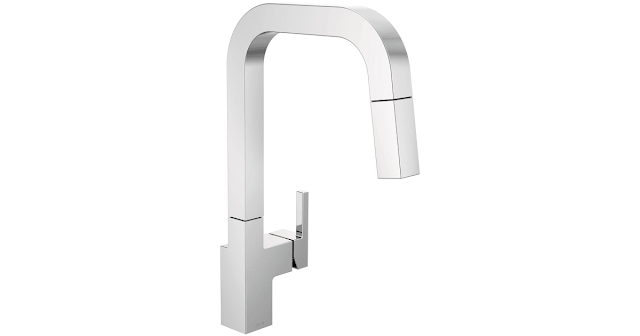 |
| Inspiration faucet. |
| The faucet must be printed in halves then joined later. |
| Right off the printer before cleaning up. |
One of the things I've been saving and was finally able to use was the tiny Alphabet Cone seashell that Tasha brought me back from Belize! I added it to two other tiny shells to embellish this metal candle stick.
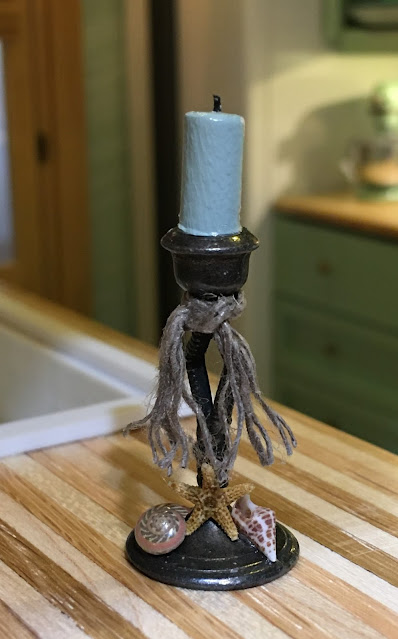 |
| Tasha's shell is on the right. |
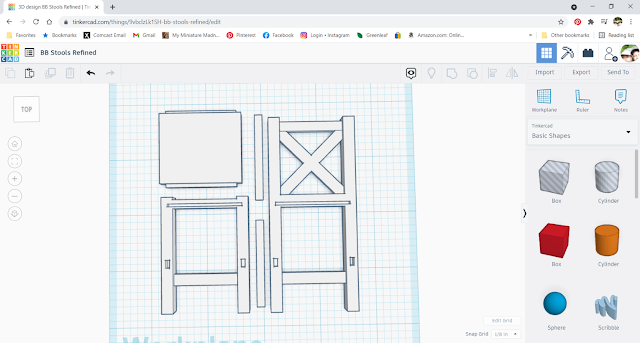
Remember the stools that I 3D printed several weeks ago? They started out very plain, imperfect and utterly unappealing, but after some paint, aging, chair pads and embellishments I LOVE them!
| Painted and aged |
| With tufted chair pads |
| Seaweed looking chair pad ties |
And here is the island all together and in it's place! The ladies are coming by later for a little celebration!
They are going to try out the new appliances by making dinner and enjoying their first gathering in Kairi's long awaited home!
As for me, I still have a lot of work to do! I'll start, most likely, with the upstairs bathroom. Just by installing the toilet and some accessories, the ladies won't need to run to the neighbors house to pee! The powder room, living room and bedroom are left on the list, but I have some exciting ideas that I'm looking forward to trying out!
Hope you like the kitchen and where this five year long journey has brought us to!
xo xo,
Jodi

